How to Keep a Stand Mixer from Walking on the Counter?
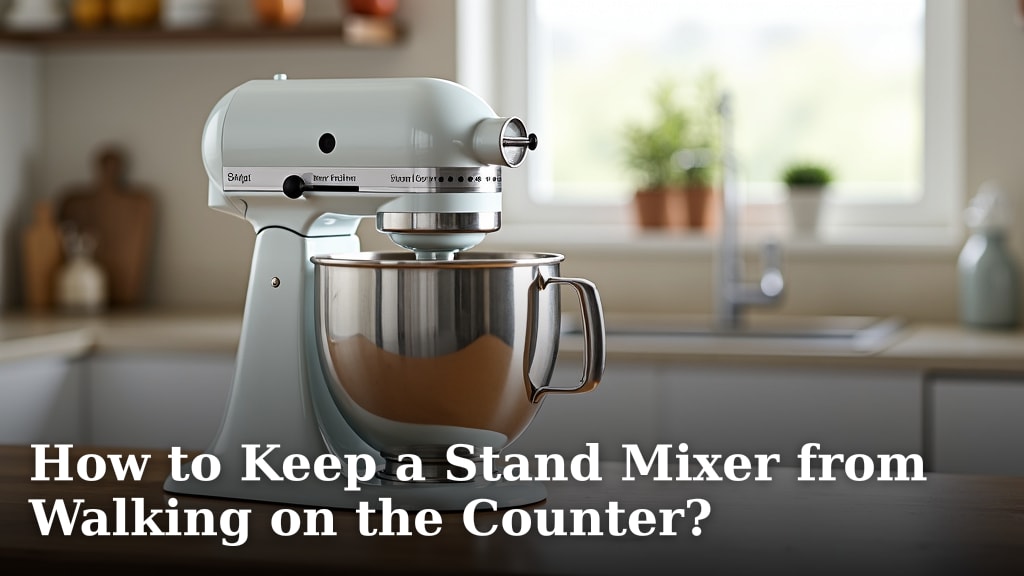
To keep a stand mixer from walking on the counter, you need to stabilize its base and reduce vibrations. Many home bakers find that a simple anti-slip mat or a damp towel placed underneath provides the immediate grip needed.
You’ve likely experienced the frustration of your mixer dancing across the countertop during a heavy dough mix. We found that this common problem stems from powerful vibrations and a lack of friction. The good news is, there are several easy and effective solutions to prevent this countertop tango.
- Secure your mixer with anti-slip mats.
- Use a damp towel for quick stability.
- Check your mixer’s suction cups.
- Consider a heavier mixing bowl.
Ready to reclaim your counter space and mix with confidence? Let’s look at practical steps you can take today to keep your stand mixer exactly where it belongs.
Stabilizing Your Mixer: Essential Techniques
Preventing your stand mixer from moving across the counter starts with a solid foundation. You need to create friction and absorb vibrations directly at the base of the machine.
The Magic of Anti-Slip Mats
One of the simplest and most effective solutions we found is using an anti-slip mat. These mats are often made from silicone or rubber and provide a surprising amount of grip.
Simply place the mat directly under your mixer. The material creates a strong bond with both your counter and the mixer’s base, drastically reducing movement. It’s like giving your mixer its own personal, sticky landing pad.
Choosing the Right Mat Material
When selecting an anti-slip mat, consider the material. Silicone mats are excellent for their superior grip and heat resistance. Rubber mats also work well, offering good friction.
Avoid thin, flimsy mats. You want something with a bit of thickness to help absorb some of the vibration. We found that thicker mats provide better overall stability for heavier mixing tasks.
The Damp Towel Trick
Need a quick fix right now? A damp kitchen towel can be a surprisingly effective temporary solution. We often recommend this for immediate relief during a busy baking session.
Fold a clean kitchen towel into a rectangle and dampen it slightly – not soaking wet, just enough to make it cling. Place it under your mixer. The slight moisture helps the towel grip the counter, and the fabric provides a cushioned, non-slip surface for your mixer.
This method works by increasing the friction between the mixer and the counter. It’s a testament to simple physics doing heavy lifting in your kitchen.
Understanding Your Mixer’s Feet
Your stand mixer comes with feet designed to help keep it still. But are they working as they should be? Sometimes, these feet can get dirty, worn, or even go missing.
Checking for Worn or Missing Feet
Turn your mixer over and inspect the feet. Are they all present? Are they made of rubber or silicone? If any are missing or seem hardened and cracked, they won’t provide the necessary grip.
Replacement feet are often available from the manufacturer or through third-party suppliers. Replacing them can make a huge difference in stability. Think of it as giving your mixer new shoes for better traction.
Cleaning the Suction Cups
Some mixers feature suction cup feet. These are designed to create a vacuum seal with your countertop. But dirt, flour dust, or grease can break that seal.
To restore their grip, clean the suction cups thoroughly with a damp cloth and a little dish soap. Rinse them well and dry. A clean suction cup is a happy, grippy suction cup.
Optimizing Your Mixing Process
Sometimes, the issue isn’t just about what’s under your mixer, but how you’re using it. Adjusting your mixing habits can also help keep your machine grounded.
Managing Mixer Speed
One of the biggest culprits of mixer “walking” is excessive speed, especially with heavy or stiff doughs. It’s easy to want to speed things up, but your mixer might protest.
For dense doughs, like bread dough or thick cookie batter, start at a low speed. Gradually increase it only as needed, and always keep an eye on your mixer’s stability. High speeds create more powerful vibrations, making your mixer more prone to movement.
Think of it like driving on ice; you wouldn’t gun the engine. The same gentle approach applies to your stand mixer and heavy loads.
Bowl Stabilization Techniques
While the mixer base is key, what about the bowl itself? A wobbly bowl can transfer uneven forces to the mixer, contributing to the walk.
Using a Heavier Bowl
Some stand mixers come with lighter stainless steel bowls. While functional, a heavier bowl can add stability. Glass or ceramic bowls, if compatible with your mixer model, provide extra weight that can anchor the entire setup.
We found that the added mass of a heavier bowl helps to dampen vibrations. It’s like adding ballast to a boat; it makes everything more stable.
Ensuring Proper Bowl Seating
Always double-check that your mixing bowl is seated correctly in its base. A bowl that’s not locked in place can wobble, leading to instability for the entire machine.
You should hear a distinct click or feel it firmly lock into position. Don’t assume it’s in place; give it a quick tug to confirm. A properly seated bowl means a more stable mixing experience.
Advanced Solutions and Maintenance
If basic solutions aren’t enough, you might need to look at more robust options or consider mixer maintenance.
Exploring Mixer Weights or Bases
For those who frequently mix large, heavy batches, dedicated mixer weights or stabilizing bases are available. These products are designed specifically to add mass and friction.
Some commercially available platforms have non-slip surfaces and a heavy core. You place your mixer on top, and the extra weight combined with superior grip keeps it firmly in place. It’s a more permanent solution for serious bakers.
The Importance of a Stable Countertop
Your mixer is only as stable as the surface it’s on. A wobbly island or an uneven countertop can contribute significantly to the problem.
Ensure your counter is level and sturdy. If your counter itself moves, no amount of anti-slip wizardry will completely solve the problem. Sometimes, the solution is bigger than the mixer itself.
When to Consider Professional Servicing
If your mixer is still walking after trying all these tips, especially if it’s accompanied by unusual noises or excessive vibration, it might be time for a professional check-up (KitchenAid Service Manual).
Internal components, like gears or motor mounts, can sometimes become loose or worn, leading to increased vibration. A technician can diagnose and fix these issues, restoring your mixer to its smooth, quiet operation.
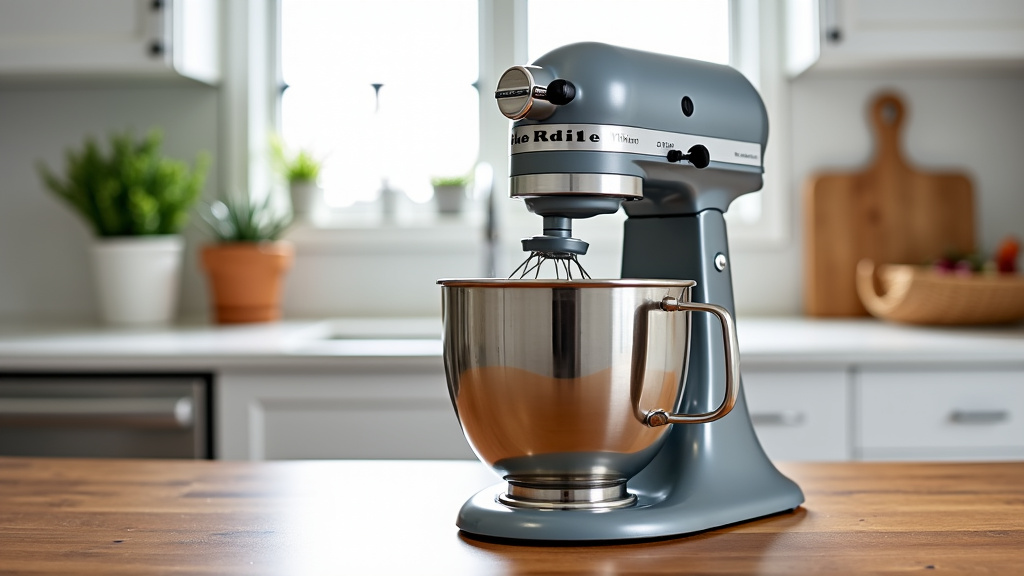
Your Stand Mixer Stability Checklist
To help you keep your mixer firmly in place, here’s a quick checklist:
Use an anti-slip mat: Place a silicone or rubber mat directly under your mixer.
Try the damp towel trick: A slightly damp kitchen towel can offer immediate stability.
Inspect and clean mixer feet: Ensure all feet are present, clean, and gripping properly.
Adjust mixing speed: Start low and gradually increase speed, especially with heavy doughs.
Verify bowl seating: Make sure your mixing bowl is firmly locked into its base.
Consider a heavier bowl: If compatible, a glass or ceramic bowl can add stabilizing weight.
Comparing Stabilization Methods
To give you a clearer picture, here’s a comparison of common stabilization methods:
| Method | Effectiveness | Cost | Ease of Use |
|---|---|---|---|
| Anti-slip Mat | High | Low to Medium | Very Easy |
| Damp Towel | Medium (Temporary) | Very Low | Very Easy |
| Clean/Replace Feet | High | Low to Medium | Medium |
| Heavier Bowl | Medium | Medium to High | Easy |
| Mixer Weight/Base | Very High | High | Easy (one-time setup) |
As you can see, there’s a solution for every need and budget. We encourage you to start with the simplest options and work your way up if necessary.
Conclusion
You now have a full toolkit to prevent your stand mixer from dancing across the counter. By focusing on stabilizing its base and managing vibrations, you can enjoy a much smoother baking experience. Start with simple fixes like a silicone mat or checking your mixer’s feet. Remember, even small adjustments to your mixing speed can make a big difference. Don’t let a wobbly mixer interrupt your culinary creativity any longer.
Take control of your kitchen and mix with confidence by applying these practical tips today!
Frequently Asked Questions
Why does my stand mixer move so much when mixing dough?
Your stand mixer moves primarily due to powerful vibrations generated during the mixing process, especially with heavy or stiff doughs. A lack of sufficient friction between the mixer’s base and your countertop, or worn feet, allows these vibrations to translate into movement.
Can I use anything else instead of an anti-slip mat?
Yes, for a quick and temporary fix, a slightly damp kitchen towel folded underneath the mixer can provide surprisingly good grip. The moisture helps it cling to the counter, and the fabric adds a layer of friction. This is great for immediate relief during a baking session.
Does the type of countertop affect mixer stability?
Absolutely. A smooth, slippery countertop like granite or quartz offers less natural friction, making it easier for your mixer to move. Textured or less polished surfaces tend to provide a bit more grip. Regardless of your counter, anti-slip solutions are still highly effective.
How often should I clean my mixer’s suction cups or feet?
It’s a good idea to inspect and clean your mixer’s feet or suction cups regularly, especially if you notice increased movement. Flour dust, grease, and other kitchen debris can build up quickly, breaking the vacuum seal of suction cups or reducing the grip of rubber feet.
Is it normal for a stand mixer to vibrate a lot?
Some vibration is normal, especially when mixing thick batters or heavy doughs at higher speeds. However, excessive vibration, or vibration accompanied by unusual noises, might indicate an internal issue. If simple external fixes don’t help, consider having your mixer professionally serviced.