How to Bake a Cake Using a Stand Mixer?
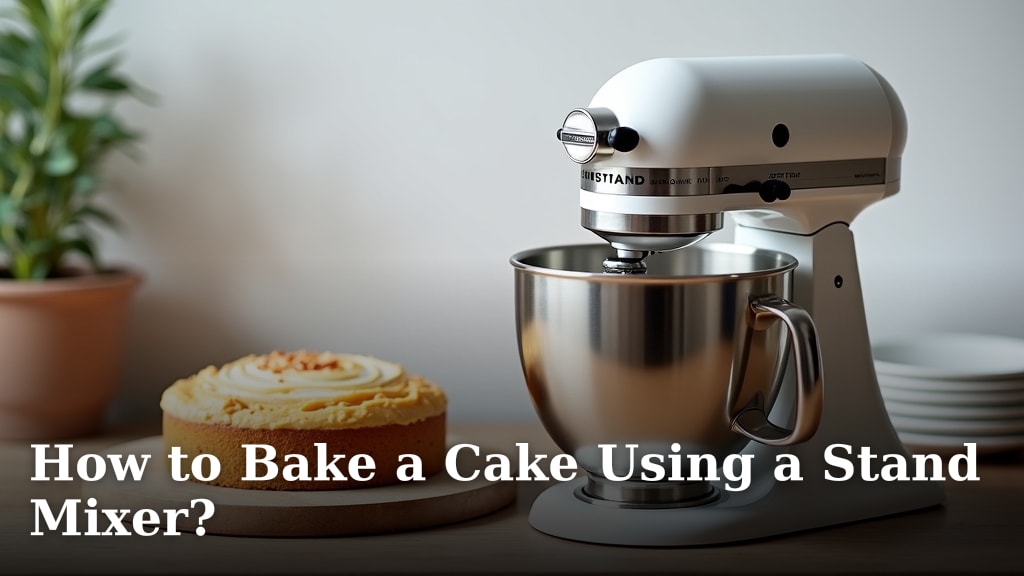
Baking a cake with a stand mixer is incredibly efficient and produces consistently amazing results. The mixer does all the hard work, creaming butter and sugar together perfectly and incorporating air for a light, fluffy cake every time.
You’ll find that using a stand mixer makes your baking process much smoother and enjoyable. We found that it helps you achieve even batter consistency, which is key for a beautifully baked cake. Plus, it frees up your hands for other tasks.
- Achieve consistent, high-quality cake batter.
- Save time and effort in the kitchen.
- Understand essential stand mixer techniques.
- Learn to troubleshoot common baking issues.
Ready to bake a delicious cake with minimal fuss? Let’s walk through exactly how to use your stand mixer to create a masterpiece, step by step.
Mastering Your Stand Mixer for Cake Baking
Using a stand mixer for cake baking transforms the process from a workout into a joy. Let’s get you acquainted with the essential steps and techniques that will make your cakes consistently divine.
Gathering Your Baking Arsenal
Before you even think about cracking an egg, ensuring you have the right equipment and ingredients is key. Think of it as preparing your artist’s palette. You want everything ready to go so you can focus on the baking itself.
Essential Tools You’ll Need
Beyond your amazing stand mixer, what else will help you on your cake-baking journey? Having the right tools makes every step smoother. We found that prep is half the battle won in baking perfect cakes.
- Stand Mixer with Attachments: Primarily the paddle and whisk attachments.
- Measuring Cups and Spoons: For dry and liquid ingredients. Accuracy is vital in baking.
- Rubber Spatula: To scrape down the bowl and fold ingredients gently.
- Cake Pans: The correct size for your recipe. Prep them well with grease and flour or parchment.
- Cooling Rack: To allow your cakes to cool properly after baking.
- Kitchen Timer: Baking times are critical for success.
Ingredients at Room Temperature
Why do recipes always say “room temperature” ingredients? It’s not just a suggestion; it’s a scientific necessity. Cold ingredients don’t emulsify or cream together as effectively, leaving you with a less desirable cake texture.
For butter, this means it should be soft enough to indent easily with your finger but not melted. Eggs should also be at room temperature; we found that this helps them incorporate better into the batter, leading to a much fluffier cake structure (Cornell University Extension).
The Creaming Method: Your Mixer’s Superpower
The creaming method is perhaps the most important technique your stand mixer performs for cake making. It’s where butter and sugar come together to create a light, airy foundation for your cake texture.
Butter and Sugar: The Foundation
Start with your room-temperature butter and sugar in the mixer bowl. Attach the paddle attachment. Begin mixing on low speed to combine, then gradually increase to medium-high. You want to see a transformation here.
What are you looking for? The mixture should become pale in color, almost white, and significantly increased in volume. This process incorporates tiny air pockets into the butter, which expands in the oven, giving your cake a light and tender crumb. Many baking experts suggest this step should take 3-5 minutes (King Arthur Baking).
Adding Eggs Efficiently
Once your butter and sugar are perfectly creamed, it’s time for the eggs. Add them one at a time. Beat each egg into the mixture until it’s fully incorporated before adding the next one.
Why one at a time? This prevents the mixture from curdling or separating. Each egg helps emulsify the fat and sugar, creating a stable base for the rest of your ingredients. Scrape down the sides of the bowl frequently with your rubber spatula to ensure everything is evenly mixed.
Alternating Dry and Wet Ingredients
This phase requires a delicate touch. You’ll be adding your dry and wet ingredients in stages to maintain the air you’ve already beaten into the batter. Overmixing here can lead to a tough cake, and nobody wants that!
The Art of Alternating
With your mixer on the lowest speed, add about one-third of your dry ingredients to the creamed butter and egg mixture. Mix just until barely combined. Then, add half of your liquid ingredients (milk, buttermilk, etc.). Again, mix until just combined.
Repeat this process: another third of dry ingredients, then the remaining liquid, and finally the last of the dry ingredients. Always begin and end with the dry ingredients. This method helps to create a smooth, homogenous batter without developing too much gluten in the flour.
Gentle Mixing is Key
As soon as you see no more streaks of flour, stop the mixer! Overmixing activates the gluten in the flour, which can lead to a dense, chewy cake rather than a tender, fluffy one. A rubber spatula is your best friend here. Use it to give the batter a final, gentle fold by hand to catch any unmixed bits at the bottom of the bowl.
Preparing Your Cake Pans and Baking
Proper pan preparation is crucial for easy release and a beautifully shaped cake. Don’t skip this step, or you might end up with a sticky situation. Then, it’s into the oven for the main event.
Tips for Perfectly Prepped Pans
Grease and flour your pans thoroughly. You can use butter, shortening, or non-stick spray. Then, dust with flour, tapping out any excess. For extra insurance, especially with delicate cakes, you can line the bottoms with parchment paper after greasing. We find this extra step removes any anxiety about cakes sticking.
Your oven temperature must be accurate. Use an oven thermometer to verify. Many ovens run hot or cold, and even a small discrepancy can affect your cake’s texture and cooking time (Cook’s Illustrated).
Baking and Cooling Process
Carefully pour your prepared batter into the pans, dividing it evenly. Smooth the tops with an offset spatula. Gently tap the pans on the counter a few times to release any large air bubbles. This helps create an even cake layer.
Bake according to your recipe’s instructions. Resist the urge to open the oven door too early, especially in the first two-thirds of the baking time, as this can cause the cake to sink. Your cake is ready when a wooden skewer inserted into the center comes out clean, and the edges pull slightly away from the pan.
Once baked, let the cakes cool in their pans on a wire rack for 10-15 minutes. Then, invert them onto the wire rack to cool completely. Cooling totally is critical before frosting to prevent melting and sliding.
Troubleshooting Common Stand Mixer Cake Issues
Even with the best tools, sometimes things go awry. Don’t worry; we all have baking mishaps! Here are a few common issues and how to tackle them with your stand mixer.
Dense or Crumbly Cake
Is your cake coming out tough and dense, like a brick? Or maybe it’s crumbling into pieces? This often points to issues with mixing or ingredient ratios. It can be frustrating, but it’s fixable.
| Issue | Possible Cause | Stand Mixer Solution |
|---|---|---|
| Dense Texture | Overmixing the batter once flour is added, or too little air incorporated during creaming. | Ensure you cream butter & sugar for 3-5 mins. Mix flour just until combined on low speed. |
| Crumbly Texture | Too much flour, too little fat or liquid, or batter too dry. | Measure accurately with a kitchen scale if possible. Don’t over-process dry ingredients. |
Cake Sinking in the Middle
Ah, the dreaded crater! A cake that sinks in the middle is usually underbaked, contains too much leavening, or saw the oven door open too soon. You want that perfectly level top for frosting.
- Ensure Correct Oven Temperature: Use an oven thermometer.
- Do Not Open Oven Door: Avoid disturbing the cake during baking, especially early on.
- Check for Doneness: Bake until a skewer comes out clean and the cake springs back when lightly touched.
- Proper Leavening: Double-check your recipe for baking soda/powder amounts. Too much can cause a rapid rise then fall.
Your Cake Baking Checklist
To help you keep track, here’s a quick checklist to guide you through your stand mixer cake-making adventure. Follow these points, and you’ll be on your way to baking perfection!
- Butter and eggs at room temperature?
- All ingredients measured accurately?
- Butter and sugar creamed until light and fluffy?
- Eggs added one at a time, mixed well after each?
- Dry and wet ingredients alternated, mixed minimally?
- Pans greased and floured properly?
- Oven preheated to the correct temperature (checked with thermometer)?
- Cake cooled completely before frosting?
Conclusion
Baking a cake with your stand mixer truly transforms the experience. You now have the techniques to create beautiful, delicious cakes with less effort and more consistent results. By mastering creaming and careful mixing, you’re set up for success.
Remember that baking is a journey of learning. Don’t be discouraged by a mishap or two. Each cake you bake builds your confidence and skill. Go ahead, choose your favorite recipe, and get ready to enjoy the sweet rewards of your stand mixer masterpiece!
Frequently Asked Questions
Can I use cake flour instead of all-purpose flour in a stand mixer cake recipe?
Yes, absolutely! Cake flour has a lower protein content, which often leads to a more tender and lighter crumb in your finished cake. If you’re looking for an extra soft texture, it’s a great choice, but you might need to adjust liquid slightly as cake flour absorbs differently.
What’s the best way to clean my stand mixer after baking?
For most components like the bowl, paddle, and whisk, warm, soapy water works best. You can hand wash them or often place them in the dishwasher (check your mixer’s manual). Wipe down the mixer head and base with a damp cloth; never submerge the motor housing in water.
Why do some recipes suggest using the whisk attachment for eggs?
The whisk attachment is designed to incorporate a lot of air, making it ideal for whipping egg whites into meringue or for very light, airy batters. For most standard cakes where you’re creaming butter and sugar, the paddle attachment is preferred for its thorough mixing without over-aerating.
How can I prevent my stand mixer from overheating during a long mixing process?
While stand mixers are robust, continuous heavy dough mixing can sometimes warm them up. If you’re doing a particularly long or dense mix, consider turning it off for a few minutes to let the motor rest. Also, ensure the vents on your mixer aren’t blocked, allowing for proper airflow.
My cake batter looks curdled after adding eggs; what went wrong?
This is usually due to ingredients being too cold or adding eggs too quickly. Cold eggs won’t emulsify with the butter and sugar. Ensure all ingredients are at room temperature and add eggs one at a time, mixing well after each to allow them to fully combine before the next addition.