Why Is My Stand Mixer Not Mixing Evenly?
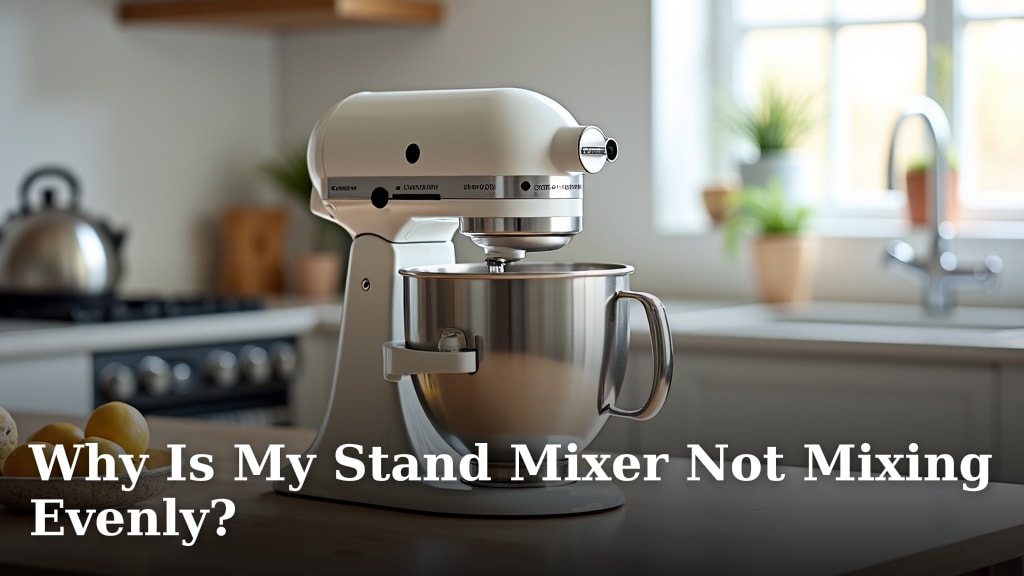
Your stand mixer is not mixing evenly because ingredients are sticking to the bowl’s sides or bottom. This often happens if you don’t scrape down the bowl. Other common reasons include using the wrong attachment or having an unbalanced beater-to-bowl clearance.
It’s frustrating when your dough or batter has lumps, isn’t it? We know you want perfectly blended results every time. Uneven mixing can lead to baked goods with odd textures or parts that just don’t cook right. Don’t worry, these issues are often simple to fix once you know what to look for.
- Check for ingredients stuck to the bowl.
- Make sure you’re using the correct mixer attachment.
- Adjust the beater-to-bowl clearance if needed.
- Avoid overfilling your mixer bowl.
- Use the right speed setting for the job.
Let’s walk through why your stand mixer might be struggling and how you can get it mixing perfectly again. We’ll help you troubleshoot these common problems, so you can get back to baking with confidence.
Troubleshooting Uneven Mixing in Your Stand Mixer
If your stand mixer isn’t mixing evenly, don’t worry. It’s usually a quick fix. You just need to know what to look for. Let’s dig into the common reasons why your ingredients might not be blending together.
The Case of the Unscraped Bowl
Imagine baking a cake. You add your butter, sugar, and eggs. The mixer whirs, but when you look closely, there are still streaks of butter at the bottom or flour clinging to the sides. Sound familiar? This is a very common issue.
Why Ingredients Stick Around
Your mixer’s beater is designed to move ingredients around the bowl. However, it can’t always get everything. Thicker batters and doughs, especially, tend to cling to the bowl’s walls or hide at the very bottom. This leads to unmixed pockets in your recipe. We’ve all been there!
Think of it like trying to stir a thick soup with a spoon that doesn’t quite reach the edges of the pot. Some of the good stuff stays stuck. This means your final product might have an inconsistent texture.
The Simple Scraping Solution
The solution is straightforward: scrape down the bowl. Use a rubber spatula to scrape the sides and bottom of the bowl frequently. We recommend doing this at least once, sometimes twice, during the mixing process. For example, after creaming butter and sugar, then again after adding flour.
- Pause the mixer.
- Use a flexible spatula to gather all ingredients from the sides and bottom.
- Push them back into the main mixture.
- Restart your mixer.
This small step makes a huge difference. It ensures every part of your mixture gets properly incorporated.
Are You Using the Right Tool for the Job?
Stand mixers come with different attachments. Each one has a specific purpose. Using the wrong attachment can be a major reason for uneven mixing. It’s like trying to hammer a nail with a screwdriver – it just won’t work right.
Understanding Your Mixer Attachments
Most stand mixers come with three main attachments: the flat beater, the wire whip, and the dough hook. Knowing when to use each one is key to perfect results.
Here’s a quick guide to help you out:
| Attachment | Best For | Why It Matters for Even Mixing |
|---|---|---|
| Flat Beater | General mixing, creaming, mashing, batters | Designed for medium-thick mixtures. It scrapes the sides well when correctly adjusted, preventing ingredients from sticking. |
| Wire Whip | Whipping air into ingredients, meringues, frosting | Its airy design incorporates air quickly. Not good for thick doughs, as it won’t combine ingredients properly. |
| Dough Hook | Kneading yeast doughs for bread, pizza, pasta | Mimics hand kneading, stretches and folds dough. Using a flat beater here would just push the dough around, not mix it. |
Using a wire whip for a cookie dough, for instance, won’t mix the butter and sugar evenly. It’ll just push them to the sides. Similarly, using a flat beater for bread dough won’t develop the gluten properly, leaving you with dense, unmixed spots.
The Clearance Conundrum: Beater-to-Bowl Adjustment
This is a big one. Have you ever noticed your mixer just spinning in the middle, leaving a ring of unmixed ingredients around the edges? Or perhaps it’s scraping the bottom of the bowl, making a terrible noise?
What is Beater-to-Bowl Clearance?
Beater-to-bowl clearance refers to the small gap between the bottom of your beater and the bottom of your mixing bowl. If this gap is too large, the beater won’t reach the ingredients at the bottom. If it’s too small, the beater will rub against the bowl.
Many experts, including those who design kitchen appliances, point out that correct adjustment is crucial for efficient mixing (KitchenAid support documentation).
How to Adjust the Clearance
Most stand mixers allow you to adjust this clearance. Look for a small screw on the neck of your mixer where the head tilts or locks. It’s often on the side or back.
- Turn off and unplug your mixer for safety.
- Attach the flat beater to the mixer.
- Place an empty bowl on the mixer.
- If the beater is too high, it won’t touch the bottom. If too low, it will scrape.
- Adjust the screw a quarter turn at a time. Turn clockwise to raise the beater, counter-clockwise to lower it.
- The goal is for the beater to just barely clear the bottom of the bowl, almost touching it. You should be able to slide a piece of paper under it, but not a dime.
This adjustment ensures your beater can effectively pick up and combine all ingredients, especially those sneaky bits at the bottom.
Overfilling and Underfilling Your Mixer Bowl
Did you know that the amount of ingredients you put in your mixer can affect how well it mixes? It’s true! There’s a sweet spot for bowl capacity.
The Dangers of Too Much (or Too Little)
If you overfill your mixer bowl, the ingredients won’t have enough space to circulate properly. The beater can’t effectively push everything around. This leads to dense pockets of unmixed ingredients, especially at the top of the bowl.
On the flip side, underfilling the bowl can also be a problem. If you’re mixing a very small amount, say a single egg white, the beater might not make enough contact to get it moving effectively. It just sits there, looking lonely.
We often hear from home bakers that trying to double a recipe in a standard-sized mixer can cause issues. It’s better to do two smaller batches if your mixer bowl isn’t large enough for the quantity.
Speed Settings: Are You Going Too Fast or Too Slow?
Your stand mixer has various speed settings for a reason. Using the wrong speed can contribute to uneven mixing. It’s not always about going full throttle!
Matching Speed to Ingredients
When you start mixing, especially with dry ingredients like flour, beginning at a low speed is essential. This prevents a “flour cloud” from forming and ensures the ingredients are gently combined before speeding up. A sudden burst of high speed can send lighter ingredients flying to the sides of the bowl, where they stay unmixed.
Conversely, some tasks require higher speeds. Whipping egg whites for meringue needs consistent high speed to incorporate air. If you use too slow a speed, they’ll never reach those fluffy peaks.
Many kitchen appliance manufacturers recommend starting on low and gradually increasing speed as ingredients combine. This method helps achieve a homogenous mixture (Cuisinart user manuals).
A Quick Checklist for Even Mixing
Here’s a small checklist to keep handy:
- Is your bowl size appropriate for your recipe?
- Are you using the correct beater attachment?
- Have you checked your beater-to-bowl clearance?
- Are you remembering to scrape down the bowl frequently?
- Did you start mixing on a low speed and adjust as needed?
By following these steps, you’ll be well on your way to perfectly mixed batters and doughs. Happy baking!
Conclusion
You now have the knowledge to troubleshoot why your stand mixer isn’t mixing evenly. By simply checking your attachments, adjusting the beater clearance, scraping the bowl, and managing your speed and fill levels, you can fix most common issues. These small adjustments make a big difference in your baking results. Get back to creating delicious treats with perfectly blended ingredients. Your stand mixer is ready to perform beautifully!
Frequently Asked Questions
Why do ingredients sometimes fly out of my stand mixer?
Ingredients often fly out if you start mixing at too high a speed, especially with dry ingredients like flour. Always begin on the lowest speed setting to incorporate everything gently. You can then gradually increase the speed as the mixture comes together.
Can the age of my stand mixer affect its mixing ability?
Yes, an older stand mixer might have worn-out parts or a less powerful motor. Over time, gears can become less efficient, or the motor might lose some torque. This can lead to less effective mixing, even with proper technique and adjustments.
My mixer makes a grinding noise when mixing heavy dough. Is that normal?
A grinding noise, especially with heavy dough, is usually not normal. It can indicate that the mixer’s motor is struggling or that there’s an issue with the internal gears. Try reducing the batch size or checking if the dough is too stiff. If the noise persists, your mixer may need servicing.
What’s the best way to clean my stand mixer attachments after use?
For most standard attachments (flat beater, dough hook), handwashing with warm, soapy water is best, especially for older models. Check your mixer’s manual, as some attachments are dishwasher safe. Always dry them thoroughly to prevent rust or residue buildup.
Should I warm up my cold ingredients before mixing?
Yes, bringing cold ingredients like butter and eggs to room temperature is very important for even mixing. Room temperature ingredients emulsify better, creating a smoother, more uniform batter or dough. Cold ingredients can cause clumping and uneven incorporation.