
How to Make Meringue in a Stand Mixer?
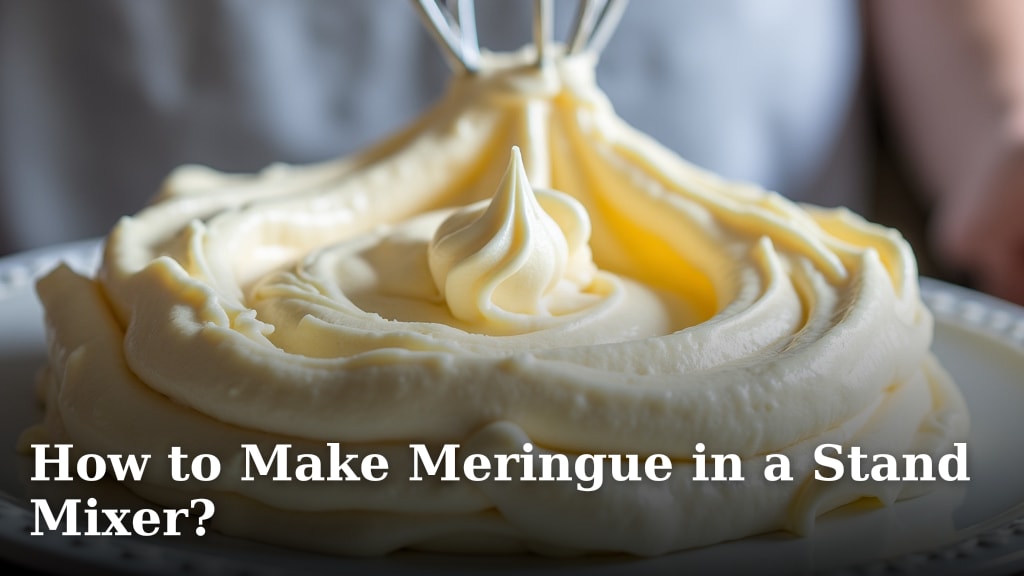
The easiest way to make meringue is by using a stand mixer. The powerful motor and steady mixing action create a perfectly whipped egg white mixture. This method ensures your meringue is light, fluffy, and holds its shape well.
Making meringue can seem tricky, but a stand mixer makes it simple. It streamlines the whole process, letting you achieve those stiff, glossy peaks without tired arms. We found that this tool is essential for consistent, high-quality meringue results.
- A stand mixer simplifies meringue making.
- You get perfect, stable peaks easily.
- It prevents arm fatigue from whisking.
- This method ensures consistent results.
Ready to make some delicious meringue? Let’s walk through exactly how to use your stand mixer for this classic dessert.
Achieving Perfect Meringue with Your Stand Mixer
Using your stand mixer for meringue is a game-changer. It takes the hard work out of whipping egg whites. You get consistent, beautiful results every time. Let’s dive into how to do it right.
Gathering Your Meringue Making Essentials
Before you start, make sure you have everything ready. A little prep saves a lot of hassle. We found that having all your tools and ingredients measured out makes the process smooth.
Tools You’ll Need
Here’s what you’ll want close by for meringue success. Each item plays an important role. Forgetting one can slow you down.
- Your trusty stand mixer and its bowl. Make sure it’s clean!
- The whisk attachment. This is key for incorporating air.
- A separate mixing bowl for separating eggs.
- Measuring cups and spoons. Precision matters in baking.
- A clean, dry rubber spatula. This helps get every bit of meringue.
- A fine-mesh sieve (optional, for sifting sugar).
Ingredients for Classic Meringue
Simple ingredients make amazing meringue. Quality really counts here. We always recommend using fresh, room-temperature eggs.
- Egg whites: from large eggs, separated carefully.
- Granulated sugar: fine sugar dissolves better.
- A pinch of cream of tartar (or a drop of lemon juice/white vinegar).
- Pure vanilla extract (optional, for flavor).
The Foundation: Preparing Your Ingredients
Success with meringue starts before the mixer even turns on. Proper preparation is truly essential. Many professional bakers stress this point.
Separating Egg Whites with Care
This step is critical. Any trace of yolk will ruin your meringue. Yolk is fat, and fat prevents egg whites from whipping up. We found using three bowls works best: one for the whole egg, one for the yolk, and one for the separated white. This way, if you mess up one white, it doesn’t contaminate the others.
- Use cold eggs for easier separation.
- Crack the egg over a small bowl.
- Gently pass the yolk back and forth between the shell halves.
- Let the white fall into the bowl.
- Transfer the clean white to your main mixer bowl.
- Put the yolk in a separate bowl for another use.
Bringing Eggs to Room Temperature
Once separated, let the egg whites sit. About 30 minutes on the counter is usually enough. Room temperature egg whites whip up to a larger volume. They also create a more stable foam. This is a common tip shared by many baking experts (America’s Test Kitchen).
Ensuring a Squeaky Clean Mixer Bowl
This tip can’t be overstated. A greasy bowl or whisk will stop your meringue in its tracks. You need an immaculate surface. Any grease prevents the egg whites from forming strong bonds.
- Wash your mixer bowl and whisk attachment with hot, soapy water.
- Rinse them thoroughly.
- Dry them completely.
- For extra assurance, wipe the inside of the bowl with a paper towel dampened with lemon juice or white vinegar. This cuts any lingering grease.
Whipping Up the Perfect Meringue in Stages
Now the fun begins! Your stand mixer will do all the heavy lifting. We’ll go through the stages of whipping the egg whites. Patience is your friend here.
Initial Whip: Creating a Frothy Base
Attach the whisk to your stand mixer. Pour in your separated, room-temperature egg whites. Add your pinch of cream of tartar. This small addition helps stabilize the meringue (Cook’s Illustrated).
- Start the mixer on medium-low speed.
- Whip for about 1-2 minutes.
- You’re looking for a foamy, frothy consistency. It should look like soap suds.
- This slow start helps break down the protein structures evenly.
Adding Sugar Gradually for Glossy Peaks
Once your egg whites are frothy, it’s time for the sugar. This part needs to be done slowly. Adding it all at once can deflate your whites. Thin streams are best.
- Increase the mixer speed to medium-high.
- Begin adding the granulated sugar, one tablespoon at a time.
- Wait about 15-20 seconds between each addition.
- This gives the sugar time to dissolve into the egg whites. Undissolved sugar can lead to a grainy meringue.
- Keep whipping until all the sugar is incorporated.
Checking for Stiff, Glossy Peaks
This is the moment of truth! As you continue whipping, you’ll see a transformation. The egg whites will become thick, white, and shiny. You’re aiming for specific characteristics.
- The mixture should look thick and glossy.
- When you lift the whisk, the meringue should form a peak that stands straight up. This is a “stiff peak.”
- If you want to add vanilla extract, do it in the last 30 seconds of whipping.
- Be careful not to overbeat! Overbeaten meringue can look curdled or dry. It loses its smooth texture.
Common Meringue Challenges and How to Fix Them
Sometimes things don’t go perfectly. Don’t worry, even experienced bakers face issues. We’ve listed common problems and their solutions. You’ll be a meringue master in no time!
Why Your Meringue Isn’t Whipping
This is often the most frustrating problem. Your whites just aren’t getting fluffy. There are usually a few culprits.
- Grease contamination: A tiny bit of yolk or oil on your bowl/whisk is the number one reason. Start over with clean equipment and careful separation.
- Cold egg whites: If they weren’t at room temperature, they won’t reach their full volume.
- Too much liquid: Excess liquid can hinder whipping. Ensure no water gets into your whites.
- Humidity: High humidity can make meringue tricky. Try to bake on a dry day, if possible.
If your meringue still isn’t whipping, it’s probably best to start over. It’s tough, but sometimes a fresh start is the only way.
Meringue Making Checklist
Use this quick checklist to ensure you hit all the important steps for perfect meringue.
- Bowls and whisk are sparkling clean and grease-free.
- Egg whites are perfectly separated from yolks.
- Egg whites are at room temperature.
- Cream of tartar added at the start.
- Sugar added slowly, one tablespoon at a time.
- Whipped until stiff, glossy peaks form.
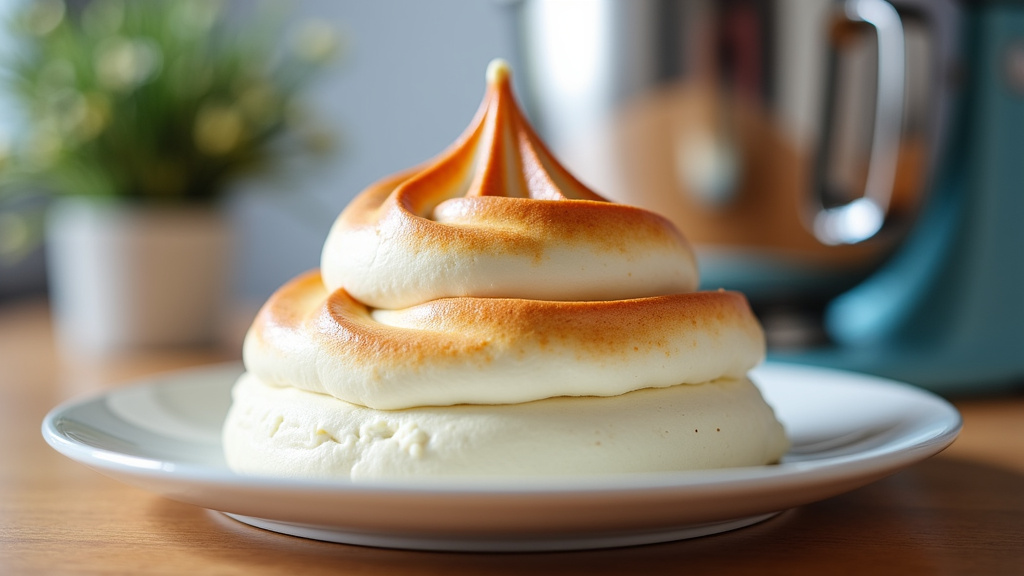
Following these steps will give you a beautiful, stable meringue. It’s a rewarding process, especially with your stand mixer doing most of the work for you.
Conclusion
You’ve seen how simple creating beautiful meringue can be with your stand mixer. By following these steps, you’ll achieve consistent, glossy, stiff peaks every time. Remember, careful egg separation and a spotless bowl are your biggest allies.
We found that mastering meringue is about precision and patience. Your stand mixer does the hard work, freeing you up to enjoy the process. Now, go ahead and whip up some delicious meringue for pies, cookies, or any dessert that needs a light, airy touch!
Frequently Asked Questions
How can I tell if my sugar is fully dissolved in the meringue?
To check for dissolved sugar, rub a small amount of the meringue between your fingers. If you don’t feel any grittiness, the sugar is dissolved. This ensures a smooth, stable meringue texture.
Can I make meringue ahead of time?
It’s best to use meringue immediately after whipping for optimal volume and stability. If you must, you can store it in an airtight container in the refrigerator for a few hours. However, it may lose some of its lightness.
What if my meringue looks lumpy or curdled?
This usually means your meringue is overbeaten. Once it reaches this stage, it’s difficult to salvage. Next time, stop mixing as soon as you see those stiff, glossy peaks form.
What is the purpose of cream of tartar in meringue?
Cream of tartar is an acidic ingredient that helps stabilize the egg whites. It prevents them from collapsing and allows them to whip to a greater volume. This results in a stronger, more reliable meringue.
Can I use powdered sugar instead of granulated sugar for meringue?
While some recipes use powdered sugar, granulated sugar is generally preferred for classic meringue. Powdered sugar often contains cornstarch, which can affect the meringue’s texture and stability. Stick to fine granulated sugar for the best results.
