
How to Make Homemade Butter in a Stand Mixer?
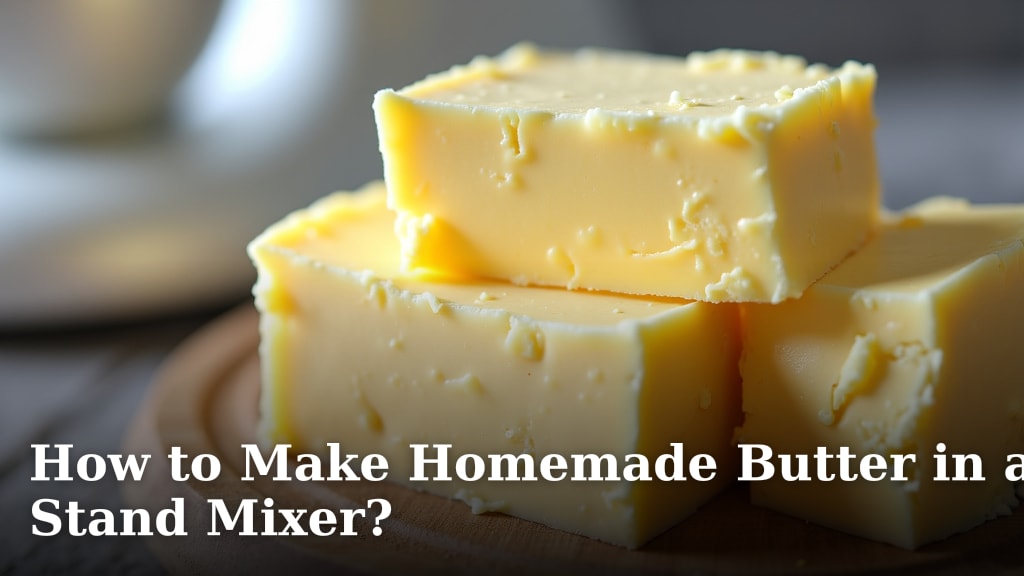
Yes, you can absolutely make homemade butter in a stand mixer with very little effort. It’s surprisingly easy and fun to turn heavy cream into delicious butter right in your kitchen. You’ll be surprised how quickly it happens.
Many people think making butter is difficult. But with a stand mixer, the process becomes incredibly straightforward. You can achieve fresh, creamy butter in just minutes, and it’s a fantastic way to impress your family and friends. Plus, you control exactly what goes into it.
- Start with heavy cream.
- Use your stand mixer.
- Watch for the butter to separate.
- Drain the buttermilk.
- Wash and salt your butter.
Let’s walk through exactly how this works step by step, so you can start enjoying your own homemade butter today.
Making Delicious Homemade Butter with Your Stand Mixer
You’re about to discover how simple it is to transform heavy cream into fresh, delicious butter. Your stand mixer is the perfect tool for this. It does all the heavy lifting for you. In just a few minutes, you’ll have butter that tastes amazing.
What You’ll Need for Your Butter Adventure
Gathering your supplies is the first easy step. You don’t need much to get started. Having everything ready makes the process smooth and enjoyable. Let’s see what you’ll need.
The Star Ingredient: Heavy Cream
The most important item is high-quality heavy cream. Look for cream with a fat content of at least 36%. This higher fat content is key. It helps the butterfat clump together more effectively. You can find this in the dairy section of most grocery stores. Some brands are labeled as “heavy whipping cream.” These are perfect.
We found that using cream that is not ultra-pasteurized often yields the best results. While any heavy cream will work, some believe the natural fat structure in less-processed cream makes for a richer butter. This is a detail many home cooks notice.
Your Trusty Stand Mixer and Attachments
Your stand mixer is your best friend for this recipe. You’ll need the whisk attachment or the paddle attachment. Both work well, but the whisk attachment can sometimes speed things up. It incorporates air quickly.
Make sure your mixer bowl and attachments are clean and dry. This prevents any unwanted flavors from mixing into your butter. A clean setup is essential for pure, fresh taste.
Other Handy Items
- A fine-mesh sieve or colander for draining.
- A bowl to catch the buttermilk.
- Rubber spatula or spoon for scraping.
- Cold water for washing the butter.
- Salt (optional, for flavor).
- Storage containers for your finished butter.
The Step-by-Step Guide to Your Butter Creation
Ready to see your heavy cream transform? It’s a magical process that happens before your eyes. Follow these steps closely for success.
Step 1: Pour the Cream into the Bowl
Start by pouring your heavy cream into the bowl of your stand mixer. How much cream? A standard recipe often uses about 2 cups. This amount is manageable for most stand mixers. It also produces a good quantity of butter.
Don’t overfill the mixer bowl. As the cream churns, it will increase in volume. Leave enough space for the churning action. A good rule of thumb is to fill the bowl no more than halfway.
Step 2: Begin Mixing on Low Speed
Attach the bowl to your stand mixer. Start mixing on a low speed, like speed 2 or 4. You want to be gentle at first. This allows the cream to start breaking down. You’ll notice it thickening slightly.
Let it churn for about 2-3 minutes. It will go from liquid to whipped cream. You might see soft peaks forming. This is exactly what you want to happen. It’s the first stage of butter making.
Step 3: Increase Speed and Watch the Magic Happen
Now, gradually increase the speed of your mixer. Move up to medium-high speed, around speed 6 or 8. Keep a close eye on the cream. This is where the transformation really begins.
The cream will become more aerated. It will look like stiff whipped cream. Then, you’ll see it start to clump together. This is the butterfat separating from the liquid. It might seem a bit messy for a moment. Don’t worry, this is normal.
Stages of Separation
You’ll notice a few distinct phases. First, it’s liquid cream. Then, it becomes whipped cream. Next, it looks like curdled whipped cream. This is where the butterfat is trying to separate. Finally, you’ll see the butter granules forming. They will be distinct yellow or white lumps.
Keep mixing! You need to reach the point where the butter solids are clearly visible. The mixer might start to sound different. It might even splash a bit. This is all part of the process. Many sources suggest continuing until you see clear separation.
The Final Separation and Buttermilk
Continue mixing for another 5-10 minutes. The butter granules will grow larger. They will start to gather together. At the same time, a milky liquid will appear. This liquid is buttermilk. It’s the byproduct of churning butter.
You’ve reached the goal when you see a distinct mass of butter. This mass will be floating in the buttermilk. The buttermilk will look thin and watery. Stop the mixer once you see this clear separation. You’ve officially made butter!
Step 4: Drain the Buttermilk
This step is crucial for good butter. You need to remove as much buttermilk as possible. Place a fine-mesh sieve over a bowl. Carefully pour the contents of your mixer bowl into the sieve.
The buttermilk will drain into the bowl below. Your butter solids will remain in the sieve. Reserve the buttermilk. It’s delicious for baking or drinking. Many people find it has a lovely tangy flavor.
Step 5: Wash the Butter
This is a vital step for shelf life and taste. Cold water is used to wash away any remaining buttermilk. Buttermilk left in the butter will make it spoil faster. It can also give it a sour taste.
Add a bowl of cold water to the butter solids in the sieve. Use your rubber spatula or clean hands to gently press and knead the butter in the water. The water will become cloudy. Drain this cloudy water.
Repeat this washing process several times. Continue until the water runs clear. This might take 3-5 rinses. You can also do this directly in the mixer bowl. Add cold water and knead with the paddle attachment on low speed. Drain and repeat.
Step 6: Salt Your Butter (Optional)
Do you like salted butter? Now is the time to add salt. You can add it directly to the butter after it’s been washed and is still in the bowl. Start with about half a teaspoon of salt per cup of cream.
Use your mixer on a very low speed or knead it in by hand with a spatula. Mix until the salt is evenly distributed. Taste it and add more salt if you prefer. This is your chance to customize the flavor perfectly.
Step 7: Shape and Store Your Homemade Butter
Once your butter is washed and salted (if desired), it’s almost ready to enjoy. You can shape it into a log or press it into a mold. Or, simply place it into a clean, airtight container.
Wrap it well or use a good container. This keeps it fresh in the refrigerator. Homemade butter can last for about 1-2 weeks when stored properly. You can also freeze it for longer storage.
Troubleshooting Common Butter-Making Issues
Sometimes things don’t go exactly as planned. Don’t get discouraged! Here are a few common problems and how to solve them.
Butter Isn’t Forming
If your cream is just whipping and not separating, it might be too cold or not fatty enough. Try letting the cream sit out for a few minutes. Or, use slightly warmer cream. Some suggest a cream temperature around 55-60°F (13-15°C) is ideal (NCBI). If you suspect your cream is low-fat, this could be the issue.
Butter is Too Soft or Greasy
This can happen if you over-mix after the butter has formed. Or, if the washing water wasn’t cold enough. Ensure your water is ice-cold for washing. You can also try chilling the butter briefly in the fridge if it gets too soft.
Too Much Buttermilk Left Over
This usually means the butter wasn’t washed thoroughly enough. Make sure you’re draining and rinsing until the water runs completely clear. Extra buttermilk can affect the butter’s shelf life and flavor.
A Quick Butter-Making Checklist
Here’s a handy list to keep you on track:
- Use cold, high-fat heavy cream.
- Start mixing on low speed.
- Increase speed to medium-high for separation.
- Wash butter thoroughly with cold water.
- Salt to taste (optional).
- Store in an airtight container.
Why Make Your Own Butter?
Beyond the fun of creation, homemade butter offers a superior taste. You know exactly what’s in it: pure cream and perhaps a little salt. There are no added preservatives or artificial ingredients. It’s a simple, natural product. Many food enthusiasts prefer it for its pure flavor profile.
Plus, think about the satisfaction. You turned a simple carton of cream into something delicious. It’s a wonderful kitchen accomplishment. It can also be a great activity to do with children. They love watching the transformation happen!
Conclusion
You’ve now seen how incredibly simple it is to make your own butter. Your stand mixer transforms heavy cream into delicious, fresh butter in just minutes. Remember the key steps: start with good quality cream, let the mixer do the work, and thoroughly wash your butter with cold water. This easy process gives you control over ingredients and a fantastic flavor. Now, go ahead and try it! Your first batch of homemade butter is waiting to be made.
Frequently Asked Questions
How long does homemade butter last?
When stored properly in an airtight container in your refrigerator, homemade butter typically lasts for 1 to 2 weeks. The thorough washing process helps to remove residual buttermilk, which can shorten its shelf life. Freezing is an option for longer storage.
Can I use half-and-half to make butter?
While you can technically try, it’s not recommended for the best results. Half-and-half has a lower fat content than heavy cream. This means it will take much longer to churn, and you’ll likely end up with less butter and more liquid separation.
What can I do with the leftover buttermilk?
Don’t throw away that delicious buttermilk! It’s perfect for baking. Use it in pancakes, biscuits, cornbread, or even for marinades for chicken. Its tangy flavor adds a wonderful depth to baked goods.
My butter seems greasy. What did I do wrong?
A greasy texture can occur if you over-mix the butter after it has already formed, or if your washing water wasn’t cold enough. Try to stop mixing once the butter clumps fully. Always use ice-cold water for washing to help firm it up.
What is the best temperature for the heavy cream?
For optimal butter making, your heavy cream should be cool, but not ice cold. Aim for a temperature around 55-60°F (13-15°C). If your cream is too cold, it may take longer to churn. If it’s too warm, it might not separate properly.
