
How to Attach a Dough Hook to a Stand Mixer?
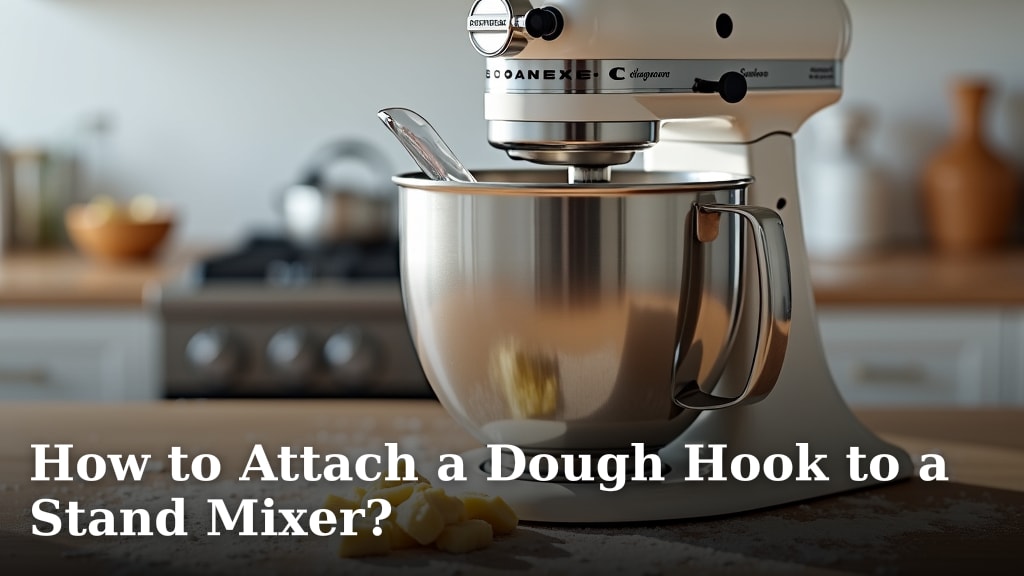
To attach a dough hook to a stand mixer, you will insert the dough hook stem into the appropriate port on your mixer. Then, give it a slight turn or push up to secure it. This simple action locks it into place, preparing your mixer for kneading.
We found that many home bakers wonder if they’re using the right attachment or if it’s securely fastened. Attaching the dough hook correctly is key for safe and efficient kneading, preventing any wobbles or disconnections while your mixer is working hard.
- Identify the dough hook and its stem.
- Locate the attachment port on your mixer.
- Push the dough hook stem into the port.
- Twist or lift the hook to lock it in place.
- Always ensure it’s secure before starting.
Let’s walk through exactly how to attach your dough hook, making sure you’re ready to tackle your next baking adventure with confidence and ease.
Securing Your Dough Hook: A Step-by-Step Guide
Attaching your dough hook correctly is simpler than you might think. We’ll guide you through each step to ensure it’s securely in place and ready for action.
Understanding Your Stand Mixer and Attachments
Before you even grab the dough hook, it helps to know your equipment. You’ll primarily be working with two parts: your stand mixer’s attachment hub and the dough hook’s stem.
Identifying the Dough Hook
First things first, let’s identify the star of the show: the dough hook. It usually looks like a corkscrew or a C-shape. This unique design is perfect for kneading heavy doughs like bread or pizza crust, mimicking the action of hand kneading (Food Network).
- Look for a curved, sometimes spiral-shaped, metal attachment.
- It should feel quite sturdy and heavy.
- Compare it to your whisk and paddle attachments—it’ll be distinctly different.
Locating the Attachment Port
Your stand mixer has a dedicated spot for attachments. This is often called the attachment port or shaft. It’s usually located at the very top, center part of the mixer’s head when it’s tilted back or locked in place.
Take a moment to familiarize yourself with this area. You’ll notice a small pin or a groove inside. This is where the dough hook will lock into place. Many mixers have a spring-loaded pin to secure attachments automatically.
The Attachment Process: Simple and Swift
Now that you know your parts, let’s get that dough hook attached. It’s a quick process that takes only a few seconds once you get the hang of it.
Ensuring Mixer Safety First
Safety is always a priority. Make sure your stand mixer is unplugged before you start attaching or detaching anything. This prevents accidental activation, which can be dangerous.
Also, make sure the mixer’s head is either tilted back or unlocked and lifted, depending on your model. This gives you clear access to the attachment port.
Inserting the Dough Hook Stem
Hold the dough hook firmly by the top. Align the stem of the dough hook with the attachment port on your mixer. You’ll want to slide the flat part of the stem over the small pin inside the port.
It should fit snuggly. Don’t force it. If it doesn’t seem to go in, adjust the angle slightly. Sometimes, just a tiny wiggle helps it align correctly.
Locking It Into Place
Once the stem is in the port, there’s usually a final step to secure it. This often involves a gentle upward push and a slight turn.
For most KitchenAid and similar models, you’ll push the attachment up until the pin “snaps” into the notch on the stem. Then, you might twist it slightly to the left or right to fully seat it.
Other mixers might require a simple push until you feel a click. We found that the key is listening and feeling for that secure connection.
Did you hear a small click? Did it feel like it settled firmly? If so, you’re likely good to go!
Here’s a quick checklist for attaching your dough hook:
- Unplug your mixer for safety.
- Tilt mixer head back or lift it.
- Align dough hook stem with port.
- Push stem upward into the port.
- Twist or push until it locks securely.
- Give it a gentle tug to double-check.
Troubleshooting Common Attachment Issues
Sometimes, things don’t go perfectly the first time. Don’t worry! We’ve all been there. Here are a few common issues and how to fix them.
The Dough Hook Won’t Stay Up
If your dough hook keeps falling out, it’s usually because it isn’t properly locked into the pin within the attachment shaft. You might have missed that crucial upward push or twist.
Solution:
- Remove the dough hook.
- Carefully re-insert, making sure the flat side of the stem slides over the locking pin.
- Push up firmly and twist gently until you feel it click into place.
- Give it a small tug downwards. If it resists, it’s secure.
Difficulty Aligning the Stem
Are you struggling to get the stem into the port? It could be a simple matter of angle or visibility.
Solution:
- Ensure you have enough light to clearly see the port and the stem.
- Try rotating the dough hook stem slowly as you attempt to insert it.
- Sometimes, a slight jiggle helps the stem find its slot.
- Confirm you’re using the correct attachment for the mixer type. Some mixers have slightly different attachment mechanisms.
Maintaining Your Dough Hook and Mixer
Proper care extends the life of your mixer and attachments. A little maintenance goes a long way!
Cleaning Your Dough Hook
After each use, clean your dough hook promptly. Baked-on dough can be tough to remove later. Most dough hooks are dishwasher safe, but always check your model’s manual (Consumer Reports).
If washing by hand, warm soapy water and a brush work wonders. Try to remove all dough residue from the curves and crevices. Make sure it’s completely dry before storing to prevent rust.
Storing Attachments Properly
Storing your attachments correctly keeps them safe and organized. Many people keep them in a drawer or a dedicated compartment. Avoid leaving them attached to the mixer when not in use, especially if your kitchen is prone to moisture.
This prevents accidental damage and ensures they’re clean and ready for your next baking project.
Here’s a quick overview of attachments and their uses, including your trusty dough hook:
| Attachment Type | Common Uses | Best for Dough/Batter Consistency |
|---|---|---|
| Dough Hook | Kneading bread dough, pizza dough, pasta dough | Thick, heavy doughs |
| Flat Beater (Paddle) | Mixing cookie dough, cake batter, mashed potatoes | Medium-to-thick batters, solid ingredients |
| Wire Whisk | Whipping egg whites, cream, light batters | Thin, airy liquids, incorporating air |
Understanding which attachment to use avoids strain on your mixer and ensures the best results for your culinary creations.
Conclusion
You’ve seen how straightforward it is to attach your dough hook, transforming your stand mixer into a powerful kneading machine. By following these simple steps—identifying your parts, ensuring safety, and listening for that secure click—you’re set for success. Proper attachment means your mixer can work efficiently, giving you consistent, perfectly kneaded dough every time. Now, go confidently tackle your favorite bread recipes!
Frequently Asked Questions
How do I know if my dough hook is attached correctly?
After inserting and locking the dough hook, give it a gentle downward tug. If it doesn’t move or pulls free easily, it’s securely attached. You should feel a firm connection, not a loose wobble.
Can I use a dough hook on any stand mixer?
No, dough hooks are designed for specific stand mixer brands and models. Always check your mixer’s manual or the manufacturer’s website to confirm compatibility. Using the wrong attachment can damage your mixer or the hook.
What if my dough hook keeps falling off during mixing?
If your dough hook detaches during operation, it’s likely not fully locked into place. Stop the mixer immediately and consult the troubleshooting steps provided earlier. Ensure the attachment pin is correctly seated in the dough hook’s notch.
Should I clean the attachment port after each use?
It’s a good practice to wipe down the attachment port with a damp cloth after each use, especially if any ingredients have splattered near it. Keeping this area clean prevents buildup and ensures smooth attachment in the future.
Can I leave the dough hook attached to my mixer for storage?
While convenient, we found it’s generally best to remove attachments when storing your mixer. This prevents accidental bending or damage if the mixer is moved, and keeps the attachment cleaner. Store it in a drawer or a dedicated container.
