
Can You Use a Stand Mixer to Make Homemade Butter?
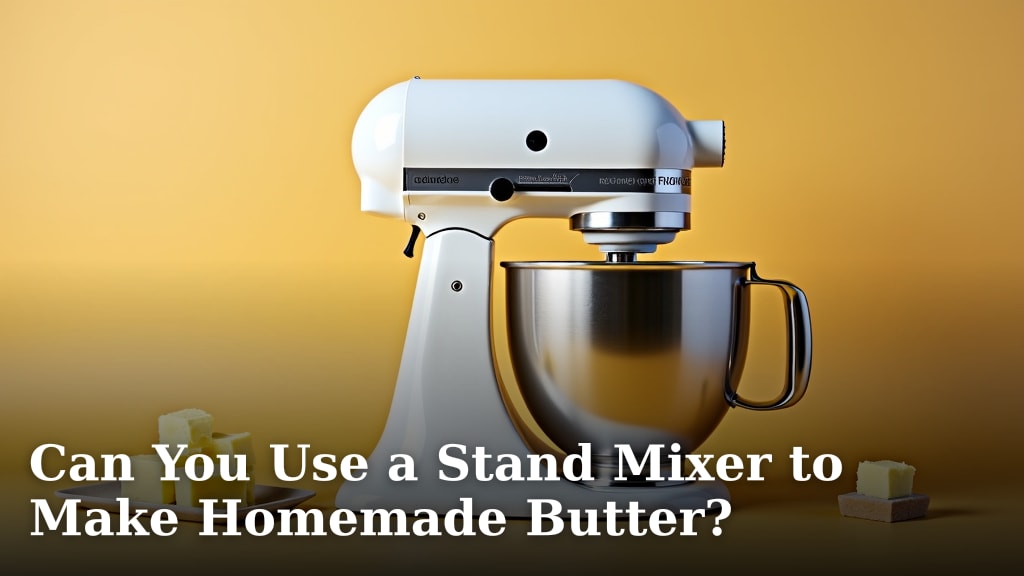
Yes, you absolutely can use a stand mixer to make homemade butter! It’s a surprisingly easy and effective method. Your stand mixer does most of the work for you, transforming heavy cream into delicious butter in just minutes.
Many home cooks are discovering this simple technique. It allows for fresh, customizable butter right in your kitchen. You control the ingredients, avoiding additives often found in store-bought versions. Think of the possibilities for flavorful spreads!
TL;DR:
- Yes, a stand mixer is great for homemade butter.
- It’s faster and easier than hand churning.
- You control the ingredients.
- Perfect for fresh, flavorful butter.
We found that using a stand mixer is a game-changer for butter making. Let’s walk through exactly how this works step by step so you can enjoy your own homemade creation!
Your Stand Mixer: The Secret to Easy Homemade Butter
Yes, your stand mixer is an excellent tool for making butter. Many home cooks find it much easier than traditional methods. You can whip up fresh butter in mere minutes. It requires minimal effort on your part. Your stand mixer does all the heavy lifting (or mixing, in this case!).
Why Making Butter at Home is Worth It
Making your own butter offers several great benefits. You have complete control over the ingredients. This means you can avoid preservatives and additives often found in store-bought butter. Plus, the flavor is incredibly fresh and satisfying. It’s a simple way to enjoy a higher quality product.
Controlling Your Ingredients
When you make butter at home, you know exactly what goes into it. You can use high-quality heavy cream. Some people even add a pinch of salt. You can choose to make salted or unsalted butter. This control is a major advantage for those mindful of their diet.
Superior Freshness and Flavor
Freshly churned butter simply tastes better. Store-bought butter can sit on shelves for a while. Homemade butter is made just before you use it. This results in a richer, creamier taste that you can’t quite replicate. It’s a noticeable difference.
What You’ll Need to Get Started
Gathering your supplies is the first step. You won’t need much. Having the right ingredients and equipment makes the process smooth. Think of it as setting up for a fun kitchen experiment.
Essential Ingredients
The star of the show is your heavy cream. Look for cream with at least 30% to 36% butterfat. Higher butterfat content yields more butter. You can also add a pinch of salt if you prefer salted butter. That’s truly all you need for basic butter.
Key Equipment
Your stand mixer is the main player. You’ll also need the whisk attachment. A bowl scraper can be helpful. You will also need a fine-mesh sieve or cheesecloth. Finally, have a bowl ready to catch the buttermilk.
| Item | Details |
|---|---|
| Heavy Cream | At least 30% butterfat. Use pasteurized, not ultra-pasteurized. |
| Stand Mixer | With a whisk attachment. |
| Salt (Optional) | Fine sea salt or kosher salt for salted butter. |
| Bowl | To catch the buttermilk. |
| Sieve/Cheesecloth | For straining the butter. |
| Spatula/Scraper | To help gather the butter. |
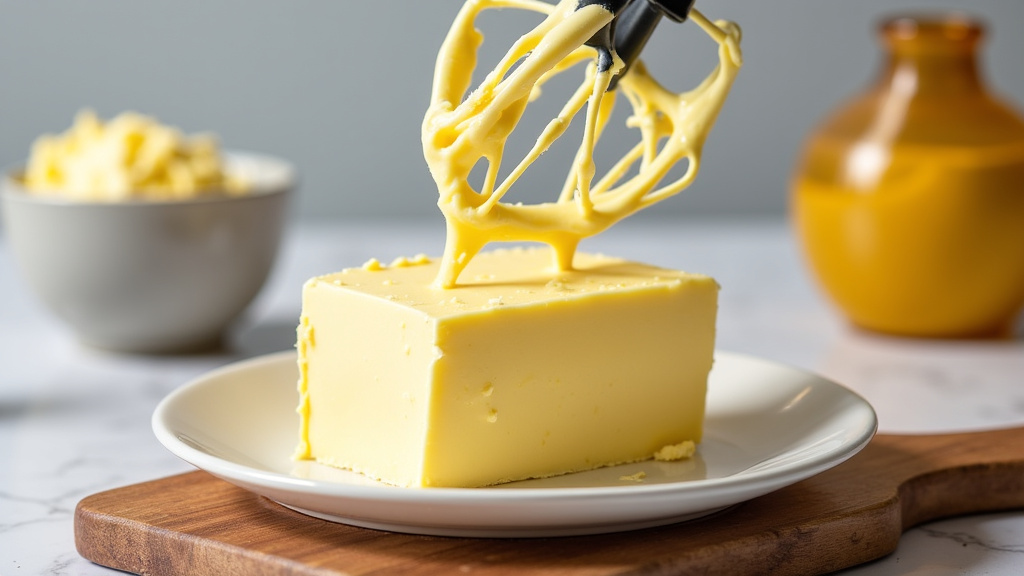
The Step-by-Step Guide to Butter Making
Follow these steps, and you’ll have delicious homemade butter in no time. It’s a straightforward process that’s quite rewarding. We found that starting with cold cream helps. It can sometimes speed up the process. Many home bakers agree on this tip.
Step 1: Pour the Cream
Pour your heavy cream into the stand mixer bowl. Don’t overfill it. Leave some space at the top. The cream will expand as it churns. A good rule is to fill the bowl about halfway. This prevents messy splashes.
Step 2: Start Mixing
Attach the whisk to your stand mixer. Start mixing on a medium-low speed. You’re looking for the cream to thicken. It will go through several stages. First, it will become whipped cream. Then, it will start to look grainy.
The Stages of Transformation
The cream goes through a few interesting phases. It starts as liquid, then becomes softly whipped. Keep watching, and it will stiffen further. Eventually, it will appear curdled or lumpy. This is when things get exciting. You’re very close!
Step 3: Churning into Butter
Once the cream looks lumpy, increase the speed slightly. You’ll notice the mixture separating. The solid butterfat will start to clump together. The liquid will become yellowish and thinner. This liquid is your buttermilk. Keep mixing until the butter forms a solid mass.
Step 4: Separating the Butter and Buttermilk
Stop the mixer when a large clump of butter forms. Carefully pour the contents of the bowl into a sieve set over another bowl. The buttermilk will drain out. You can save this buttermilk for baking!
Step 5: Washing the Butter
This is a crucial step. You need to wash the butter to remove the residual buttermilk. Place the butter back into the clean mixer bowl. Add a cup of cold water. Mix on low speed for about 30 seconds. Drain the water and repeat. You might need to do this 2-3 times. Wash until the water runs clear. This step ensures your butter lasts longer and tastes cleaner. Experts recommend this thoroughly.
Step 6: Salting and Shaping
If you want salted butter, add your salt now. Use about 1/4 teaspoon per cup of cream, or to taste. Mix it in on low speed. Once combined, you can shape your butter. Use a spatula to press it into a log or form it into patties. You can also press it into butter molds.
Step 7: Storing Your Homemade Butter
Wrap your butter tightly in parchment paper or plastic wrap. Store it in the refrigerator. Fresh homemade butter can last for about one to two weeks in the fridge. For longer storage, you can freeze it.
Tips for Butter-Making Success
A few extra tips can help ensure your butter-making experience is smooth. Pay attention to the temperature of your cream. Ensure you don’t over-mix after the butter forms.
Cream Temperature Matters
It’s often best to start with cream that’s not too warm. Room temperature or slightly chilled cream works well. Avoid using cream straight from a very cold refrigerator. It might take longer to churn. Some research suggests optimal churning temperatures.
Don’t Over-Mix
Once the butter has formed a solid mass, stop mixing. Over-mixing can make the butter tough or greasy. You want it to come together, but not be overworked. The goal is a smooth, spreadable consistency. You’ll get the feel for it.
Dealing with Extra Buttermilk
Don’t throw away that buttermilk! It’s a fantastic ingredient for baking. Use it in pancakes, biscuits, or cornbread. It adds a lovely tang and moisture. Many recipes specifically call for buttermilk.
Making butter with your stand mixer is a fun and rewarding kitchen project. You’ll be amazed at how simple it is to create such a delicious product from scratch. Enjoy your fresh, homemade butter!
Conclusion
You’ve seen firsthand how your stand mixer transforms heavy cream into delicious homemade butter. It’s a wonderfully simple process that requires minimal effort from you. Remember to pay attention to the stages of transformation and wash your butter thoroughly. This ensures the best flavor and shelf life. Now, you’re ready to enjoy the unmatched taste of your own fresh butter. Give it a try this week and taste the difference!
Frequently Asked Questions
What kind of heavy cream is best for making butter?
You’ll want to use heavy cream with a high butterfat content, ideally 30% to 36%. This cream will yield the most butter. Avoid ultra-pasteurized cream if possible, as it can sometimes be more difficult to churn.
How long does it typically take to make butter in a stand mixer?
The process is quite fast, usually taking between 5 to 15 minutes. This can vary slightly depending on your mixer’s speed and the temperature of your cream. You’ll see it go from liquid to whipped cream, then to butter.
What can I do with the leftover buttermilk?
Don’t discard that liquid gold! The buttermilk you separate is perfect for baking. It adds a wonderful tang and moisture to recipes like pancakes, biscuits, and cornbread. Many bakers consider it a key ingredient.
Why is washing the butter so important?
Washing the butter removes any remaining buttermilk. This step is vital for improving the butter’s flavor and extending its shelf life. If you skip washing, your butter might spoil faster or have an off-taste.
Can I make flavored butter with my stand mixer?
Absolutely! Once your butter is washed and drained, you can mix in herbs, garlic, honey, or even spices. Just add your desired flavorings after the final wash and mix on low speed until well combined.
