
How to Lock a Stand Mixer Bowl in Place?
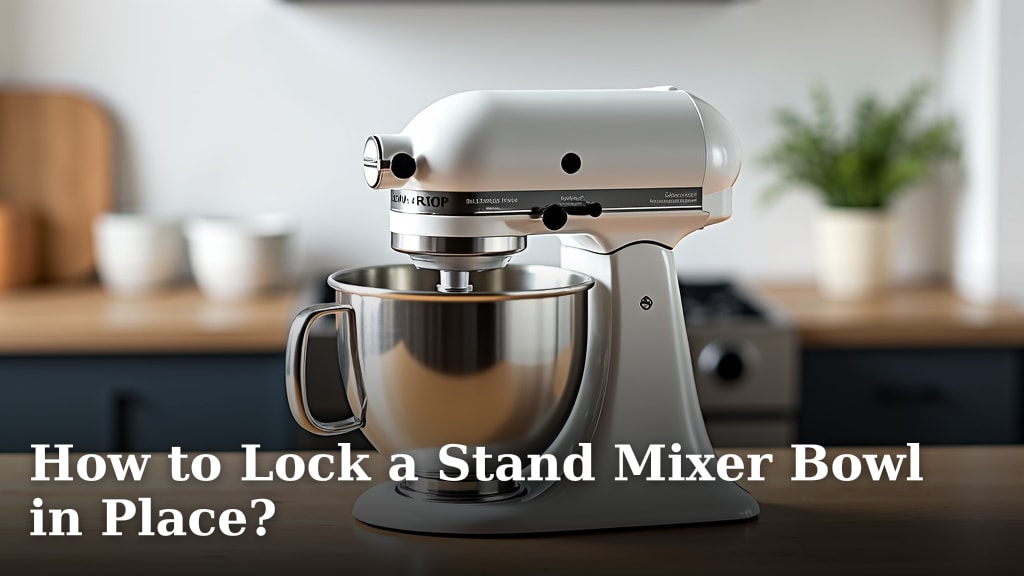
Locking your stand mixer bowl in place is usually a simple twist-and-lock motion. Most stand mixers have a mechanism on the base that secures the bowl. You’ll want to ensure the bowl is firmly seated before you start mixing. This prevents accidents and ensures your mixer works efficiently.
Getting this right is key for safe and effective baking. A wobbly bowl can lead to uneven mixing or even damage your appliance. We found that understanding your mixer’s specific locking system is essential. It’s often a quick and intuitive process, but it’s good to know for sure.
- Identify the locking mechanism on your mixer base.
- Ensure the bowl is properly aligned before locking.
- Give the bowl a gentle tug to confirm it’s secure.
- Refer to your mixer’s manual if you’re unsure.
Let’s walk through exactly how to lock your stand mixer bowl in place, step by step, so you can get back to baking with confidence. Let’s walk through exactly how to adjust the beater to bowl height, which is important for proper mixing.
Securing Your Stand Mixer Bowl: A Step-by-Step Guide
You’re ready to bake, and your stand mixer is waiting. But before you dump in that flour, making sure the bowl is locked in place is **super important**. It’s a safety and efficiency step that takes just seconds. We found that a loose bowl can lead to messy spills or even damage your appliance.
This guide will walk you through the simple process. You’ll learn how to identify your mixer’s locking mechanism and confirm the bowl is **securely attached**. Think of it like fastening your seatbelt before a drive; it’s a small action with a big payoff in safety.
Understanding Your Mixer’s Bowl Attachment System
Stand mixers come with a couple of common ways to attach the bowl. Most are pretty straightforward once you know what to look for. The design is usually focused on making it easy for you to swap bowls and secure them firmly.
Tilt-Head vs. Bowl-Lift Models
The two main types of stand mixers have slightly different locking systems. This distinction is key to understanding how to lock your bowl correctly. It’s often determined by how the mixer head moves.
Tilt-Head Mixers
These mixers have a head that tilts back. This allows for easy access to the bowl and beater. The bowl is typically secured by a locking mechanism at the base where the bowl meets the stand.
Bowl-Lift Mixers
Bowl-lift models have a head that stays stationary. Instead, two arms lift the bowl up to meet the attachment. The bowl is locked in place by these lifting arms, which often have a locking feature.
Locating the Locking Mechanism
Your mixer’s manual is the best place to find exact details. But generally, you’ll find the locking point on the base of the mixer. Look for a groove, a lever, or a designated spot where the bowl’s base engages with the mixer.
For tilt-head models, the locking mechanism is often a lever or a button near the base of the mixer head. For bowl-lift models, the arms that hold the bowl have a locking slot or catch.
The Process: Locking Your Stand Mixer Bowl
Once you’ve identified the locking system on your mixer, the actual locking is quite simple. It usually involves a combination of alignment and a twisting or downward motion. We found that most people can do this without even looking at instructions after the first time.
Step 1: Aligning the Bowl Correctly
This is perhaps the most critical step. The bowl needs to be placed on the base in the correct orientation. Look for notches or tabs on the rim of the bowl that correspond with slots on the mixer’s base.
Many bowls have a slightly indented base or a specific pattern. You might need to rotate the bowl slightly until you feel it settle into position. Imagine fitting a puzzle piece; it only goes in one way. This alignment is what allows the locking mechanism to engage.
Step 2: Engaging the Lock
With the bowl aligned, it’s time to secure it. The action varies slightly between mixer types.
For Tilt-Head Mixers
Typically, you’ll place the bowl onto the base and then twist the bowl clockwise. You should feel and often hear a click as it locks into place. Some models might have a lever you push down or a button you press after placing the bowl.
Research indicates that the twisting motion is common across many brands for tilt-head mixers. This twist ensures the bowl’s base is firmly seated against the stand’s locking pins or bracket. It’s a satisfying little sound when it locks!
For Bowl-Lift Mixers
For bowl-lift models, you’ll usually lower the bowl onto the designated lifting arms. Then, you’ll engage the lock. This might involve pushing a lever on the side of the mixer, or the arms themselves might have a mechanism that clicks into place.
Some bowl-lift mixers have a very visible locking bar or a button that engages when the bowl is in its highest position. The goal here is to make sure the bowl cannot accidentally drop during operation. A secure lock prevents any unwanted movement.
Step 3: Confirming the Lock
After performing the locking action, it’s always a good idea to give the bowl a gentle tug. Try to wiggle it from side to side and front to back. It should feel completely solid and immobile.
If the bowl shifts, wobbles, or feels loose in any way, it’s not locked correctly. You’ll need to remove it and try the alignment and locking steps again. Don’t proceed with mixing until you’re absolutely sure it’s secure.
Troubleshooting Common Bowl Locking Issues
Occasionally, you might run into a snag. Maybe the bowl just won’t lock, or it feels a bit stiff. Don’t get discouraged; these are usually minor issues that are easily resolved. We found that cleaning and checking for obstructions are often the keys to success.
Is the Bowl Properly Aligned?
This is the most frequent culprit. Double-check that the notches on the bowl are perfectly aligned with the slots on the mixer base. Sometimes, a tiny bit of dried batter or debris can prevent this proper alignment. A quick wipe-down might be all you need.
Check for Debris or Obstructions
Gently inspect the rim of the bowl and the locking area on the mixer. Is there any dried food, packaging material, or other gunk interfering with the lock? Removing any obstructions is essential for a smooth lock. Many experts suggest keeping these areas clean after each use (Mayo Clinic).
Is it the Right Bowl for Your Mixer?
This might sound obvious, but if you have multiple stand mixers or have misplaced your original bowl, ensure you’re using the correct bowl designed for your specific model. Bowls are not always interchangeable between different brands or even different models within the same brand. Using the wrong bowl will prevent it from locking properly.
Is the Mixer Base Level?
For bowl-lift models especially, ensuring your mixer is on a **stable, level surface** can make a difference. If the mixer is tilted, the bowl might not engage the locking mechanism correctly. A wobbly surface is also a safety hazard.
When to Consult Your Manual
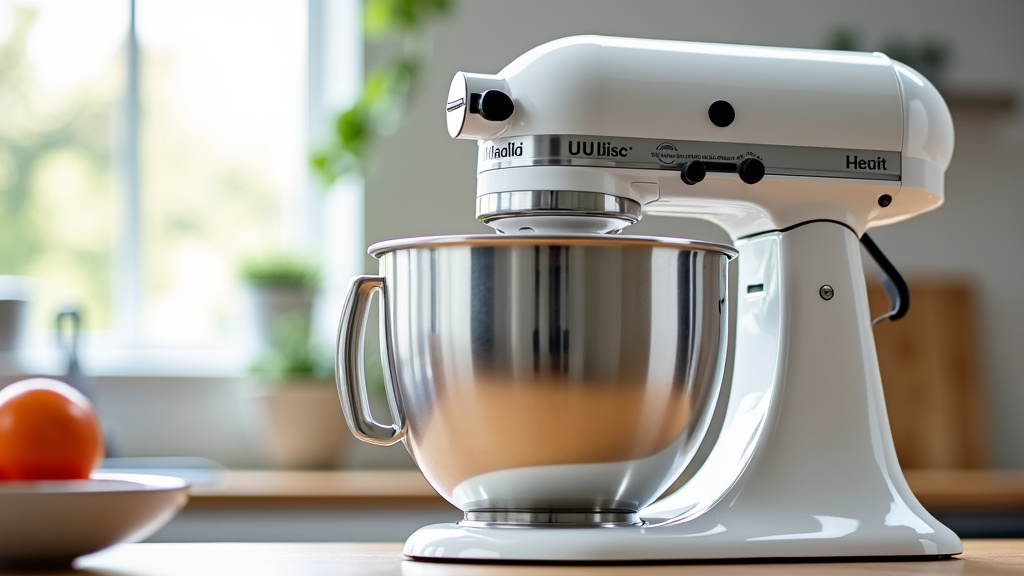
While most stand mixers operate on similar principles, there are always unique design elements. If you’ve tried the basic steps and are still having trouble, your mixer’s instruction manual is your best friend. It will have specific diagrams and instructions tailored to your exact model.
Manufacturers design these manuals to answer your questions. You can usually find a section dedicated to bowl attachment and removal. If you’ve lost your physical copy, a quick online search for your mixer’s model number followed by “manual PDF” often yields great results.
A Quick Checklist for Secure Bowl Attachment
Here’s a handy reminder to ensure your bowl is locked every time:
- Is the bowl seated firmly on the base or lifting arms?
- Do the bowl’s notches align with the mixer’s slots?
- Did you twist or secure the bowl until it clicked or felt solid?
- Did you give the bowl a gentle tug to confirm it’s locked?
- Is there any debris blocking the locking mechanism?
- Is the correct bowl being used for your specific mixer model?
Taking these few extra seconds to properly lock your stand mixer bowl will save you time, mess, and potential frustration down the line. Happy baking!
Conclusion
You’ve learned how simple yet important it is to properly lock your stand mixer bowl. Whether you have a tilt-head or a bowl-lift model, the key is alignment and a secure twist or engagement. We found that a properly locked bowl means smoother baking and less worry about messes or damage. Always give your bowl a gentle tug to be sure. Now, take these steps and get back to creating delicious treats with confidence!
Frequently Asked Questions
What if my stand mixer bowl feels loose after locking?
If your bowl still feels loose after trying to lock it, first double-check that it’s perfectly aligned with the base or lifting arms. Sometimes, dried ingredients can prevent a full lock. Try removing the bowl and re-seating it carefully.
Can I use a bowl from a different brand of stand mixer?
Generally, no. Stand mixer bowls are designed for specific models and brands. Using an incompatible bowl will likely prevent it from locking securely, and it may not fit the attachments correctly either.
How often should I clean the bowl locking mechanism?
It’s a good practice to clean the bowl and the locking area on the mixer base after each use. This prevents dried food or debris from building up and causing issues the next time you need to lock the bowl.
My tilt-head mixer bowl won’t twist to lock, what should I do?
Ensure the bowl is fully seated on the base and aligned correctly with any notches or tabs. If it still resists, check the locking mechanism itself for any obstructions. A gentle wiggle might help it settle into place.
Is it safe to use my stand mixer if the bowl isn’t locked perfectly?
No, it is not safe. A loosely locked bowl can lead to ingredients splashing out, uneven mixing, or even cause damage to your stand mixer’s motor or attachment gears. Always ensure the bowl is securely locked before starting your mixer.
