
How to Proof Dough in a Stand Mixer Bowl?
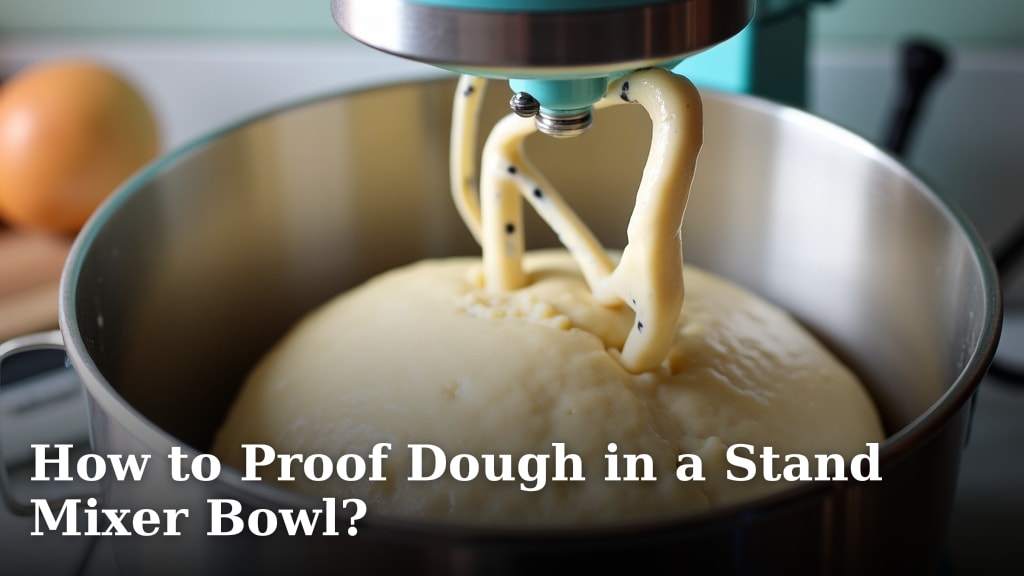
Yes, you can absolutely proof dough in your stand mixer bowl! It’s a fantastic way to get a controlled environment for your dough to rise, especially if your kitchen is a bit chilly. This method often leads to a beautifully risen loaf with minimal fuss.
Many bakers find that using the stand mixer bowl offers a contained space that helps dough rise evenly. You’ll want to make sure the bowl is clean and dry before you start. This simple technique can make a big difference in your bread-making success.
- Use the mixer bowl for proofing.
- Ensure the bowl is clean and dry.
- This creates a controlled rising environment.
- It often leads to better bread.
Let’s walk through exactly how to proof your dough in your stand mixer bowl, step by step. For those interested in dough preparation, our guide compares how to knead pizza dough by hand versus a stand mixer.
Proofing Your Dough in a Stand Mixer Bowl: A Simple Guide
Proofing dough in your stand mixer bowl is a smart and effective technique. It leverages the bowl’s shape and size to create an ideal environment for your dough to rise. This method is especially handy when your kitchen might be a little too cool for a proper rise.
Think of it as giving your dough its own cozy, temperature-controlled little home. We’ll walk you through exactly how to do it, so your next loaf is your best loaf yet!
Why Use Your Stand Mixer Bowl for Proofing?
You might be wondering if your stand mixer bowl is truly suitable for proofing. The answer is a resounding yes! Many bakers prefer it because it offers a consistent space for the dough to expand.
The bowl’s depth helps contain the dough. It also provides a bit of insulation, helping to maintain a steady temperature. This is key for yeast activity, ensuring an even and beautiful rise.
Controlled Environment for Yeast
Yeast are tiny, living organisms that need warmth and a little bit of time to do their magic. They consume sugars in the dough and produce carbon dioxide gas. This gas is what makes your bread light and airy.
If your kitchen is cold, the yeast can become sluggish. This results in a dough that rises slowly or not at all. A stand mixer bowl offers a more stable temperature than an open counter. This helps keep your yeast happy and active.
Space for Expansion
As the yeast work, the dough will increase in volume. The stand mixer bowl usually provides ample room for this expansion. You won’t have to worry about your dough overflowing onto your countertops.
This controlled space is important. It prevents the dough from drying out too quickly on the edges. It also ensures that the entire mass of dough rises uniformly.
Preparing Your Stand Mixer Bowl for Proofing
Before you get started, a little preparation goes a long way. Ensuring your bowl is clean and dry is the first important step. Any residue could potentially affect the dough’s flavor or texture.
A clean surface is also essential for food safety. We want our bread to be delicious, not contaminated!
Cleaning and Drying the Bowl
Wash your stand mixer bowl thoroughly with warm, soapy water. Rinse it well to remove any soap residue. Then, dry it completely with a clean towel or let it air dry.
You don’t want any excess moisture lingering. This can make your dough sticky or affect its final crust. A bone-dry bowl is what you’re aiming for.
Oiling or Greasing (Optional but Recommended)
Some bakers like to lightly grease the inside of the bowl. You can use a neutral-flavored oil, like vegetable or canola oil, or a bit of softened butter.
Use a paper towel to spread a thin, even layer all around the inside of the bowl. This helps prevent the dough from sticking as it rises and makes it easier to remove later. It’s a small step that can make a big difference.
The Proofing Process Step-by-Step
Once your bowl is prepped, it’s time to get your dough in there and let it rise. This process is generally straightforward. You’ll be watching for visual cues to know when it’s ready.
Remember, patience is a baker’s best friend! Yeast takes time to work its wonders.
Transferring Dough to the Bowl
After you’ve finished kneading your dough, it’s time for its cozy retreat. Gently scrape the dough from your work surface into the prepared stand mixer bowl. Use a bench scraper or your hands.
Try not to deflate the dough too much. You want to preserve all that lovely air you’ve incorporated during kneading. Place the dough in the center of the bowl.
Covering the Dough
The next step is to cover the bowl. This is crucial for trapping moisture and warmth. You have a few good options for covering.
You can use plastic wrap, a clean kitchen towel, or even a reusable bowl cover. If using plastic wrap, lightly grease the side that will touch the dough. This prevents it from sticking as the dough rises.
A damp kitchen towel also works well. It helps maintain humidity around the dough. Just make sure the towel isn’t too wet, as this can make the dough gummy. Whatever you choose, ensure the cover is snug but not tight.
Finding the Right Spot for Proofing
Now, where to put your dough? You need a place that’s warm and free from drafts. Your oven, turned off but with the light on, is a popular choice. The oven light provides a gentle, consistent warmth.
Another option is a slightly warm spot near your stove or on top of your refrigerator. Some people even have dedicated proofing boxes. The goal is a consistent temperature, ideally between 75-85°F (24-29°C).
Many baking resources suggest this temperature range for optimal yeast activity (The King Arthur Baking Company).
Timing the Rise (The First Proof)
The time it takes for your dough to proof will vary. It depends on the recipe, the yeast amount, and the ambient temperature. Typically, the first rise can take anywhere from 1 to 2 hours.
Don’t rely solely on the clock. Instead, watch your dough. It should become noticeably larger, about double its original size. It should also feel soft and airy to the touch.
Checking for Readiness
How do you know if it’s ready? The “poke test” is a great indicator. Gently flour your finger and poke the dough. If the indentation springs back slowly, leaving a small dimple, it’s likely ready.
If it springs back immediately, it needs more time. If the indentation disappears completely, it might have over-proofed. This test helps you gauge the dough’s gluten structure and yeast activity.
Proofing Dough in Different Kitchen Conditions
Your kitchen environment plays a big role in how your dough proofs. Understanding these variations helps you adapt your technique.
Warm Kitchens
If your kitchen is naturally warm, proofing might be quicker. You may need to keep a closer eye on your dough to prevent over-proofing. Using a slightly cooler spot might be beneficial.
Consider reducing the initial rise time slightly. Always perform the poke test to be sure. A warm environment can speed up yeast fermentation.
Cool Kitchens
This is where the stand mixer bowl really shines. In a cool kitchen, you’ll likely need a bit more time. A warmer proofing spot becomes essential.
Using your oven with the light on is often the best bet here. You might also need to extend the proofing time beyond the recipe’s suggestion. This ensures the yeast has enough time to work.
A common guideline for cooler environments suggests adding 30-60 minutes to the typical proofing time (Bread Baking Basics).
Using Your Stand Mixer’s Bowl Warmer (If Applicable)
Some higher-end stand mixers come with a bowl warmer attachment. If yours has one, this is the perfect time to use it! It provides a consistent, gentle heat specifically designed for dough.
Follow your mixer’s manual for operating the bowl warmer. This attachment can significantly reduce proofing times and ensure consistent results, especially in cooler kitchens. It’s a game-changer for many bakers.
What to Do After the First Proof
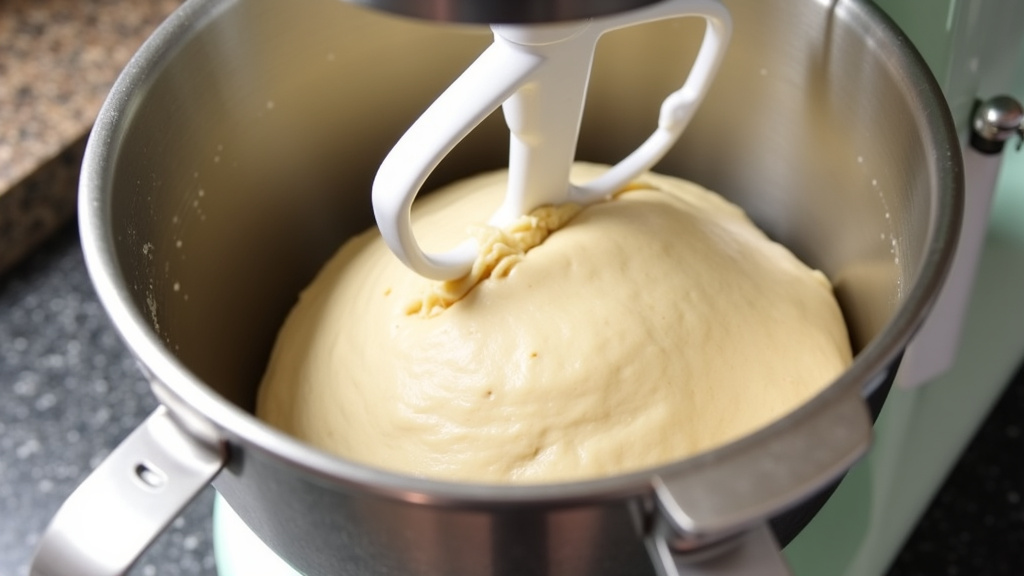
Once your dough has finished its first rise in the stand mixer bowl, it’s usually time for the next step. This often involves shaping your loaf.
Be gentle with your dough now. It’s full of air you want to keep!
Gently Deflating the Dough
After the first proof, you’ll gently punch down the dough. This releases some of the built-up gases and redistributes the yeast and sugars. It also helps create a finer crumb in your final bread.
Don’t aggressively knead it. Just a gentle press with your fist or the palms of your hands is sufficient. You’re not trying to remove all the air, just enough to make it manageable.
Shaping and Second Proofing
After deflating, you’ll typically turn the dough out onto a lightly floured surface. Then, you’ll shape it into its final form – a round, a loaf, or whatever your recipe calls for.
Once shaped, the dough will usually undergo a second proof. This is often shorter than the first rise. You can proof shaped dough on baking sheets, in loaf pans, or in proofing baskets (bannetons).
Some recipes might even allow for a cold proof in the refrigerator at this stage. This develops flavor and makes the dough easier to score.
Troubleshooting Common Proofing Issues
Even with the best techniques, sometimes things don’t go as planned. Don’t get discouraged! Troubleshooting is part of the baking journey.
Let’s look at a few common problems and how to address them.
Dough Not Rising
If your dough isn’t rising, several factors could be at play. The most common culprit is inactive yeast. Was your yeast fresh? Was the water you used too hot or too cold when activating it?
Extreme temperatures can kill yeast. A cool kitchen without a warm spot can also slow things down considerably. Ensure your proofing location is consistently warm.
Many baking experts recommend checking yeast expiration dates and using lukewarm water (around 105-115°F or 40-46°C) when activating it (CDC).
Dough Over-Proofing
If your dough rises too much, it can become fragile and collapse easily. This is often due to being left in a too-warm environment for too long.
If you notice your dough has significantly exceeded its expected size and looks puffy and airy, it might be over-proofed. In this case, handle it as gently as possible. You can try to reshape it carefully and proceed with baking.
Sometimes, over-proofed dough can result in a bread with a coarser crumb. It’s a learning experience for sure!
Proofing Checklist for Success
Here’s a quick checklist to keep your proofing process on track:
- Ensure your stand mixer bowl is clean and dry.
- Lightly grease the bowl if desired to prevent sticking.
- Cover the dough snugly to trap moisture and warmth.
- Place the covered bowl in a consistently warm spot (75-85°F ideal).
- Use the poke test to check for readiness instead of just time.
- Handle the dough gently after proofing.
Conclusion
You’ve learned that your stand mixer bowl is a surprisingly effective tool for proofing dough. It offers a controlled, warm environment essential for happy yeast, leading to a better rise. By ensuring your bowl is clean and prepared, you set your dough up for success. Remember to watch your dough, not just the clock, using the poke test for readiness.
Now, you’re ready to confidently proof your next dough creation in your stand mixer bowl. Give it a try and enjoy the results!
Frequently Asked Questions
Can I proof dough in a metal stand mixer bowl?
Yes, you can proof dough in a metal stand mixer bowl. Metal bowls can help maintain a consistent temperature, which is good for yeast activity. Just ensure the bowl is clean and dry before you begin the proofing process.
How do I keep my dough from sticking to the stand mixer bowl?
To prevent sticking, you can lightly grease the inside of your stand mixer bowl with a neutral oil or softened butter before adding the dough. This thin layer creates a barrier, making it easier to remove the dough after it has risen.
What temperature is best for proofing dough in a stand mixer bowl?
The ideal temperature range for proofing dough is typically between 75-85°F (24-29°C). This warmth encourages yeast activity without being too hot, which could kill the yeast. Using a spot like an oven with the light on can help achieve this.
Is it better to use a bowl cover or a damp towel for proofing?
Both bowl covers and damp towels work well for proofing. A cover like plastic wrap traps moisture and warmth effectively, while a damp towel helps maintain humidity. The key is to keep the dough from drying out, so choose whichever method you prefer.
How long should I proof my dough in the stand mixer bowl?
Proofing time varies greatly depending on your recipe, yeast, and kitchen temperature. Instead of relying strictly on time, check your dough visually. It should look puffy and roughly double in size, and pass the poke test.
