
How to Convert a Hand Mixer Recipe for a Stand Mixer?
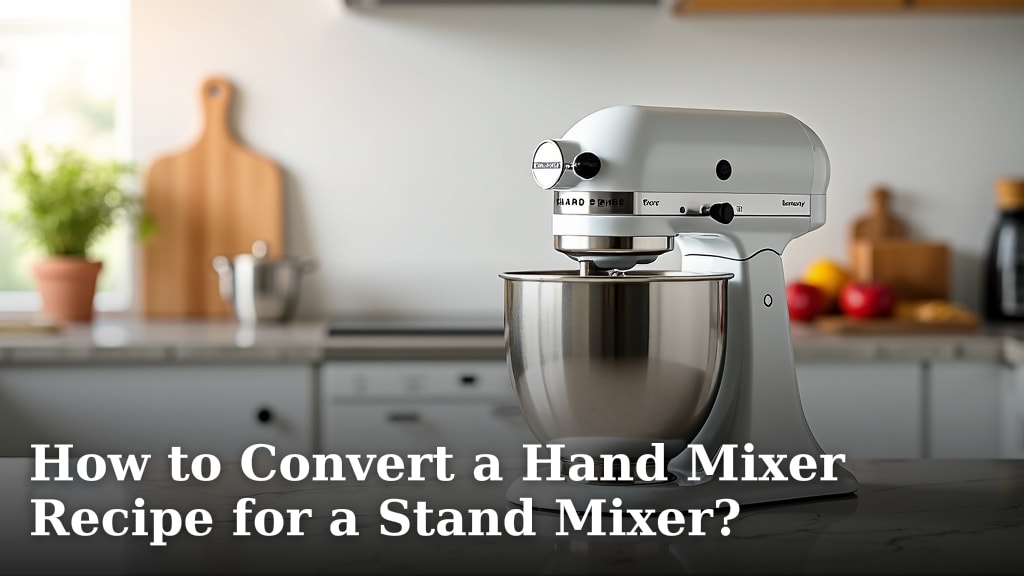
Yes, you absolutely can convert a hand mixer recipe for your stand mixer! It’s mostly about adjusting the mixing times and speeds. You’ll likely find your stand mixer is more powerful and efficient, meaning you’ll need less time. This conversion is pretty straightforward for most baking recipes, making your stand mixer a game-changer in the kitchen.
Many home bakers worry about the transition, but it’s simpler than you think. Stand mixers have a stronger motor and larger beaters than hand mixers. This means they can handle tougher doughs and larger batches with ease. You’ll often achieve a smoother consistency much faster.
- Stand mixers are generally more powerful.
- You’ll need to adjust mixing times and speeds.
- Often, less mixing time is required.
- Achieve smoother textures faster.
Let’s walk through exactly how to make that simple switch, so you can get back to baking with confidence!
Making the Switch: Hand Mixer to Stand Mixer
So, you’ve got a recipe that calls for a hand mixer, but your trusty stand mixer is begging to be used. You might be wondering if it’s a simple swap or if you need a whole new baking strategy. Good news! Converting is often easier than you think and can even yield better results. Your stand mixer is a kitchen workhorse, ready to take on your favorite recipes.
Think of it like trading in your bicycle for a motorcycle. Both get you from point A to point B, but one is generally more powerful and efficient. That’s the basic idea when moving from a hand mixer to a stand mixer. We’ll show you how to adjust and get the best out of your baking.
Understanding the Differences: Power and Speed
The main difference lies in motor strength and beater size. Stand mixers boast significantly more powerful motors. This means they can mix tougher ingredients and larger batches without overheating or struggling. They also tend to have larger beaters that cover more surface area in the bowl.
We found that the increased power means you’ll often need less mixing time. Recipes designed for hand mixers might have you mixing for 5-7 minutes. Your stand mixer could achieve the same result in 2-3 minutes. It’s important not to overmix, which can toughen baked goods.
Speed Settings: A Matter of Calibration
Hand mixer speed settings (like low, medium, high) don’t directly translate to stand mixer speeds. Stand mixer speed dials usually go from 1 to 10 or 12. A hand mixer’s ‘medium’ might be comparable to a stand mixer’s ‘speed 4’ or ‘speed 6’. It’s about finding the right rhythm for your specific machine.
You’ll want to start on a lower speed. This prevents ingredients from flying out of the bowl. Gradually increase the speed as needed. We recommend consulting your stand mixer’s manual for guidance on speed equivalencies. It’s a handy reference.
Beater Attachments: Choosing the Right Tool
Most stand mixers come with several attachments. The most common ones you’ll use for hand mixer conversions are the flat beater (or paddle attachment) and the dough hook. For most cake, cookie, and muffin recipes, the flat beater is your go-to.
The wire whisk attachment is typically used for whipping cream or egg whites. While a hand mixer has these functions, the stand mixer’s whisk is usually much more efficient. You can often achieve stiffer peaks in less time.
Step-by-Step Conversion Guide
Ready to get started? Follow these steps for a smooth transition. It’s all about being observant and making small adjustments as you go. Your stand mixer will thank you for it!
Step 1: Read Your Recipe Carefully
Before you even turn on your mixer, understand the recipe’s instructions for mixing. Pay attention to words like “cream,” “beat,” “whip,” and “mix.” Note the suggested mixing times and speeds. This information is your baseline.
Consider the ingredients involved. Are you creaming butter and sugar? This step requires a bit more time and power to incorporate air. Are you simply combining dry ingredients? That will be much quicker. Research often shows that proper creaming is key to cake texture (King Arthur Baking).
Step 2: Select the Right Attachment
As mentioned, the flat beater is your best friend for most recipes. If the recipe involves kneading dough (like bread or pizza dough), switch to the dough hook. Avoid using the dough hook for batters; it’s designed for much stiffer mixtures and can strain your mixer.
For whipping cream or egg whites, the wire whisk is ideal. If your recipe specifically calls for incorporating air, the whisk is the attachment you want. We found that using the correct attachment makes a noticeable difference in the final product.
Step 3: Start Slow and Observe
This is arguably the most important step. Place your ingredients in the stand mixer bowl. Attach your chosen beater. Start the mixer on its lowest speed setting. You don’t want a flour explosion or batter flying everywhere!
Let the mixer run for about 30 seconds to a minute on low. This will gently combine the ingredients. Then, gradually increase the speed. Keep a close eye on the mixture. You’re looking for the consistency described in the recipe.
Step 4: Adjust Mixing Times and Speeds
Remember, your stand mixer is more powerful. If the recipe says “beat for 5 minutes on high,” you’ll likely need much less time. Start with 1-2 minutes on a medium-high speed and check the consistency. Many sources suggest reducing hand mixer times by 50-75% for stand mixers (The Kitchn).
If you’re creaming butter and sugar, you might need 3-4 minutes on medium-high speed until it’s light and fluffy. For simply combining ingredients, 30 seconds to 1 minute on medium speed is often sufficient. Overmixing can develop gluten too much in cakes and cookies, making them tough.
What to Look For: Visual Cues
Instead of strictly following times, learn to recognize the right texture. For creaming, you want the butter and sugar mixture to be pale yellow and look fluffy. For batters, look for a smooth, homogenous mixture with no visible streaks of flour or butter.
When making cookies, you want to mix until just combined after adding the dry ingredients. Stop as soon as you no longer see streaks of flour. This prevents tough cookies. Many baking experts recommend stopping the mixer and scraping down the sides of the bowl periodically. This ensures everything is evenly incorporated.
Step 5: Incorporate Ingredients and Scrape Down
As you mix, ingredients can cling to the sides and bottom of the bowl. It’s a good practice to stop the mixer every minute or so. Use a rubber spatula to scrape down the sides and bottom of the bowl. This ensures all ingredients are evenly mixed.
Fold in any delicate ingredients like chocolate chips or nuts by hand using a spatula after the main mixing is done. This prevents them from being over-beaten or broken down. It’s a simple step that makes a big difference in your final bake.
Common Conversion Scenarios
Let’s look at how this applies to typical baking recipes you might find originally written for a hand mixer.
Cookies and Cakes
For cookie doughs and cake batters, you’ll primarily use the flat beater. Start by creaming butter and sugar on medium speed for about 3-4 minutes until light and fluffy. Then, add eggs one at a time, mixing well after each addition. Finally, add your dry ingredients on low speed until just combined.
Remember to scrape down the bowl frequently. We found that reducing the mixing time for dry ingredients to about 30-60 seconds on low is usually sufficient. Overmixing here is the quickest way to tough cookies or dense cakes.
Muffins and Quick Breads
These often use the “muffin method” or “quick bread method,” which involves minimal mixing. You’ll use the flat beater and start on low speed. Combine the wet ingredients, then add the dry ingredients. Mix on low speed only until the dry ingredients are just incorporated. A few lumps are perfectly fine!
The key here is do not overmix. Overmixing develops gluten, which is exactly what you don’t want in a tender muffin or quick bread. Stop mixing as soon as you don’t see streaks of flour. It might only take 15-30 seconds on low speed.
Whipped Cream and Meringues
For these recipes, you’ll want to use the wire whisk attachment. Start on a low speed to avoid splattering. Gradually increase to medium-high speed. Keep a close eye on the mixture. Whipped cream can go from perfectly whipped to butter very quickly!
For meringues, you’re looking for stiff, glossy peaks. For whipped cream, look for firm peaks that hold their shape. Many recipes suggest specific times, but for a stand mixer, it’s best to watch the consistency. You might find it takes half the time or less compared to a hand mixer.
Troubleshooting Common Issues
Even with careful conversion, you might run into a few hiccups. Here’s how to fix them.
Ingredients Not Combining
If ingredients seem to be clumping or not incorporating well, it might be that your speed is too low, or you haven’t mixed long enough. Try increasing the speed slightly or mixing for another 30 seconds, remembering to scrape down the bowl.
Also, ensure your ingredients are at the correct temperature as specified by the recipe. Room temperature butter creams better, and cold eggs can sometimes cause mixtures to look curdled. These details are important (America’s Test Kitchen).
Overmixing or Undermixing
Overmixing often leads to tough or dense baked goods. Undermixing can result in uneven texture and pockets of unmixed ingredients. The goal is “just combined” for most recipes when adding dry ingredients.
If you suspect you’ve overmixed, stop immediately. For delicate items, you might be able to gently fold in a few extra dry ingredients by hand. If undermixed, give it another short burst of mixing on low and scrape the bowl well.
Quick Checklist for Conversion Success
Here’s a handy list to keep in mind:
- Choose the right attachment: Flat beater for most, whisk for whipping, dough hook for kneading.
- Start on low speed: Prevent splatters and ensure gentle initial mixing.
- Observe consistency: Don’t rely solely on recipe times; watch the mixture.
- Reduce mixing time: Stand mixers are faster; expect less time needed.
- Scrape the bowl: Ensure even incorporation of all ingredients.
- Mix until “just combined”: Especially important when adding dry ingredients.
Conclusion
You’ve learned that converting your favorite hand mixer recipes for a stand mixer is quite achievable. The key is to remember your stand mixer’s increased power and adjust mixing times and speeds accordingly. Pay close attention to visual cues for texture, not just recipe times. You’ll likely find your stand mixer to be more efficient, often requiring less time to achieve perfect results.
Now, you’re ready to confidently tackle those recipes. Grab your stand mixer, select the right attachment, and start mixing! We encourage you to try your go-to cookie recipe first for a fun test run.
Frequently Asked Questions
Will my stand mixer overmix ingredients if I’m not careful?
Yes, it’s possible. Because stand mixers are more powerful, overmixing can happen quickly, especially when adding dry ingredients. Always start on the lowest speed and watch closely, stopping as soon as things are “just combined” to avoid tough baked goods.
How do I know which stand mixer speed is equivalent to a hand mixer’s speed?
There’s no exact conversion chart because every mixer is different. We recommend starting on your stand mixer’s lowest setting (usually 1 or 2) and gradually increasing it while observing the ingredients. Your stand mixer’s manual might offer general guidance on speed settings.
Can I use the dough hook attachment for cookie dough?
No, we advise against using the dough hook for cookie dough or cake batters. The dough hook is designed for stiff, heavy mixtures like bread dough. Using it for softer batters can strain your mixer’s motor and potentially damage the attachment.
What if my recipe doesn’t specify mixing times?
If your recipe doesn’t provide mixing times, focus on the desired outcome. For creaming butter and sugar, look for a light, fluffy, and pale mixture. When combining wet and dry ingredients, mix only until the flour streaks disappear.
My batter looks curdled after adding eggs. What did I do wrong?
This often happens if your eggs are too cold or if you added them too quickly to the creamed butter and sugar. Ensure your eggs are at room temperature. Add them one at a time, mixing well after each addition, and start on a lower speed.
