
How to Prevent Flour from Flying Out of a Stand Mixer?
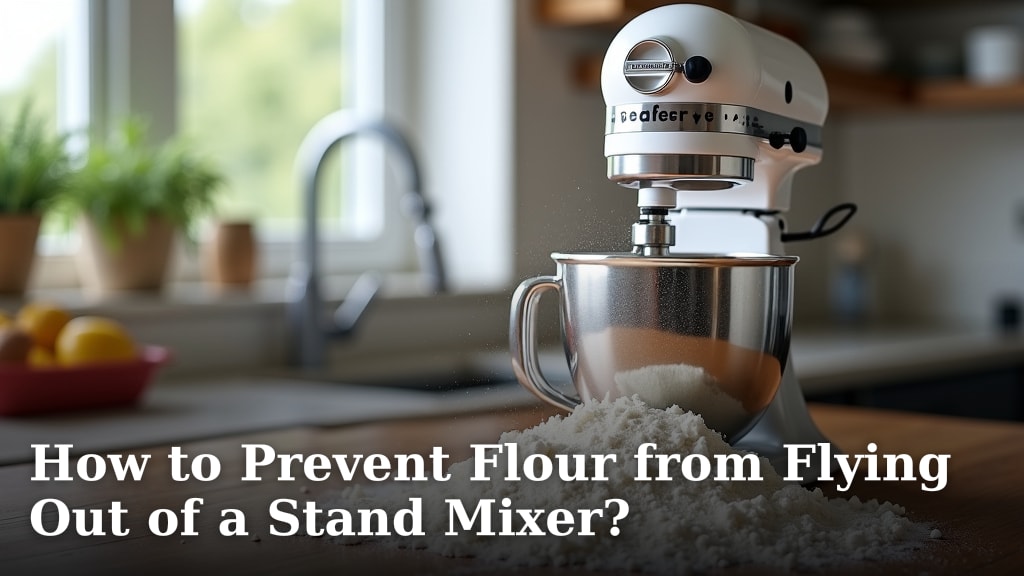
Stop flour explosions in their tracks! The easiest way to prevent flour from flying out of your stand mixer is to start mixing on the lowest speed. Adding the flour slowly while the mixer is on a very low setting lets the ingredients incorporate without creating a dusty cloud. This simple technique will save you from messy countertops and dusty aprons.
We’ve all been there, right? You add the flour, turn on the mixer, and suddenly your kitchen looks like a winter wonderland. It’s a common baking mishap, but thankfully, there are simple solutions. Understanding why it happens helps, but preventing it is the real goal for most home bakers.
- Always start your stand mixer on the lowest speed.
- Add flour gradually to the bowl.
- Consider using a splash guard for extra protection.
- Ensure your ingredients are properly measured.
- Don’t overfill your mixer bowl.
Let’s walk through exactly how to keep that flour contained, so you can focus on making delicious baked goods.
Keeping Flour in the Bowl: Mastering Your Stand Mixer
Your stand mixer is a baking superhero. It whips, it kneads, it creams. But sometimes, it feels like a flour-blasting machine! If you’re tired of dusting off your countertops and cleaning flour from every nook and cranny, you’re in the right place. We’re going to show you how to keep that fine powder exactly where it belongs: in the mixer bowl.
The good news is that preventing a flour explosion isn’t rocket science. It often comes down to a few simple techniques and understanding how your mixer works. Let’s get your kitchen back to being a clean, happy baking zone.
Understanding the Flour Fling Phenomenon
Why does flour seem to have a mind of its own when you start your mixer? It’s all about physics and the fine nature of flour. When you turn your mixer on high speed too quickly, the blades whip through the dry ingredients. This creates a vortex, and the light, airy flour gets caught in the air currents. It has nowhere to go but up and out!
The Aerodynamics of Baking Dust
Think of flour like a very fine powder. It’s designed to be light and fluffy. When the mixer’s beaters spin rapidly, they agitate this powder. This agitation can create small pockets of air. If the ingredients aren’t yet combined into a dough or batter, the flour can easily escape. It’s much like blowing on a pile of dust; you create a cloud.
The speed of your mixer is the biggest factor here. A fast speed creates strong air currents. These currents are powerful enough to lift the flour particles out of the bowl before they’re properly incorporated. You need to give the flour a chance to settle and mix in gradually.
The Role of Ingredient Hydration
Flour doesn’t become heavy and sticky until it meets liquid. Until then, it’s just a dry powder. When you first add flour to your mixer, it’s at its most volatile. As you add liquids or other ingredients, the flour starts to clump together. This makes it heavier and less likely to fly out. The key is to let this process happen slowly and steadily.
Your First Line of Defense: Slow and Steady Wins the Race
The absolute best way to prevent flour from escaping is to control the initial mixing speed. This is the single most important tip you’ll receive. Many bakers admit they’ve fallen victim to this simple mistake. Turning the dial too high, too soon, is the most common cause of kitchen dust storms.
Mastering the Mixer Dial
When you’re adding flour to your stand mixer, or if you’re starting a recipe that begins with dry ingredients, always, always, always start on the lowest speed. Most stand mixers have a dial or buttons that go from 1 (slowest) to 10 or 12 (fastest). You want to be on speed 1 or 2. This gentle start allows the flour to begin incorporating without creating a powerful upward draft.
Think of it like starting a car. You wouldn’t floor the gas pedal the second you turn the key, right? You ease into it. Your stand mixer needs the same gentle approach. A low speed allows the flour to settle into the wet ingredients or other dry ingredients.
The Gradual Addition Technique
Beyond just speed, how you add the flour matters. Instead of dumping the entire measured amount into the bowl at once, add it in stages. You can do this while the mixer is running on its lowest speed. Add about a third of the flour, let it mix for a few seconds, then add another third, and so on.
This gradual addition ensures that the flour is being mixed in rather than just stirred up. It gives the liquids and fats in the recipe a chance to start binding with the flour. This process naturally weighs down the flour, making it less prone to escape. It’s like building a sandcastle – you add sand and water little by little.
When to Increase the Speed
You don’t have to stay on the lowest speed forever. Once the flour is mostly incorporated and you no longer see clouds of dust when the mixer is running, you can slowly increase the speed. Listen to your mixer and watch your bowl. When the ingredients start to come together into a cohesive mass – a dough or a thick batter – it’s usually safe to increase the speed.
You’ll notice a difference. The flour will be bound to other ingredients. The mixture will look less like powder and more like actual food. Aim for a speed that allows for efficient mixing without creating a mess. For most tasks after the initial incorporation, speeds 2-4 are often sufficient. For whipping egg whites or cream, you’ll likely go higher, but that’s usually with wetter ingredients.
Helpful Accessories for a Cleaner Bake
While technique is key, sometimes a little extra help goes a long way. There are accessories designed to help contain your ingredients. These can be a lifesaver for particularly messy recipes or for bakers who want an extra layer of protection.
The Mighty Splash Guard
Many stand mixer manufacturers offer a splash guard. This is a clear plastic or metal piece that fits around the top of the mixer bowl. It has an opening where you can add ingredients. The guard acts as a barrier, preventing lighter ingredients like flour from escaping during mixing.
We found that using a splash guard significantly reduces the amount of flour dust that escapes, especially when starting on higher speeds or if your ingredients are particularly dry. It’s an **investment** that pays off in a cleaner kitchen. If your mixer didn’t come with one, check the manufacturer’s website for compatible models.
Choosing the Right Bowl Size
The size of your mixer bowl can play a role. If you’re making a small batch of cookies in a large bowl, the ingredients have more room to move around and potentially escape. Conversely, trying to double a recipe in a bowl that’s too small can also lead to overflow.
For flour-heavy recipes, using a bowl that is appropriately sized for your batch is important. This helps keep the ingredients more contained. You want enough room for ingredients to mix and expand, but not so much that they have free reign to fly out. Many recipes will suggest the appropriate mixer bowl size to use.
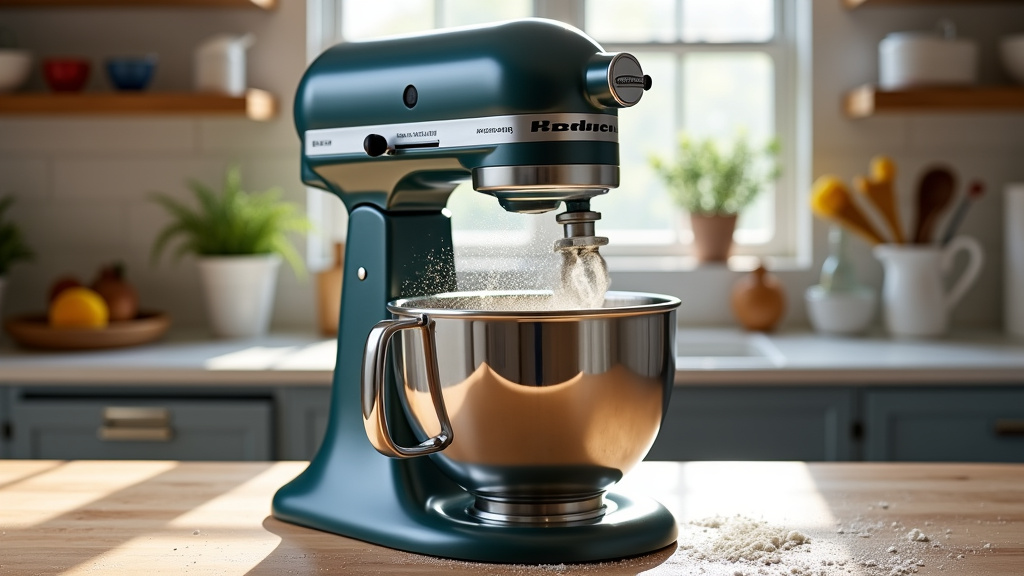
Measurement Matters: The Foundation of Success
Incorrectly measuring your ingredients can contribute to the flour-flying problem. If you use too much flour, your batter or dough will be too thick. This can make it harder for the mixer to incorporate everything evenly, leading to potential escapes.
Accurate Flour Measurement Techniques
The best practice for measuring flour is the “spoon and level” method. You gently spoon flour into your measuring cup until it’s overflowing. Then, you use a straight edge, like the back of a knife or a ruler, to sweep off the excess. This ensures you have the correct amount of flour without packing it in.
Packing flour into the cup can lead to using significantly more flour than the recipe calls for. This extra flour can make the mixture too dry and difficult to mix, increasing the chance of a mess. Proper measurement is **foundational** for consistent baking results and a clean workspace (King Arthur Baking Company).
Why Weight is Sometimes Better
For ultimate accuracy, especially in baking where precision is key, using a kitchen scale to weigh your flour is often recommended. Different flours have different densities. Measuring by volume (cups) can lead to variations. Weighing your flour ensures you are using the exact amount specified by the recipe.
We found that weighing flour eliminates guesswork and is especially helpful when adapting recipes. It provides a more consistent starting point. This can prevent the overly dry mixtures that are prone to causing flour explosions. Many professional bakers swear by weighing their ingredients.
A Quick Checklist for Flour Containment
Ready to bake without the mess? Keep these quick tips in mind:
- Start low: Always begin mixing on the lowest speed setting.
- Add slowly: Introduce flour gradually, not all at once.
- Watch your bowl: Observe the ingredients as they combine.
- Consider a guard: Use a splash guard for extra containment.
- Measure accurately: Use the spoon-and-level or weighing method.
- Don’t overfill: Ensure your bowl is the right size for the batch.
Conclusion
You’ve got this! Preventing flour from escaping your stand mixer is totally achievable. It boils down to a few simple but powerful techniques. By mastering the lowest speed start and adding your flour gradually, you’ll drastically cut down on kitchen messes. Don’t forget that a splash guard can be your best friend for an extra layer of protection. With these tips, you’re ready to bake with confidence and keep your kitchen clean. So, go ahead, mix up that next delicious recipe without the dust cloud!
Frequently Asked Questions
Why does my stand mixer still throw flour even on low speed?
This can happen if the flour is very fine or if the recipe is very dry to start. Sometimes, even low speeds can create enough air movement if the ingredients aren’t yet binding. Try adding a tiny bit more liquid or fat initially, or ensure you’re adding the flour even more slowly.
Can I use a generic splash guard if mine didn’t come with one?
Yes, you often can. Many aftermarket splash guards are designed to fit various stand mixer models. Look for one that securely attaches to your bowl and has a convenient chute for adding ingredients. Always check compatibility before purchasing.
Is it really okay to add flour while the mixer is running?
Yes, it is! The key is to add it very slowly while the mixer is on its lowest speed. This gradual addition allows the flour to start incorporating into the wet ingredients, preventing it from becoming airborne. Never dump all the flour in at once.
How much flour is too much for a stand mixer bowl?
Overfilling your mixer is a common cause of messes. If the ingredients come more than halfway up the bowl, you’re likely pushing its limits. Consult your mixer’s manual for its maximum capacity for different types of dough or batters. It’s better to split a large batch into two.
Does the type of flour affect how much it flies out?
Absolutely. Lighter, finer flours like cake flour or pastry flour are more prone to becoming airborne than heavier flours like whole wheat. For these lighter flours, be extra cautious with your starting speed and addition method.
