
How to Use the Pouring Shield on a Stand Mixer?
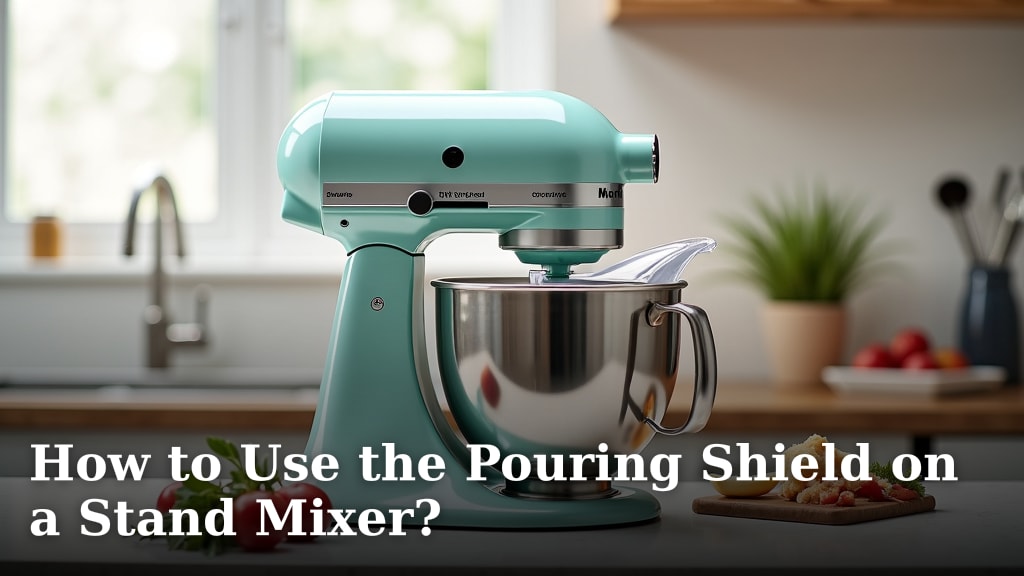
Using your stand mixer’s pouring shield correctly makes a big difference. It helps prevent flour explosions and keeps ingredients inside the bowl. You simply attach it to the top of your mixer bowl before you start mixing.
This simple attachment is a game-changer for home bakers. It’s especially helpful when you’re adding dry ingredients like flour or sugar. Many home cooks find it really simplifies the baking process. It keeps your kitchen cleaner, too!
- Attaches to the bowl.
- Prevents mess and flour clouds.
- Use when adding dry ingredients.
- Makes baking cleaner and easier.
Let’s walk through exactly how to use your pouring shield step by step so you can get back to baking without the mess.
Getting the Most Out of Your Stand Mixer Pouring Shield
You’ve got your stand mixer, ready to whip up something delicious. But wait, what’s that plastic thingy? It’s your pouring shield, and it’s a real kitchen hero. It might seem small, but this accessory can save you a lot of mess. Let’s make sure you know exactly how to use it.
What Exactly is a Pouring Shield?
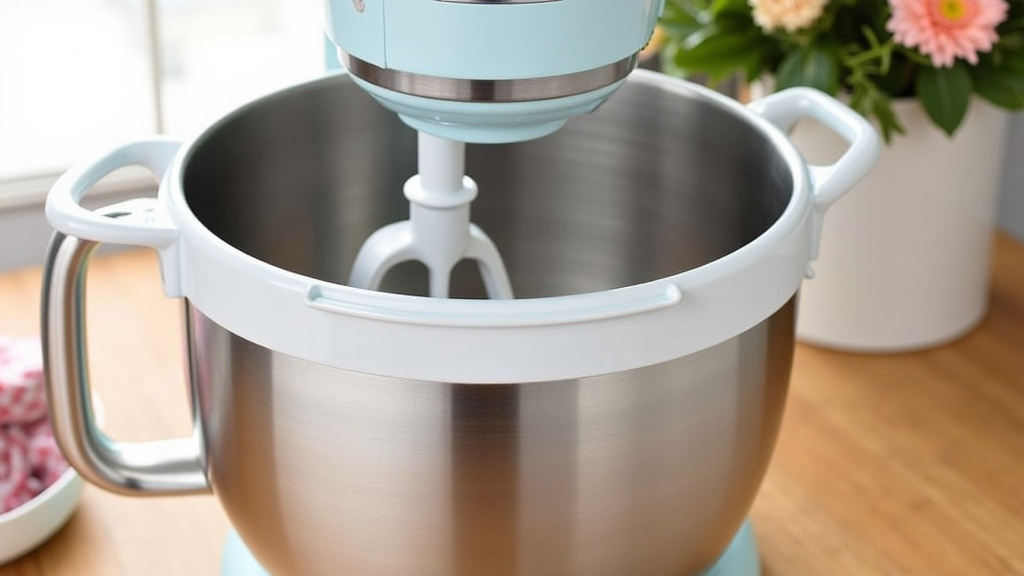
Think of your pouring shield as a protective barrier. It attaches right to the top of your mixer bowl. Its main job is to guide ingredients into the bowl. It also keeps flour dust and other stray bits from flying out. You’ll find it especially helpful when your mixer is running at higher speeds. It really does make a cleaner baking experience.
When to Use Your Pouring Shield
The pouring shield is most useful during specific stages of mixing. It’s not something you need on all the time. We’ll go over the best times to use it.
Adding Dry Ingredients
This is where the pouring shield truly shines. When you’re adding flour, sugar, cocoa powder, or other dry ingredients, use the shield. Imagine dumping flour into a fast-moving mixer without one. It’s like a miniature snowstorm in your kitchen! The shield directs the flour down into the bowl. This prevents those dreaded flour clouds. You’ll breathe easier and your countertops will thank you. Many home bakers consider this its most important function.
Adding Wet Ingredients
You can also use the pouring shield when adding liquids. Sometimes, even liquids can splash out. This is especially true if you’re mixing on a medium or high speed. The shield helps to keep all the wet ingredients where they belong – in the bowl. It’s like a little funnel, guiding everything smoothly.
When NOT to Use the Pouring Shield
There are times when the shield isn’t necessary. If you’re just creaming butter and sugar on a low speed, you might not need it. If you’re doing a very short mix on the lowest setting, it’s probably fine without it. Also, if you are manually scraping down the sides of the bowl, you’ll need to remove it. It can get in the way of your spatula.
How to Attach Your Pouring Shield
Attaching the shield is usually very straightforward. Most shields are designed for a specific mixer model. They tend to fit snugly.
Locate the Attachment Points
Look at the top rim of your stand mixer bowl. You’ll see small notches or grooves. These are where your pouring shield will connect. Your shield will have corresponding tabs or clips. They are designed to grab onto these points. It should feel secure when it’s on correctly.
Slide and Lock It In Place
Most pouring shields simply slide into place. You’ll align the tabs on the shield with the notches on the bowl. Then, you’ll gently push down and slide the shield. It should click or feel like it’s seated firmly. It shouldn’t wobble or feel loose. If it feels wobbly, try re-aligning the tabs and giving it another gentle push. Some models might have a simple latch to secure it.
The Spout or Opening
Pay attention to the pouring spout on your shield. This is the part you’ll use to add ingredients. Make sure it’s positioned correctly. It should be easy to access with your measuring cups or liquid dispensers. You can usually rotate the shield slightly to find the best angle for adding ingredients.
How to Add Ingredients with the Shield On
This is the core of using the shield. It’s all about controlled additions.
The Gradual Addition Technique
The key is to add ingredients gradually and slowly. Don’t dump a whole cup of flour at once. Use a measuring cup to scoop your ingredients. Then, carefully pour them through the shield’s opening. You can do this while the mixer is running on a low to medium speed. This allows the ingredients to be incorporated smoothly. It prevents the mixer from getting overwhelmed.
For Flour and Dry Mixes
When adding flour, do it in batches. Start your mixer on the lowest speed. Pour a portion of the flour through the shield. Let it mix for a few seconds. Then, add more flour. Repeat until all the flour is incorporated. This method minimizes airborne dust. You’ll see much less flour escaping the bowl. This is a technique many professional bakers use. They call it “controlled incorporation.”
For Liquids and Wet Mixes
For liquids, you can often pour a bit more freely. However, still avoid pouring a large amount all at once. If you’re adding a cup of milk, pour about half through the opening. Let the mixer incorporate it. Then, add the rest. This helps the batter achieve a uniform consistency more quickly. It also prevents splashing, especially if your mixer is on a faster setting.
Troubleshooting Common Pouring Shield Issues
Sometimes, things don’t go perfectly. Here are a few common issues and how to fix them.
Shield Won’t Stay On
If your pouring shield feels loose, double-check that you’ve aligned it correctly. Make sure the tabs are fully seated in the notches. Some shields require a slight twist to lock them. Consult your mixer’s manual if you’re unsure. You might also be trying to attach it to the wrong bowl – ensure it’s the one designed for your mixer.
Ingredients Still Splashing Out
This usually means your mixer speed is too high. Try reducing the speed. If you’re adding dry ingredients, add them even more slowly. Sometimes, a large batch can overwhelm the shield. If you’re making a very large recipe, you might need to mix in smaller batches. We found that using the shield on speeds higher than 4 can sometimes cause issues depending on the mixer (KitchenAid Guide).
Shield Blocks Spatula Access
This is a common one! You need to remove the pouring shield before you scrape down the sides of the bowl. It’s a simple process: stop the mixer, lift the mixer head if necessary, and slide the shield off. Then, use your spatula. Once you’re done scraping, reattach the shield and continue mixing. It only takes a few seconds.
Cleaning Your Pouring Shield
Keeping your pouring shield clean is important. A clean shield works best and looks nicer.
Everyday Cleaning
Most pouring shields are dishwasher safe. You can simply place them on the top rack of your dishwasher. If you prefer to hand wash, use warm, soapy water. A soft sponge or cloth works well. Rinse thoroughly and let it air dry. Avoid abrasive cleaners or scrubbers, as they can scratch the plastic.
Dealing with Stains or Odors
If your shield gets stained, especially from things like tomato sauce or turmeric, a paste of baking soda and water can help. Let it sit on the stain for a bit before washing. For stubborn odors, a soak in diluted white vinegar can be effective. Always rinse well after any special cleaning treatment.
Pouring Shield Maintenance Checklist
Here’s a quick checklist to keep your pouring shield in top shape:
- Check for cracks or damage before each use.
- Ensure it attaches securely to your bowl.
- Add ingredients gradually through the designated opening.
- Remove the shield for scraping down the bowl.
- Clean it promptly after each use.
- Store it safely to avoid damage.
Using your pouring shield is a simple habit that pays off. It keeps your kitchen clean and your baking process smooth. You’ll be amazed at the difference it makes. Now go forth and bake without the mess!
Conclusion
You’ve learned how to use your stand mixer’s pouring shield effectively. It’s a simple tool that makes a big difference in keeping your kitchen clean. By understanding when and how to attach and use it, you prevent messy flour clouds and ingredient splashes. Remember to add ingredients gradually through the spout and remove the shield for scraping. Make this small habit part of your baking routine. Now you can confidently tackle any recipe with less mess and more enjoyment. Go bake something delicious!
Frequently Asked Questions
Can I leave the pouring shield on my stand mixer all the time?
No, it’s best to only use the pouring shield when adding ingredients. You’ll need to remove it for scraping down the sides of the bowl. Leaving it on when not needed can actually get in the way of your mixing process.
My pouring shield doesn’t seem to fit snugly. What should I do?
First, ensure you have the correct shield for your specific stand mixer model. Then, double-check that you’re aligning the shield’s tabs with the bowl’s notches properly. Give it a gentle push and slide, and listen for a click or feel it seat firmly; it shouldn’t wobble.
Is it okay to add a full cup of flour at once with the shield?
It’s better to avoid adding a full cup of flour all at once, even with the shield. For the best results, add dry ingredients gradually and slowly in smaller batches. This helps prevent overwhelming your mixer and minimizes airborne dust.
What’s the best way to clean stubborn stains off my pouring shield?
For tough stains, try making a paste of baking soda and water. Apply it to the stained area and let it sit for a while before washing. For persistent odors, a soak in diluted white vinegar can also be effective. Always rinse thoroughly afterward.
Why does my stand mixer still splash ingredients even with the pouring shield on?
This usually happens if your mixer speed is too high. Try reducing the speed to a lower setting. Also, ensure you’re adding ingredients gradually. For very large batches, you might find it helpful to mix in smaller quantities to prevent overflow.
