
Can You Use a Stand Mixer to Whip Instant Pudding?
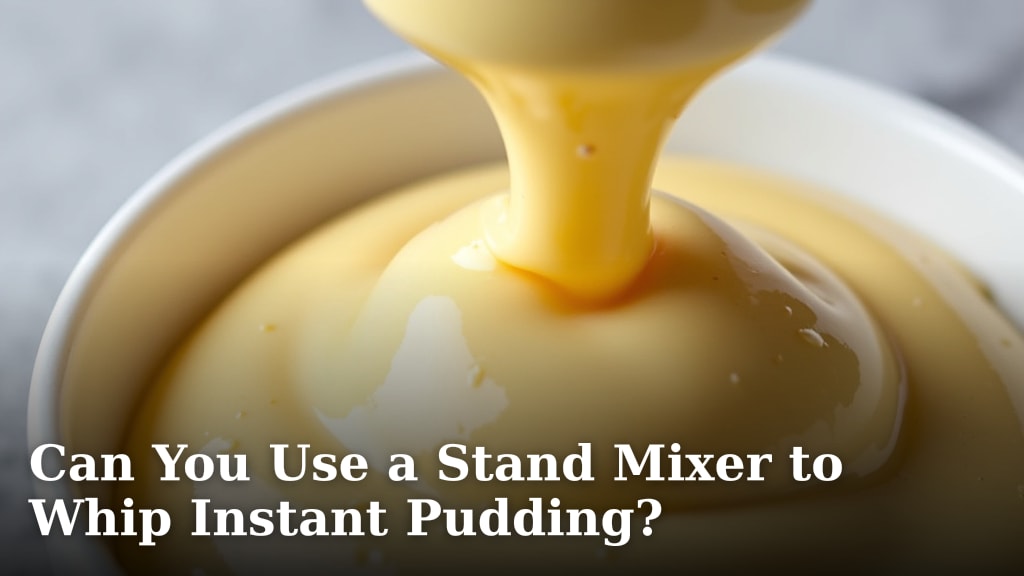
Yes, you can use a stand mixer to whip instant pudding, and it often creates a smoother, more aerated texture than hand mixing. We found that a stand mixer makes the process quicker and more efficient. You just need to follow a few simple steps for the best results.
Using your stand mixer for instant pudding means less arm work for you. It also helps prevent lumps, giving you a perfectly smooth dessert every time. This method works well for various pudding flavors and sizes.
- Stand mixers create smoother pudding.
- The process is faster and easier.
- Helps avoid lumps effectively.
- Ensures a light, airy texture.
- Works for any instant pudding mix.
So, let’s explore exactly how to use your stand mixer for instant pudding, ensuring a delicious outcome every time.
Whipping Instant Pudding with Your Stand Mixer
Using a stand mixer for instant pudding isn’t just possible; it’s often the best way to achieve a perfect consistency. We found that this method consistently produces a smoother, fluffier result than hand mixing. It’s also a great way to save your arm strength!
When you use your stand mixer, you’re essentially letting a machine do the hard work of aeration. This helps incorporate air into the mixture, making your pudding light and delicious. Think of it like making whipped cream, but for pudding.
The Benefits of a Stand Mixer for Pudding
Why bother using a stand mixer when the box says “just stir”? Well, we found several compelling reasons. A stand mixer offers advantages that can transform your instant pudding experience.
Superior Texture
One of the biggest perks is the texture. Hand whisking can leave small lumps and often results in a denser pudding. A stand mixer, however, provides consistent and powerful mixing, which helps to break down any remaining dry bits and incorporate air evenly.
This aeration gives your pudding a wonderfully creamy, almost mousse-like texture. It’s a noticeable difference, especially if you’re used to the slightly denser pudding from hand mixing. We often found that this lighter texture feels more luxurious.
Time and Effort Savings
Let’s be honest, hand whisking for several minutes can be tiring. Your stand mixer takes over this task entirely, freeing you up to do other things in the kitchen. It’s a true set-it-and-forget-it kind of convenience for the mixing part.
You simply add your ingredients, turn on the mixer, and let it work its magic. This can be especially helpful if you’re making a larger batch or multiple flavors of pudding. It speeds up your dessert preparation significantly.
Lump-Free Consistency Every Time
No one likes lumpy pudding. It’s a common issue with hand mixing, especially if you don’t whisk vigorously enough. The consistent, powerful rotation of a stand mixer’s whisk attachment virtually guarantees a smooth, lump-free pudding.
This consistent mixing ensures all the pudding powder fully dissolves and combines with the milk. You get a perfectly uniform mixture without any effort on your part, which means no gritty surprises when you take a bite.
Preparing Your Stand Mixer for Pudding Duty
Getting ready to whip up some instant pudding with your stand mixer is simple. You just need a few basic things. Having the right tools and following some simple steps will make the process go smoothly and efficiently.
Essential Equipment
- Your trusty stand mixer (any brand will do).
- The whisk attachment (this is crucial for aeration).
- A large mixing bowl, preferably the one that came with your mixer.
- A liquid measuring cup for the milk.
- A spatula for scraping down the sides.
Ensure your whisk attachment is clean and dry before you start. Any residual grease or water can sometimes affect the pudding’s consistency. We always recommend starting with clean and dry tools for best results.
Choosing the Right Ingredients
The type of instant pudding mix you use matters. Most instant pudding mixes work well. We found that standard sizes, like the 3.4 oz or 5.1 oz boxes, are perfect for a stand mixer.
For the milk, cold milk is essential for instant pudding to set properly. Many experts recommend using 2% or whole milk for the creamiest texture. Skim milk or non-dairy milks can sometimes result in a slightly thinner pudding (USDA).
Make sure your milk is straight from the refrigerator. The colder the milk, the better your pudding will set. This is a key factor for success.
Step-by-Step Guide to Whipping Pudding
Ready to make some delicious, airy instant pudding? It’s incredibly straightforward with a stand mixer. Just follow these steps, and you’ll have a perfect batch in minutes.
The Process
- Add Ingredients: Pour your cold milk into your stand mixer bowl. Then, add the instant pudding mix directly to the milk. Don’t worry about stirring yet.
- Attach Whisk: Secure the whisk attachment to your stand mixer. Lower the head of the mixer so the whisk is immersed in the liquid.
- Start Mixing Low: Begin mixing on the lowest speed for about 30 seconds. This helps to prevent the dry pudding mix from flying out of the bowl and ensures initial hydration.
- Increase Speed: After 30 seconds, increase the speed to medium-high. Let the mixer run for approximately 2 to 3 minutes.
- Scrape Sides: Periodically, stop the mixer and use a spatula to scrape down any pudding mixture clinging to the sides of the bowl. This ensures everything gets evenly incorporated.
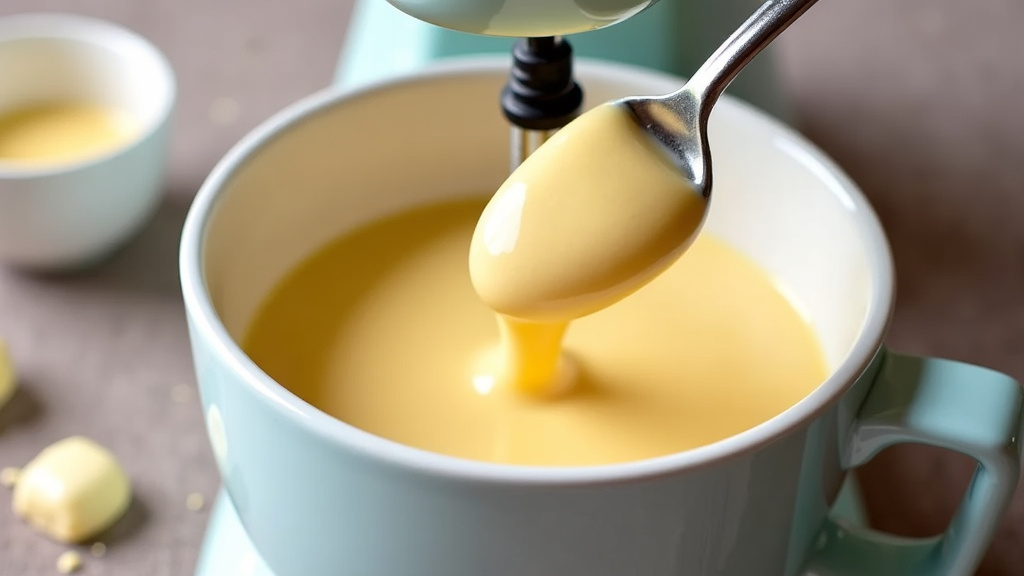
- Observe Consistency: You’ll notice the pudding thickening considerably during this time. It should be smooth, creamy, and have a slight sheen. It should also be lump-free.
- Chill: Once mixed, pour the pudding into serving dishes or a large bowl. Cover it and refrigerate for at least 5 minutes, or until fully set. The longer it chills, the firmer it will become.
That’s it! Your stand mixer does all the hard work. We found that the short chilling time is often enough for instant pudding to be ready to enjoy, though longer chilling yields a firmer texture.
Troubleshooting Common Pudding Problems
Even with a stand mixer, sometimes things don’t go exactly as planned. Don’t worry, most common issues are easy to fix or prevent. We’ve certainly encountered a few in our pudding-making adventures!
Pudding Not Setting?
This is probably the most common issue. If your pudding stays runny, the culprit is usually warm milk. Instant pudding relies on cold temperatures to activate its setting agents.
Another reason could be expired pudding mix. Always check the date on the box. Also, some non-dairy milks (like almond or oat milk) can sometimes lead to a softer set. We found that using very cold dairy milk usually solves this problem.
Too Many Lumps?
While less likely with a stand mixer, lumps can still occur. This might happen if you added the pudding mix too quickly, or if the initial low-speed mixing wasn’t long enough. Make sure to scrape down the sides of the bowl to get any dry pockets. Running the mixer for another minute or two on medium-high often helps smooth things out.
The key here is giving the dry mix enough time to fully dissolve. Sometimes, simply letting it sit for a moment after the initial mix and then mixing again can help. Think of it as letting the ingredients get to know each other before the big performance.
Too Thin or Too Thick?
If your pudding is too thin, it’s usually due to too much milk. If it’s too thick, you might have used too little milk. Always follow the package directions precisely for the amount of milk. This is where accurate measuring really pays off.
If you prefer a slightly thicker pudding, you could try reducing the milk by a tablespoon or two next time. For a thinner pudding, add a tiny splash more milk and whisk it in gently. Small adjustments can make a big difference in consistency.
Creative Uses for Stand Mixer Pudding
Once you’ve mastered the art of stand mixer instant pudding, a whole world of dessert possibilities opens up. It’s not just for eating plain anymore! Think of your perfectly whipped pudding as a versatile base for many treats.
Dessert Layers and Parfaits
Your smooth, airy pudding is ideal for layering. You can create beautiful parfaits with crushed cookies, fresh fruit, whipped cream, and different pudding flavors. This adds texture and visual appeal to a simple dessert.
Imagine layers of chocolate pudding, crumbled Oreos, and a dollop of whipped cream. Or vanilla pudding with berries and granola. The options are limitless, and the stand mixer makes sure your pudding layer is always silky and consistent.
Pie Fillings and Tarts
Instant pudding, especially chocolate or banana cream, makes an excellent, quick pie filling. Just pour your freshly whipped pudding into a pre-baked pie crust. Chill, and you have a delicious, effortless pie ready to go.
You can also use it for small tarts or even as a filling for cream puffs. The stability and smoothness achieved with a stand mixer are perfect for these applications. It holds its shape well once chilled, giving you a professional-looking finish.
Pudding Pops and Frozen Treats
Yes, you can freeze it! Pour your whipped pudding into popsicle molds for homemade pudding pops. This is a fantastic treat for warmer weather and a healthier alternative to some store-bought options. It’s a fun way to enjoy your pudding in a new form.
You can also swirl it into ice cream bases before churning or simply freeze it in a shallow dish and then break it up for a quick, frosty dessert. The stand mixer’s aeration helps keep it from becoming too icy, resulting in a smoother frozen texture.
Checklist for Perfect Stand Mixer Pudding
To make sure your instant pudding comes out perfectly every time, here’s a quick checklist to keep in mind. Following these simple steps will help you achieve delicious results with ease.
- ✅ Use very cold milk, straight from the fridge.
- ✅ Ensure your stand mixer’s whisk attachment is clean and dry.
- ✅ Start mixing on low speed to prevent powder cloud.
- ✅ Mix on medium-high for the recommended 2-3 minutes.
- ✅ Scrape down the sides of the bowl during mixing.
- ✅ Chill adequately for at least 5 minutes before serving.
By following these guidelines, you’ll find that using your stand mixer for instant pudding is not only possible but also the superior method for a smooth, airy dessert.
Conclusion
You’ve seen how a stand mixer transforms instant pudding from a simple dessert into something truly special. We found it consistently delivers a smoother, more aerated texture with minimal effort on your part. No more lumpy, dense pudding; just light, creamy perfection every time.
By using cold milk and the whisk attachment, you’re set for success. Now that you know the secrets, go ahead and experiment with different flavors and creative uses. Your stand mixer is waiting to help you whip up your next delicious dessert!
Frequently Asked Questions
Can I use a paddle attachment instead of a whisk for instant pudding?
While you can use a paddle, we found the whisk attachment is best for instant pudding. The whisk incorporates more air, giving you that desirable light and fluffy texture. A paddle tends to produce a denser result.
How long does stand mixer instant pudding last in the refrigerator?
Typically, instant pudding made with a stand mixer will last 3-5 days in the refrigerator. Just make sure to keep it covered tightly. This helps maintain its freshness and prevents it from absorbing other odors.
What’s the best way to clean my stand mixer bowl and whisk after making pudding?
For easy cleanup, rinse the bowl and whisk immediately after use. If any pudding has dried, a quick soak in warm, soapy water will loosen it right up. Most stand mixer bowls and attachments are also dishwasher safe.
Can I add flavorings or mix-ins to the pudding while it’s in the stand mixer?
Absolutely! Once your pudding has thickened, you can gently fold in flavorings like extracts or small mix-ins. Add things like chocolate chips, crushed cookies, or shredded coconut after mixing, to ensure even distribution without overmixing.
Does the size of my stand mixer matter for making instant pudding?
Any size stand mixer will work for instant pudding, as long as it has a whisk attachment. For larger batches, you might appreciate a bigger bowl. Just ensure the whisk reaches the bottom of the bowl for effective mixing.
