
How to Make Bread Crumbs with a Stand Mixer Attachment?
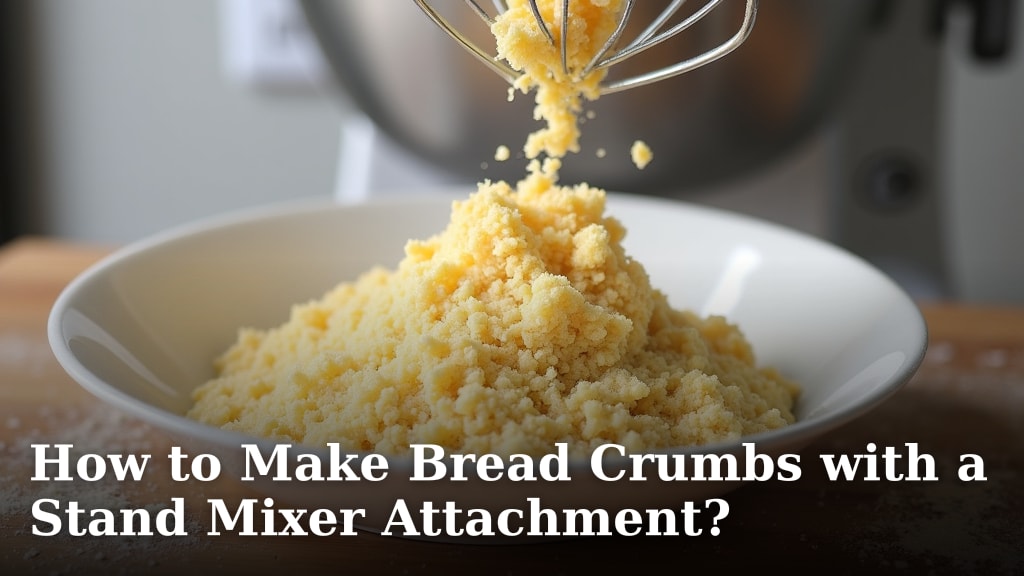
The easiest way to make bread crumbs with a stand mixer attachment is by using a food grinder attachment. You simply feed stale or toasted bread pieces into the grinder, and it processes them into consistent bread crumbs. This method is surprisingly efficient and creates a much more uniform result than doing it by hand.
We found that using a stand mixer with the right attachment turns a tedious kitchen task into a breeze. You can quickly transform leftover bread into versatile ingredients for many recipes. Plus, it’s a great way to reduce food waste in your kitchen.
- Quickly make uniform bread crumbs.
- Uses your stand mixer’s food grinder attachment.
- Ideal for stale or lightly toasted bread.
- A great way to repurpose old bread.
- Saves time compared to manual methods.
Let’s walk through exactly how this works step by step, ensuring you get perfect bread crumbs every time.
Transforming Stale Bread into Bread Crumbs with Your Stand Mixer
You’re ready to turn that leftover bread into a useful ingredient. Using your stand mixer’s food grinder attachment makes this process simple and very effective. It gives you consistent, high-quality bread crumbs without much effort.
Understanding Your Stand Mixer Attachment
Before you begin, it’s good to know which attachment works best. While your stand mixer has many uses, for bread crumbs, you’ll need the food grinder attachment. This is different from the pasta maker or shredder attachments.
The Right Tool for the Job: Food Grinder
We found that a food grinder attachment is designed to process foods through a metal plate with holes. This action is perfect for creating uniform bread crumbs. Think of it like a manual meat grinder, but powered by your mixer. You want one with a medium-sized grinding plate for general purpose crumbs.
Preparing Your Bread for Crumbing
The type of bread you use and how you prepare it makes a big difference in your final bread crumbs. Not all bread is created equal for this task, and a little prep work goes a long way. Are you using fresh bread, or something a bit older? If you’re interested in making your own bread to use for crumbs, explore the best stand mixer for bread baking.
Choosing the Best Bread Type
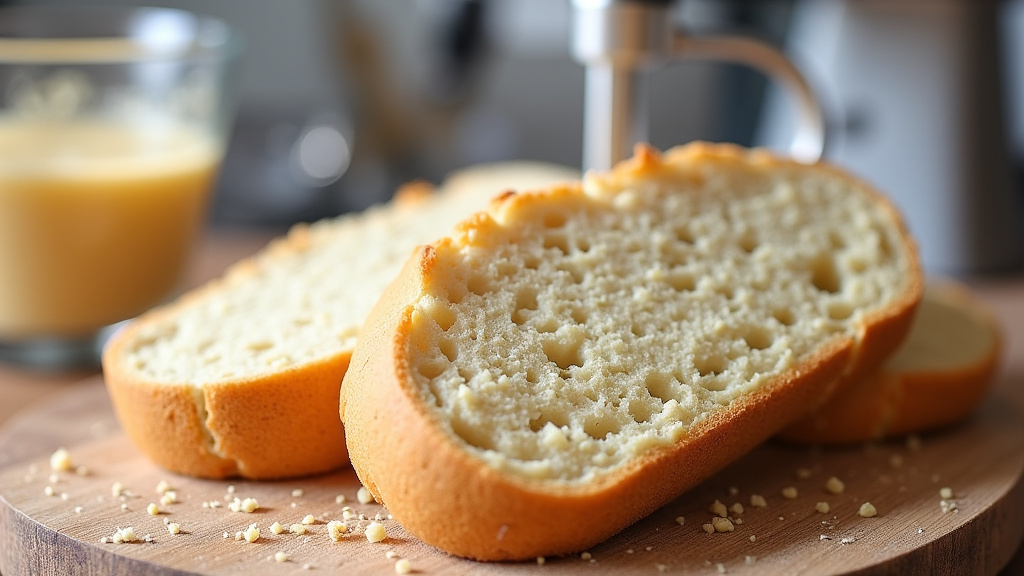
For the best results, use bread that is stale or lightly toasted. Fresh, soft bread can turn into a paste rather than crumbs. A day-old baguette, sourdough, or even sandwich bread works well. We found that denser breads yield better crumbs.
Drying or Toasting Your Bread Pieces
If your bread isn’t stale enough, you have a couple of options. You can leave it out on your counter overnight to dry naturally. Or, for a quicker method, cut your bread into 1-inch cubes and bake them. A low oven (around 250°F or 120°C) for 15-20 minutes can work wonders. You want them dry and hard, but not burnt.
Consider these tips for drying bread:
- Cut bread into small, even pieces.
- Spread pieces in a single layer on a baking sheet.
- Bake until just firm and dry to the touch.
- Cool completely before grinding.
Step-by-Step Guide to Making Bread Crumbs
Now that your bread is ready, let’s get to the fun part: grinding! This process is surprisingly quick once you have everything set up. You’ll be amazed at how fast your stand mixer works.
Setting Up Your Stand Mixer
First, attach the food grinder to your stand mixer. Make sure it’s securely fastened according to your mixer’s instructions. Choose the grinding plate with medium-sized holes. This will give you those perfect, versatile bread crumbs.
Here’s a quick checklist for setup:
- Ensure your stand mixer is unplugged before attaching.
- Attach the grinder head to the power hub.
- Insert the grinding worm/auger.
- Place the cutting blade and then the medium grinding plate.
- Secure the locking ring tightly.
- Place a bowl under the grinder output.
Grinding Your Bread into Crumbs
Plug in your mixer and set it to a medium speed, usually around speed 4 or 6. Begin feeding your prepared bread pieces into the hopper. Use the food pusher to gently guide the bread down. Avoid forcing it; let the grinder do the work.
As the bread passes through, you’ll see beautiful, consistent bread crumbs fall into your bowl. It’s quite satisfying! If you want finer crumbs, you can pass them through the grinder a second time. We found that one pass is often enough for most recipes (Cleveland Clinic).
Storing Your Homemade Bread Crumbs
Once you’ve made your bread crumbs, proper storage is key to keeping them fresh. You don’t want all your hard work to go to waste, do you?
Short-Term and Long-Term Storage Options
For short-term use, store your bread crumbs in an airtight container at room temperature for up to a week. For longer storage, you have a couple of excellent options. Many sources recommend freezing for extended freshness.
| Storage Method | Container Type | Shelf Life | Best For |
|---|---|---|---|
| Pantry/Countertop | Airtight container | 1 week | Frequent use |
| Refrigerator | Airtight container | 2-3 weeks | Infrequent use |
| Freezer | Freezer-safe bag/container | 3-6 months | Batch cooking, long-term |
Freezing your bread crumbs in a freezer-safe bag or container can keep them fresh for up to 6 months. Simply grab what you need directly from the freezer; they thaw very quickly. This is especially helpful if you make a large batch.
Creative Uses for Your Homemade Bread Crumbs
Now that you have a fresh batch of bread crumbs, what will you make? The possibilities are surprisingly varied. You’ve created a versatile ingredient that can enhance many dishes. It’s like having a secret weapon in your pantry!
Everyday Cooking Applications
Homemade bread crumbs are perfect for many classic dishes. Use them for breading chicken cutlets, fish, or vegetables. They add a wonderful crispness and texture. We love them in meatballs and meatloaf, too, for keeping things moist and flavorful.
Other great uses include:
- Topping for casseroles and gratins.
- Binder in crab cakes or veggie burgers.
- Thickener for soups or stews.
- Making crunchy croutons (just toast with oil and seasonings).
- Sprinkled over pasta dishes for added texture.
Enhancing Flavor: Seasoning Your Crumbs
Don’t be afraid to add some flavor! Before using, you can season your bread crumbs with herbs, spices, or cheese. A little garlic powder, onion powder, dried parsley, or Parmesan cheese can transform plain crumbs into a gourmet ingredient. This gives you control over the taste, unlike store-bought versions.
Conclusion
You’ve now got all the knowledge to effortlessly transform leftover bread into versatile bread crumbs using your stand mixer’s food grinder attachment. This method is incredibly efficient, producing consistently great results with minimal fuss. By making your own, you’re not only creating a superior product but also actively reducing food waste in your kitchen.
So, gather your stale bread, set up your mixer, and enjoy the satisfaction of crafting homemade bread crumbs. Start experimenting with different bread types and seasonings. You’ll quickly discover how this simple process can elevate countless dishes!
Frequently Asked Questions
Can I use fresh bread to make bread crumbs with a stand mixer?
We recommend against using fresh bread for stand mixer bread crumbs. Fresh bread often turns into a gummy paste when ground, rather than light, airy crumbs. It’s best to use bread that is stale or lightly toasted and dried.
What if I don’t have a food grinder attachment for my stand mixer?
If you don’t have a food grinder, you can still make bread crumbs using other methods. A food processor or even a sturdy blender can work, though the texture might be slightly different. You can also grate very dry bread by hand.
How do I make seasoned bread crumbs using my stand mixer?
To make seasoned bread crumbs, first grind your plain, dry bread into crumbs. Then, transfer the crumbs to a bowl and mix in your desired herbs, spices, or grated cheese. This ensures an even distribution of flavor throughout your batch.
Can I use gluten-free bread to make bread crumbs with this method?
Yes, you can absolutely use gluten-free bread to make bread crumbs with your stand mixer. Just ensure the gluten-free bread is adequately stale or dried, similar to regular bread. The drying process is key for good crumb texture.
Why are homemade bread crumbs better than store-bought?
Homemade bread crumbs offer superior freshness, flavor, and texture compared to many store-bought options. You control the ingredients, avoiding unwanted preservatives or excessive sodium. Plus, you get to choose your preferred bread type for a custom taste.
