
Can You Make Ice Cream in a Stand Mixer?
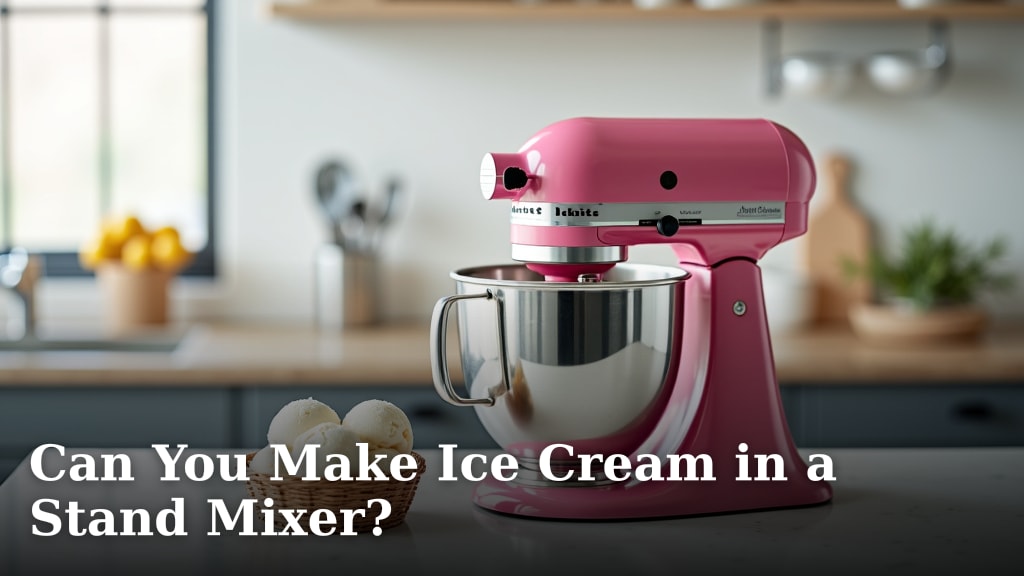
Yes, you absolutely can make ice cream in a stand mixer, and it’s easier than you might think! While not a dedicated ice cream maker, your stand mixer can churn out delicious frozen treats with just a few simple steps. You don’t need fancy equipment to enjoy homemade ice cream.
Many home cooks wonder if their stand mixer is up to the task, and we found it definitely is. With the right technique, you can achieve a creamy texture that rivals traditional ice cream makers. It’s a great way to use kitchen tools you already own to create something special.
TL;DR: Making Ice Cream in a Stand Mixer
- Yes, your stand mixer can make ice cream.
- You’ll need to pre-chill your bowl and ingredients.
- The freezer plays a key role in the final set.
- It’s a creative way to use existing kitchen tools.
Ready to turn your stand mixer into an ice cream machine? Let’s walk through exactly how to do it, step by step, ensuring you get perfect results every time.
Using Your Stand Mixer for Homemade Ice Cream
You’ve got a stand mixer, and you’re wondering if it can really handle ice cream. The short answer, as we found, is a resounding yes! Your stand mixer is a powerful tool with the potential to create delicious frozen treats right in your own kitchen. It might not have the built-in freezer bowl of a dedicated ice cream maker, but its strong motor and versatile attachments make it surprisingly effective.
The key difference is how the chilling happens. With a stand mixer, you’ll be relying on your freezer more heavily for the final set, but the mixing action is just as crucial. Think of your stand mixer as the muscle behind the operation, doing all the hard work of aeration and blending. It’s about understanding its strengths and how to best utilize them.
The Science Behind Stand Mixer Ice Cream
Making ice cream, even with a stand mixer, is a bit of kitchen chemistry. You’re trying to incorporate air into a liquid mixture while simultaneously freezing it. This process creates those tiny ice crystals that give ice cream its smooth, creamy texture. If the ice crystals get too large, you end up with an icy, rather than creamy, dessert.
The stand mixer’s role is to churn and aerate the mixture. This whipping action introduces air, making the ice cream lighter and preventing it from becoming a solid block of ice. It also helps to distribute the fat particles evenly, contributing to that desirable smooth mouthfeel. We found that the longer and more vigorously you can churn without over-whipping, the better the texture will be. It’s a delicate balance.
The Importance of Pre-Chilling
Pre-chilling is perhaps the most critical step when using a stand mixer for ice cream. Why? Because your stand mixer bowl isn’t designed to freeze the mixture like a traditional ice cream maker. You need to give your mixture and your equipment a head start. We recommend chilling everything you can.
- Your stand mixer bowl: Pop it in the freezer for at least 30 minutes, or even an hour. A cold bowl helps slow down the melting process.
- Your whisk attachment: Don’t forget this! A cold whisk will also help maintain a low temperature.
- Your ice cream base: This is non-negotiable. Your custard base or cream mixture needs to be completely chilled, ideally for at least 4-6 hours, or even overnight. This gives the fats time to firm up and the flavors to meld.
Many culinary experts emphasize that a properly chilled base is the secret to preventing large ice crystals (Cook’s Illustrated).
Essential Equipment for Stand Mixer Ice Cream
You already have the star player: your stand mixer. But to ensure success, a few other items are incredibly helpful. You don’t need a kitchen full of gadgets, just the right tools for the job.
What You’ll Definitely Need
- Stand Mixer: Of course! A sturdy mixer with a powerful motor is best.
- Whisk Attachment: This is your go-to for aerating the mixture. The wire whisk is perfect for incorporating air.
- Spatula: For scraping down the sides of the bowl. You want every bit of that delicious mixture.
- Airtight Container: Essential for freezing your ice cream. Glass or plastic, just make sure it seals well to prevent freezer burn.
- Freezer Space: You’ll need a dedicated spot in your freezer for pre-chilling and for the final set.
Optional but Helpful Items
- Large Bowl for an Ice Bath: If you’re making a cooked custard base, an ice bath is invaluable for quickly cooling it down.
- Fine-Mesh Sieve: For straining custard bases to remove any cooked egg bits or lumps, ensuring a super-smooth texture.
- Plastic Wrap or Parchment Paper: To press directly onto the surface of your ice cream base while chilling. This prevents a “skin” from forming.
Step-by-Step Guide to Stand Mixer Ice Cream
Ready to make some magic? Follow these steps, and you’ll be enjoying homemade ice cream in no time. It’s a process that requires a little patience, but the results are so worth it. For a comprehensive guide on getting the most out of your appliance, explore our article on how to use a stand mixer.
Step 1: Prepare and Chill Your Base
First, you need a good ice cream base. This can be a no-cook recipe or a classic cooked custard. Whatever you choose, once it’s made, it needs to be thoroughly chilled. We cannot stress this enough!
Transfer your base to an airtight container. Press plastic wrap or parchment paper directly onto the surface to prevent a skin from forming. Then, refrigerate it for at least 4-6 hours, or even better, overnight. A well-chilled base makes all the difference.
Step 2: Pre-Chill Your Equipment
About 30-60 minutes before you’re ready to churn, place your stand mixer bowl and whisk attachment in the freezer. The colder they are, the more effectively they can keep your ice cream base from warming up too quickly. This helps with aeration and prevents large ice crystals.
Step 3: Churn in the Stand Mixer
Attach your cold bowl and whisk to your stand mixer. Pour in your super-chilled ice cream base. Start on a low speed, then gradually increase to medium-high. You want to whip air into the mixture.
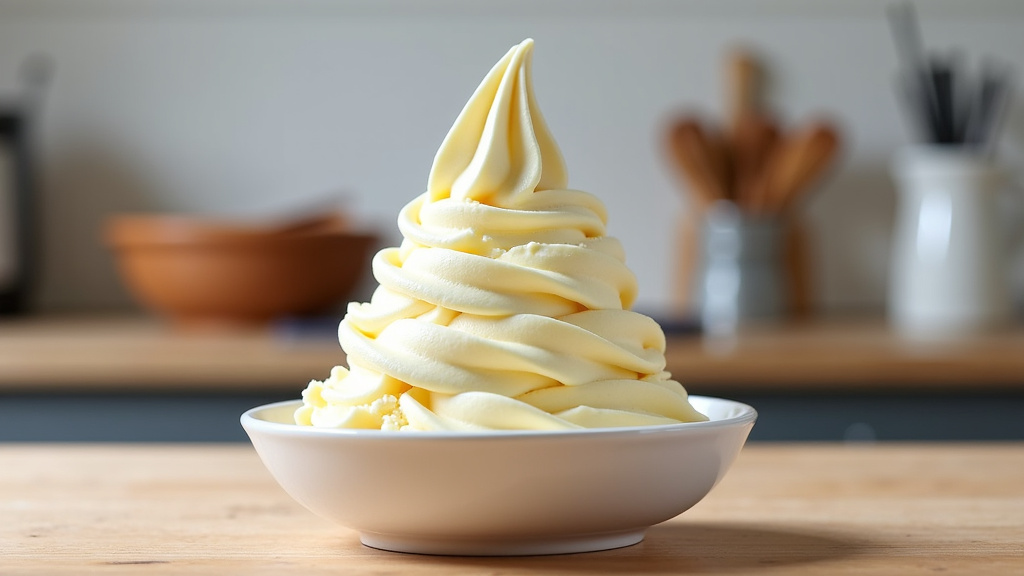
Whip for 10-20 minutes. You’ll notice the mixture becoming thicker, lighter, and increasing in volume. It won’t be fully frozen like soft-serve, but it should be light, airy, and hold soft peaks. It should resemble a very thick milkshake or a soft whipped cream. Don’t overdo it, or you might incorporate too much air, which can affect texture.
Step 4: The Freezer “Set”
This is where your freezer takes center stage. Once your ice cream mixture is light and airy from the stand mixer, transfer it to your pre-chilled airtight container. Smooth the top with a spatula.
Place the container in the coldest part of your freezer. Allow it to “cure” or “set” for at least 4-6 hours, or preferably overnight. During this time, it will firm up to the perfect scoopable consistency. This is a crucial step for achieving that creamy, decadent texture you’re looking for. Many sources, including university extension programs, highlight the importance of slow, even freezing for optimal texture (Penn State Extension).
Troubleshooting Common Issues
Even with the best intentions, sometimes things don’t go exactly as planned. But don’t worry, we’ve got some tips for fixing common stand mixer ice cream woes.
Why is My Ice Cream Icy?
If your ice cream turns out more like a block of ice than a creamy treat, the most common culprit is insufficient aeration or not enough fat. Make sure your base is very cold before churning. Also, ensure you’re whipping it long enough in the stand mixer to incorporate plenty of air. Adding a splash of alcohol (like vodka, which doesn’t freeze) can also help lower the freezing point and make it softer, but use sparingly.
My Ice Cream is Too Hard to Scoop!
Similar to iciness, a rock-hard ice cream often means too many large ice crystals or too little fat. Ensure your base has enough fat (heavy cream is key!). Another trick is to let your ice cream sit on the counter for 5-10 minutes before scooping. This allows it to soften slightly, making it much easier to enjoy.
My Mixture Didn’t Thicken Much in the Mixer. What Happened?
The primary reason for this is usually that your base wasn’t cold enough, or your bowl and whisk weren’t adequately pre-chilled. The mixer works best with a very cold starting point. Also, ensure your stand mixer is on a high enough speed to really whip air into the mixture. You’re looking for that thick, soft-serve consistency, not just a gentle stir.
Stand Mixer Ice Cream Checklist
To ensure your homemade ice cream journey is a smooth one, here’s a quick checklist to keep handy:
- Is your ice cream base thoroughly chilled (4-6 hours minimum)?
- Are your stand mixer bowl and whisk attachment frozen?
- Is your mixer set to medium-high speed for whipping?
- Are you whipping until the mixture is light, airy, and holds soft peaks?
- Is your storage container airtight and pre-chilled?
- Are you allowing adequate time (4-6 hours, preferably overnight) for the final freezer set?
Comparing Stand Mixer Method to Traditional Ice Cream Makers
It’s helpful to understand where your stand mixer shines and where a dedicated ice cream maker might have an edge. Both methods can produce fantastic ice cream, but they achieve it in slightly different ways.
| Feature | Stand Mixer Method | Traditional Ice Cream Maker |
|---|---|---|
| Chilling Mechanism | Relies on pre-chilled bowl/whisk and freezer for final set. | Has a freezer bowl or built-in compressor to chill while churning. |
| Churning Time | 10-20 minutes in mixer, then 4-6+ hours in freezer. | 20-30 minutes of continuous churning until soft-serve consistency. |
| Initial Setup | Pre-chill base, bowl, whisk. | Pre-freeze freezer bowl (if not compressor model). |
| Texture Attainment | Develops texture through whipping and subsequent hard freeze. | Achieves soft-serve texture directly from churning. |
| Convenience | Uses existing appliance, but requires more freezer management. | Dedicated appliance, often more “set it and forget it” during churn. |
| Cost | Free (if you own a stand mixer). | Additional purchase for a dedicated machine. |
As you can see, both have their merits. The stand mixer method is a fantastic, budget-friendly way to get into homemade ice cream, using tools you already own. It just requires a little more planning with chilling and freezing times. We found that the results can be just as delicious, with a truly satisfying creamy texture.
Conclusion
You’ve seen that making ice cream in your stand mixer is not only possible but also genuinely rewarding. By understanding the importance of pre-chilling and the stand mixer’s role in aeration, you can create surprisingly creamy, delicious frozen treats.
Don’t let the lack of a dedicated ice cream maker stop you. We found that with a little patience and careful preparation, your existing kitchen tools are perfectly capable. Go ahead and experiment with flavors and enjoy the satisfaction of homemade ice cream.
Now that you know the secrets, gather your ingredients and get ready to whip up your next batch!
Frequently Asked Questions
Can I use a hand mixer instead of a stand mixer?
While technically possible, a hand mixer will be significantly more challenging. It’s harder to maintain consistent speed and aeration, and your arms will get very tired. A stand mixer provides the consistent, powerful whipping needed for the best texture.
How long does stand mixer ice cream last in the freezer?
Homemade ice cream generally stays fresh and creamy for about 1-2 weeks in an airtight container. After that, it might start to develop more ice crystals or absorb freezer odors. Enjoy it while it’s at its best!
Do I need to add alcohol to prevent ice crystals?
No, adding alcohol is optional. While a small amount of high-proof alcohol (like vodka) can help keep ice cream softer by lowering its freezing point, it’s not necessary for good results. Proper chilling and aeration are more important for preventing iciness.
What if my ice cream base is too warm before mixing?
If your base isn’t thoroughly chilled, your stand mixer won’t be able to incorporate enough air effectively. This can lead to a thinner, less creamy mixture that freezes into a harder, icier consistency. Always prioritize a super-cold base.
Can I add mix-ins like cookies or candy to stand mixer ice cream?
Absolutely! Wait until the ice cream has partially set in the freezer (about 2-3 hours) before folding in your mix-ins. This prevents them from sinking to the bottom. You can also add them during the last minute or two of stand mixer churning.
