
Can You Make Pasta Dough in a Stand Mixer?
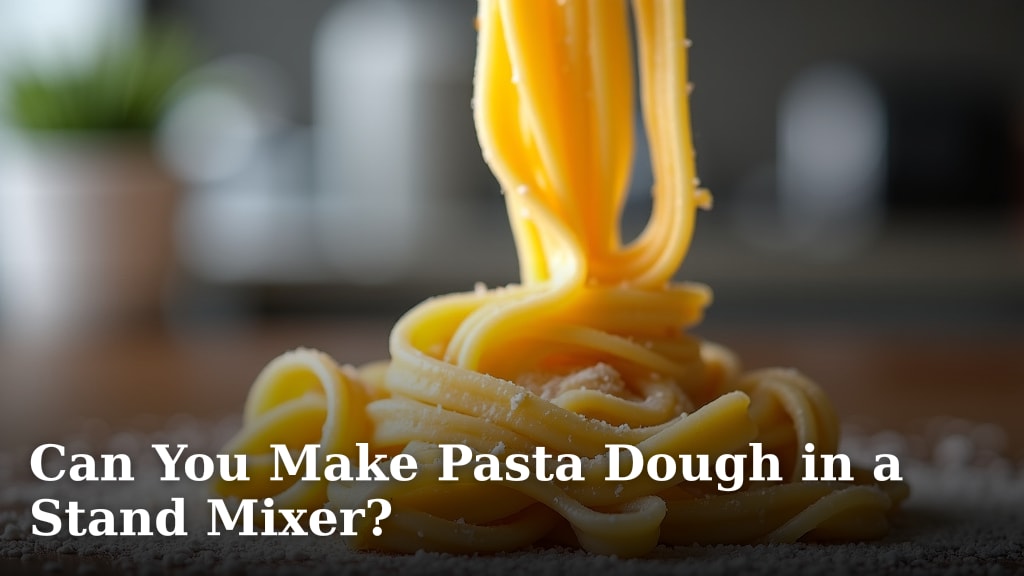
Yes, you can absolutely make pasta dough in a stand mixer! Using your stand mixer is a fantastic way to simplify the process. It saves your arms from a lot of kneading and ensures a consistently smooth dough.
We found that many home cooks consider their stand mixer an essential tool for homemade pasta. This method works well for various pasta types, from fettuccine to ravioli. It takes a lot of the guesswork out of achieving the perfect dough consistency.
- Stand mixers save effort and time in pasta making.
- They help achieve a consistent, smooth dough.
- You’ll still need to finish the kneading by hand briefly.
- The dough hook attachment is your best friend here.
- Proper hydration is key to success.
Let’s walk through everything you need to know about making perfect pasta dough with your stand mixer, step by step.
Using Your Stand Mixer for Pasta Dough
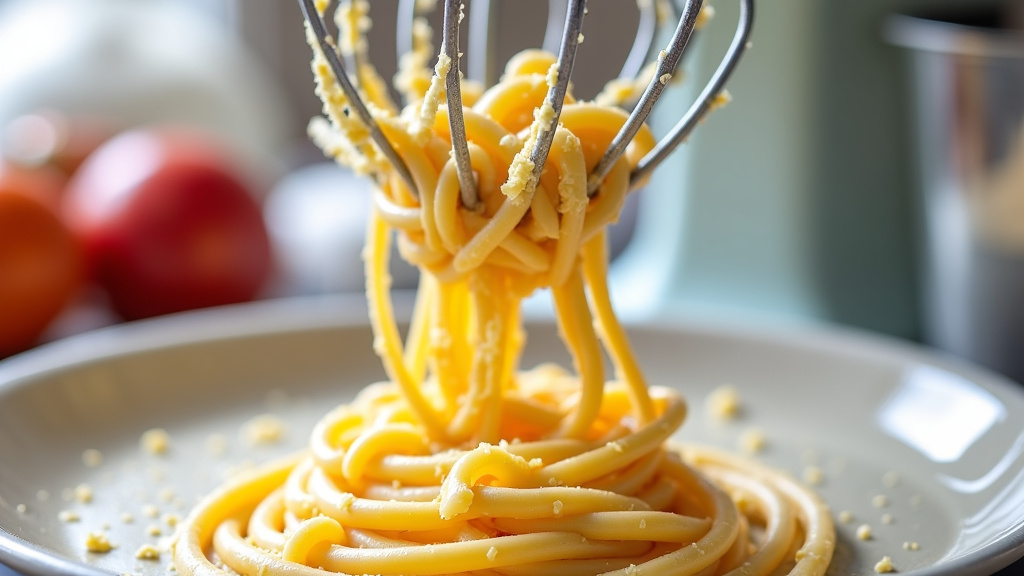
Making pasta dough with your stand mixer is surprisingly simple. You’ll use the dough hook attachment, which does most of the hard work for you. It mimics the hand-kneading process without all the arm fatigue.
We found that this method is especially helpful for those who are new to pasta making. It removes a lot of the initial intimidation.
The Right Ingredients for Success
Great pasta starts with great ingredients. You don’t need many, but their quality matters.
Flour Choices for Pasta Dough
The type of flour you choose impacts the texture of your pasta. Your stand mixer can handle a few different types.
- “00” Flour: This is a finely milled Italian flour, ideal for silky smooth pasta. Many chefs consider it the gold standard.
- All-Purpose Flour: A readily available option that works well. Your pasta will be slightly chewier, but still delicious.
- Semolina Flour: Often mixed with “00” or all-purpose. It adds a lovely bite and a golden color.
For a basic egg pasta, a 50/50 blend of “00” and semolina is a popular choice. Or, you can stick with just “00” or all-purpose for simplicity.
Eggs and Hydration
Eggs provide moisture and richness to your pasta dough. Fresh, large eggs are generally best. The yolk-to-white ratio can also subtly affect the dough’s color and richness.
Sometimes, a little water is needed to adjust hydration. This depends on your flour and even the humidity in your kitchen. We found that it’s better to add water slowly, drop by drop, if the dough seems too dry.
Setting Up Your Mixer for Pasta Dough
Before you begin, gather your ingredients and set up your stand mixer. This makes the process smooth and enjoyable.
Required Equipment
You won’t need much beyond your trusty stand mixer.
- Stand Mixer: The star of our show. Any common brand like KitchenAid will do.
- Dough Hook Attachment: This is the key tool for kneading.
- Large Mixing Bowl: The one that comes with your mixer.
- Measuring Cups and Spoons: For accurate ingredient amounts.
- Plastic Wrap or Damp Cloth: For resting the dough.
Mixing Bowl and Dough Hook Installation
Attach the mixing bowl securely to your stand mixer. Then, put on the dough hook. Make sure it clicks into place. This prevents any mishaps during kneading.
We’ve all heard stories of attachments flying off. A quick check saves a lot of cleanup.
Step-by-Step: Making Pasta Dough in Your Mixer
Here’s a simple guide to making your perfect pasta dough. Follow these steps for great results.
Combining Dry Ingredients
First, add your chosen flour (or flour blend) to the stand mixer’s bowl. If you’re using salt, add it now. Many recipes call for a pinch of salt to enhance flavor.
Give it a quick stir with a spoon or pulse the mixer on the lowest speed to combine.
Adding Wet Ingredients and Initial Mixing
Crack your eggs into a separate bowl. You can lightly whisk them or add them whole to the flour. Many prefer whisking for more even distribution.
With the mixer on low speed (usually speed 2 for KitchenAid), slowly pour the eggs into the flour. The dough hook will start to bring the ingredients together.
At this stage, the mixture might look shaggy and crumbly. Don’t worry, this is normal. We found that patience is key here.
Kneading with the Dough Hook
Once the ingredients are mostly combined, increase the mixer speed to medium-low (speed 3-4). Let the dough hook do its work. It will pull, stretch, and fold the dough. This develops the gluten, which gives pasta its structure and chewiness.
Knead for about 7-10 minutes. Keep an eye on the dough. It should start to pull away from the sides of the bowl. It will look smoother and feel more elastic.
Many experts say to stop when the dough looks like a smooth, somewhat firm ball (America’s Test Kitchen).
Adjusting Dough Consistency
During kneading, you might need to make small adjustments. This is where a little intuition comes in.
- If the dough is too dry: Add a teaspoon of water at a time. Let it mix in completely before adding more.
- If the dough is too sticky: Add a teaspoon of flour at a time. Too much flour can make the pasta tough.
The goal is a dough that is firm but pliable. It shouldn’t stick excessively to your fingers.
Finishing Touches and Resting the Dough
Even with the mixer doing most of the work, a little hand-kneading is beneficial. It helps you assess the dough’s texture directly.
Brief Hand Kneading
Once the mixer has done its job, take the dough out of the bowl. Place it on a lightly floured surface. Knead it by hand for just 1-2 minutes.
This final hand-knead helps you feel the dough. Is it smooth? Is it elastic? Does it spring back when pressed?
This step also helps you connect with the dough, something many home cooks find rewarding.
The Importance of Resting
Resting the dough is crucial. It allows the gluten to relax. This makes the dough easier to roll out thinly. It also improves the texture of the final pasta.
Shape the dough into a ball or disc. Wrap it tightly in plastic wrap or cover it with a damp cloth. Place it in the refrigerator for at least 30 minutes, or up to an hour. Some recipes even suggest resting at room temperature for 20-30 minutes.
We found that skipping this step often leads to a tough, hard-to-work-with dough.
Troubleshooting Common Stand Mixer Pasta Dough Issues
Sometimes things don’t go exactly as planned. Here are solutions to common problems.
Dough Too Sticky or Too Dry
This is the most common issue. But it’s also the easiest to fix.
If your dough is too sticky and won’t pull away from the bowl, add a tablespoon of flour. Continue kneading until it smooths out. Repeat if necessary.
If your dough is too dry and looks crumbly, add a teaspoon of water. Let the mixer incorporate it. Repeat until the dough comes together.
Dough Not Coming Together
This usually means you need more kneading time. Let the mixer run for a few more minutes. The dough hook needs time to work its magic and develop the gluten.
Ensure your mixer is on a medium-low speed. Too slow, and it won’t knead effectively. Too fast, and you might overwork it initially.
Over-Kneading Risks
While stand mixers save effort, you can still over-knead dough. Over-kneaded dough can become tough and rubbery. This is because the gluten becomes too tight.
Pay attention to the dough’s texture. It should be smooth and elastic, but still somewhat soft. If it feels extremely stiff or resistant, you might have over-kneaded it.
The good news is, a proper rest can often help relax slightly over-kneaded dough.
Benefits of Using a Stand Mixer for Pasta Dough
Using a stand mixer offers several advantages over hand-kneading.
| Benefit | Explanation |
|---|---|
| Effort Savings | No more strenuous hand kneading. The mixer does the heavy lifting for you. |
| Consistency | Achieves a more consistent, evenly kneaded dough every time. |
| Time Efficiency | Frees up your hands to do other kitchen tasks while the dough kneads. |
| Accessibility | Great for those with physical limitations or joint pain. |
| Less Mess | Keeps most of the flour contained within the mixer bowl. |
For many home cooks, these benefits make the stand mixer an indispensable tool for pasta night.
Checklist for Perfect Stand Mixer Pasta Dough
Here’s a quick recap of what to remember for your next batch of pasta dough:
Choose the right flour for your desired pasta texture.
Use the dough hook attachment consistently.
Add wet ingredients slowly to dry ingredients.
Knead for 7-10 minutes on medium-low speed.
Adjust hydration teaspoon by teaspoon.
Always rest the dough for at least 30 minutes.
With these tips, your stand mixer will be your best friend in the quest for delicious homemade pasta.
Conclusion
Making pasta dough in your stand mixer truly transforms the process from a labor-intensive chore into an enjoyable kitchen task. You’ll save your hands from strenuous kneading while still achieving that perfectly smooth, elastic dough every time. Remember to use the dough hook, hydrate gradually, and give your dough a much-needed rest. Similarly, you can also make bread in a stand mixer, transforming another labor-intensive task into an enjoyable one.
Your stand mixer isn’t just for cakes anymore; it’s your secret weapon for homemade pasta. So go ahead, dust off that mixer, gather your ingredients, and try making a batch of fresh pasta. You’ll be amazed at how simple and satisfying it is!
Frequently Asked Questions
Is it better to make pasta dough by hand or with a stand mixer?
Both methods yield delicious pasta. Using a stand mixer is often preferred for its convenience and consistency, as it reduces effort and ensures even kneading. Hand kneading offers a more traditional, tactile experience, but requires more physical exertion. For most home cooks, the mixer is a huge time and effort saver.
What speed should I use on my stand mixer for pasta dough?
Start on a very low speed (like 1 or 2) to combine your ingredients without making a mess. Once the flour and eggs begin to come together, increase the speed to medium-low (usually 3 or 4 on a KitchenAid). This allows the dough hook to effectively knead the dough and develop gluten without overworking it too quickly.
How long should pasta dough rest after being made in a stand mixer?
After kneading in your stand mixer, it’s crucial to rest your pasta dough for at least 30 minutes. An hour is even better. This resting period allows the gluten to relax, making the dough much easier to roll out thinly. It also helps prevent your pasta from shrinking back while you work with it.
Can I use a food processor instead of a stand mixer for pasta dough?
Yes, you can use a food processor for pasta dough, but the method is slightly different. A food processor will bring the dough together very quickly, often in under a minute, but it won’t knead it to the same extent as a stand mixer. You’ll likely need to finish kneading by hand for a few minutes to develop the gluten properly.
Why is my stand mixer pasta dough too tough?
If your pasta dough made in a stand mixer turns out tough, it could be due to a few reasons. You might have over-kneaded it, causing the gluten to become too tight. Insufficient hydration can also lead to tough dough, or not allowing the dough to rest long enough after kneading. Ensure you follow recommended kneading times and always rest your dough.
