
How to Make Gluten Free Bread Dough in a Stand Mixer?
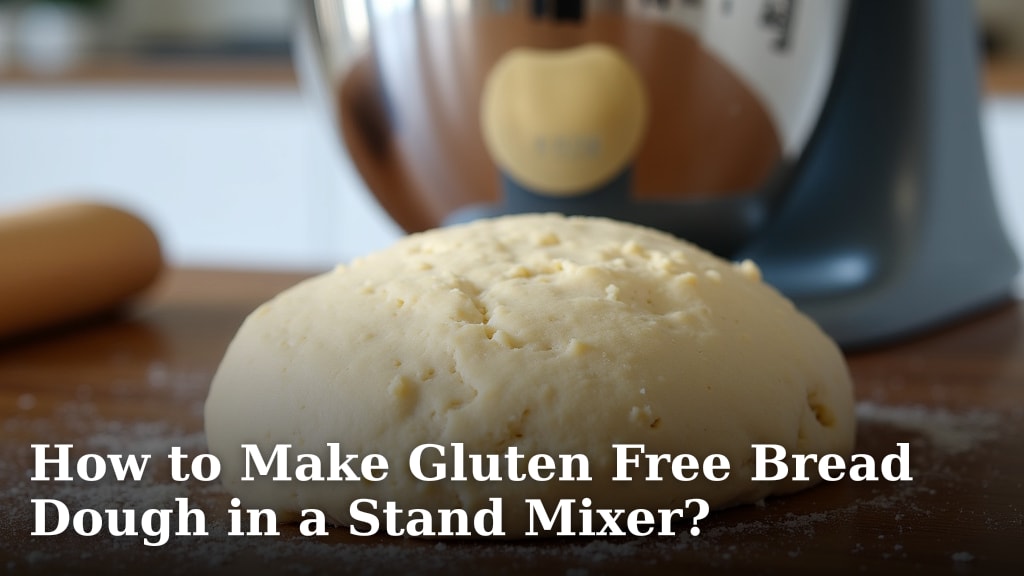
Making gluten-free bread dough in a stand mixer is Our guide explains how to knead bread dough with a stand mixer.surprisingly simple. Your stand mixer can handle the heavy lifting, creating a dough that’s smooth and manageable. This process is about getting the right texture without the gluten. You’ll find it’s much easier than traditional methods.
Many home bakers struggle with gluten-free doughs. They can be sticky or crumbly. Using a stand mixer helps overcome these common issues. We found that the consistent mixing action is key. It ensures your ingredients are well combined for the best results.
- Stand mixers make gluten-free dough easy.
- They ensure a smooth and manageable texture.
- Avoid common sticky or crumbly dough problems.
- Get a great gluten-free loaf with less effort.
Ready to mix up some delicious gluten-free bread? Let’s walk through exactly how to use your stand mixer to create perfect dough, step by step.
Mastering Gluten-Free Bread Dough with Your Stand Mixer
Using a stand mixer for gluten-free bread dough can transform your baking experience. It’s designed to handle sticky, wet doughs that traditional kneading struggles with. We found that the consistent, powerful mixing action is key. It helps create a smooth, elastic-like dough even without gluten. This makes gluten-free baking much more approachable for everyone.
Gathering Your Gluten-Free Ingredients
Before you start mixing, make sure you have all your ingredients ready. Gluten-free flours behave differently than wheat flour. They often require a binder like psyllium husk or xanthan gum to mimic gluten’s structure. Many recipes call for a blend of flours for the best texture and flavor. Always measure your flours accurately. Using too much or too little can affect the dough’s consistency.
Essential Gluten-Free Flour Blends
You can buy pre-made gluten-free flour blends. Or, you can create your own. Common flours include rice flour, tapioca starch, potato starch, and sorghum flour. We found that a mix of these often yields the best results. Different blends will create slightly different dough textures. Researching blends suitable for bread is a good start. For example, some blends might be better for quick breads, while others excel in yeasted loaves (NCBI).
The Role of Binders
Binders are critical in gluten-free baking. They hold the dough together and provide structure. Xanthan gum and psyllium husk are the most common. You’ll typically find them listed in your recipe. Follow the amount specified very carefully. Too much binder can make your bread gummy. Too little can result in a crumbly loaf.
Setting Up Your Stand Mixer
Your stand mixer is the star of this show. It will do the hard work for you. You’ll want to use the paddle attachment for most gluten-free doughs. Some recipes might suggest the dough hook, but the paddle is generally more effective. It scrapes the sides of the bowl better. This ensures everything gets incorporated smoothly. Make sure your mixer is clean and ready to go.
Choosing the Right Attachment
The paddle attachment is your best friend here. It’s designed for batters and softer doughs. Gluten-free bread dough is often wetter and stickier than wheat dough. The paddle attachment can handle this consistency well. It mixes thoroughly without overworking the dough. This helps prevent the toughness sometimes associated with over-mixing.
Understanding Mixer Speed and Time
Mixing times and speeds are important. Start your mixer on a low speed. This prevents flour from flying out of the bowl. Once ingredients start to combine, you can increase the speed slightly. Most recipes will specify a mixing time. It might be longer than you expect for wheat bread. We found that about 5-8 minutes on medium-low speed is often sufficient. Watch the dough; it should look smooth and slightly thickened.
The Gluten-Free Dough Mixing Process Step-by-Step
Let’s get mixing! This is where your stand mixer shines. The process is straightforward but requires attention to detail. Follow these steps carefully for a great dough.
Step 1: Combining Dry Ingredients
Start by putting all your dry ingredients into the stand mixer bowl. This includes your gluten-free flour blend, salt, sugar, and any leavening agents like yeast or baking powder. Whisk them together briefly in the bowl before attaching the paddle. This helps distribute everything evenly. It’s a small step that makes a big difference.
Step 2: Adding Wet Ingredients
Next, add your wet ingredients. This usually includes water or milk, eggs, oil or melted butter, and any liquid sweeteners. Pour them into the bowl with the dry ingredients. Make sure any yeast is activated properly before adding it. Cold liquids can slow down yeast activity. Warm liquids are generally best for yeast breads.
Step 3: The Mixing Phase
Secure the bowl and attach the paddle attachment. Start your mixer on the lowest speed. Let it mix until the ingredients just start to come together. You’ll see a shaggy mass forming. Then, gradually increase the speed to medium-low. Let the mixer run for the time specified in your recipe, typically 5-8 minutes. The dough should become smoother and more cohesive. It might still be sticky, and that’s okay!
What to Look For in Your Dough
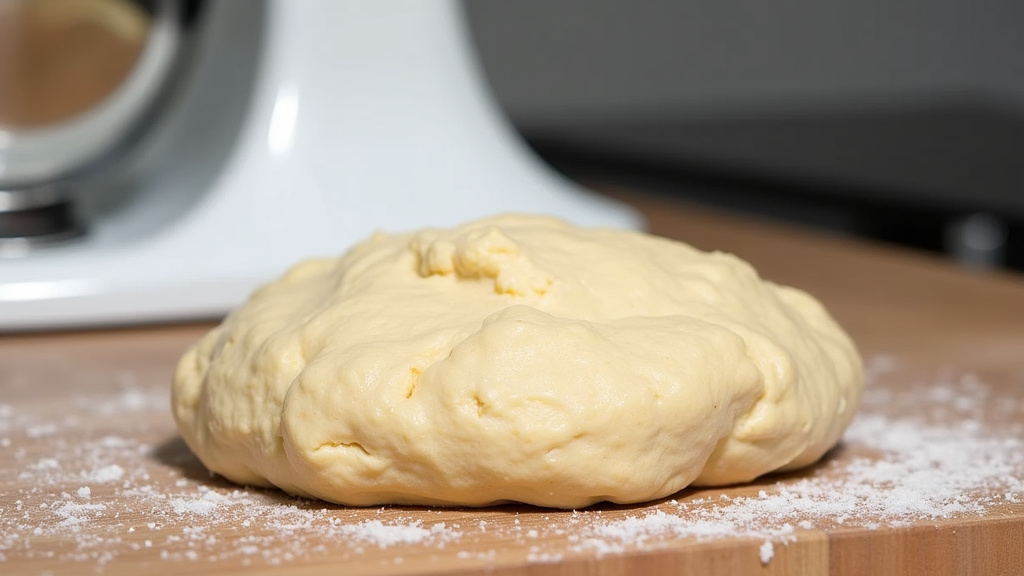
Your gluten-free dough won’t look like traditional wheat dough. It won’t become smooth and elastic in the same way. Instead, aim for a dough that is thick but pourable or spoonable. It should pull away from the sides of the bowl slightly. If it seems too dry, add liquid a tablespoon at a time. If it’s too wet, add a bit more flour blend. It should look glossy and well-combined. Many sources suggest a dough consistency similar to thick cake batter.
Step 4: Checking Dough Consistency
After the mixing time is up, stop the mixer. Scrape down the sides of the bowl with a spatula. Give the dough a good look. Is it too wet? Too dry? Gluten-free doughs can be a bit finicky. We found that a slightly sticky dough is often better than a dry one. A sticky dough can lead to a moister, softer crumb. If you’re unsure, it’s usually better to err on the side of slightly wetter.
Troubleshooting Common Dough Issues
Too Wet: If your dough is too watery and won’t hold shape, add your gluten-free flour blend one tablespoon at a time. Mix for another minute after each addition. Let the mixer do the work. Too Dry: If the dough looks crumbly and won’t come together, add warm water or milk one tablespoon at a time. Mix until it reaches the right consistency. Not Combining: Ensure all ingredients are added. Sometimes a brief scrape down of the beater and bowl is needed.
Step 5: Transferring and Proofing
Once your dough looks good, it’s time to get it out of the bowl. Gluten-free dough is often easier to handle when wet. Lightly grease a spatula. Scoop the dough into your prepared loaf pan. You may not need to knead it further. Spread it evenly in the pan. Cover the pan with plastic wrap or a damp cloth. Let it proof in a warm place. Proofing allows the yeast to work. It makes the bread light and airy. Many experts recommend a warm, draft-free spot (Cleveland Clinic).
Proofing Basics for Gluten-Free Bread
Proofing is essential for flavor and texture development. For gluten-free bread, proofing times can vary. They depend on the yeast and the room temperature. Typically, you’ll let it rise for 30-60 minutes. The dough should noticeably increase in volume. It should look puffy and have a slightly domed top. Don’t over-proof, or the bread might collapse during baking.
Quick Checklist for Perfect Dough
- Use the paddle attachment on your stand mixer.
- Mix dry ingredients thoroughly before adding wet.
- Add wet ingredients gradually.
- Mix for the time specified, aiming for a smooth, slightly sticky dough.
- Don’t expect a stretchy, elastic dough like wheat bread.
- Transfer dough to the pan with a greased spatula.
Understanding Dough Consistency: A Quick Guide
Getting the right dough consistency is key. It’s different for gluten-free bread compared to traditional bread. We found that this table helps illustrate the differences:
| Dough Type | Expected Texture | How It Behaves |
|---|---|---|
| Traditional Wheat Dough | Smooth, elastic, holds shape | Can be kneaded extensively, springs back |
| Gluten-Free Bread Dough | Thick batter-like, sticky, maybe slightly lumpy | Best mixed with a paddle, spooned or poured into pan, doesn’t spring back |
As you can see, the expectations for gluten-free dough are quite different. Embrace the stickiness!
Conclusion
You’ve successfully navigated the steps to creating perfect gluten-free bread dough using your stand mixer. Remember, the key is understanding that gluten-free dough behaves differently. It’s meant to be thicker and stickier, not elastic like wheat dough. Your stand mixer is your best tool for achieving this texture. By using the right attachment and mixing for the recommended time, you’ll get a wonderfully smooth and manageable dough. Now you’re ready to bake delicious gluten-free loaves. Your next step is to choose your favorite gluten-free bread recipe and get that mixer humming!
Frequently Asked Questions
Can I use a dough hook instead of a paddle attachment for gluten-free dough?
While some recipes might suggest it, we generally recommend using the paddle attachment. Gluten-free dough is often wetter and stickier. The paddle is more effective at scraping the sides of the bowl and incorporating all ingredients smoothly. A dough hook can sometimes overwork wetter doughs, leading to less desirable textures.
My gluten-free dough still looks a bit lumpy after mixing. Is that okay?
Yes, it’s usually okay for gluten-free dough to have a slightly lumpy appearance. Unlike wheat dough, which becomes perfectly smooth, gluten-free dough relies on binders to create structure. As long as it’s cohesive and well-mixed, minor lumps shouldn’t impact the final bake. Focus on the overall consistency being thick but manageable.
How do I know if my gluten-free bread dough is too wet or too dry?
A good rule of thumb is that gluten-free bread dough should resemble a very thick batter. If it’s too wet, it will be runny and won’t hold its shape when scooped. If it’s too dry, it will look crumbly and won’t come together in the bowl. You can adjust by adding a tablespoon of flour blend if too wet, or warm liquid if too dry, mixing briefly after each addition.
Will my gluten-free dough rise like regular bread dough?
Gluten-free bread dough will rise, but it might not double in size as dramatically as wheat dough. The rise is also often less airy. Proofing for the recommended time in a warm place is important, but don’t expect the same visual cues of extreme puffiness. The dough should look noticeably fuller and more aerated.
How long should I mix gluten-free bread dough in my stand mixer?
Mixing times can vary by recipe, but generally, you’ll want to mix gluten-free dough for about 5-8 minutes on a medium-low speed. The goal is to ensure all ingredients are thoroughly combined and the dough reaches a smooth, slightly sticky consistency. Over-mixing can sometimes make gluten-free bread tough, so follow recipe guidelines closely.
