
How to Make Royal Icing in a Stand Mixer?
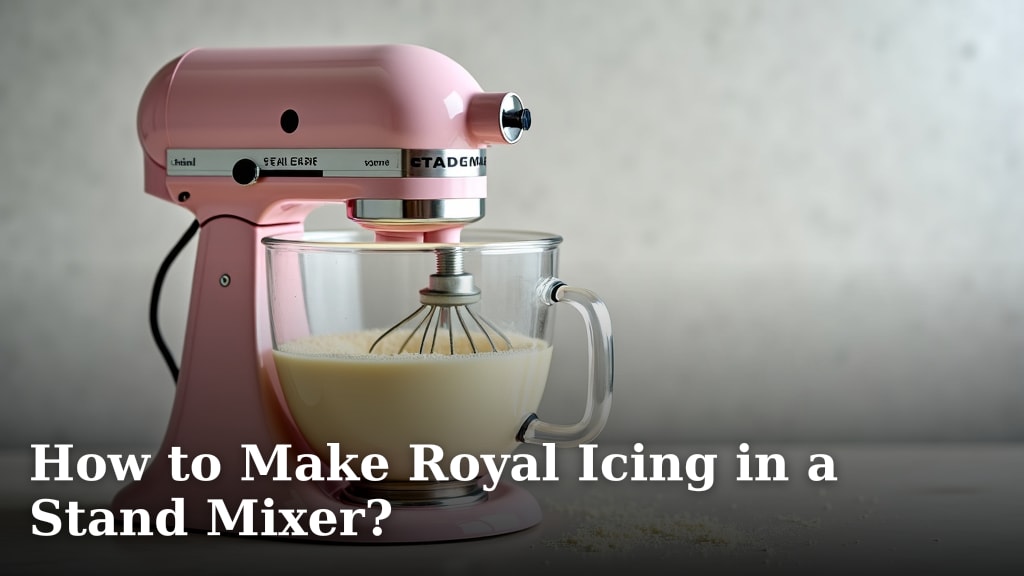
The easiest way to make royal icing in a stand mixer is to combine your ingredients directly in the mixer bowl and then beat them on medium-high speed until the icing is stiff and glossy. This method saves you time and arm strength, giving you perfectly consistent royal icing every time.
You’re looking for a smooth, firm consistency that holds its shape, perfect for decorating cookies or creating intricate designs. A stand mixer takes the guesswork out of achieving that ideal texture, making your baking projects much easier. We found that this approach leads to beautifully stable icing for all your creative needs.
TL;DR:
- Combine powdered sugar, meringue powder, and water in your stand mixer.
- Start on low speed, then increase to medium-high.
- Beat until the icing is stiff, white, and holds peaks.
- Scrape down the bowl occasionally for even mixing.
- Adjust water for desired consistency, adding a tiny bit at a time.
Are you ready to create stunning edible art? Let’s walk through exactly how to master royal icing using your trusty stand mixer, step by step.
Making Royal Icing with Your Stand Mixer
You’re about to discover how simple it is to whip up perfect royal icing using your stand mixer. This method is a game-changer, especially when you need a lot of icing. Forget tired arms; your mixer does all the hard work for you!
Gather Your Royal Icing Ingredients
Before you start, make sure you have everything ready. It’s like setting up your cooking station before a big meal. We found that having all ingredients measured out makes the process smooth and enjoyable.
Essential Ingredients You’ll Need
- Powdered Sugar (Confectioners’ Sugar): This is the main body of your icing. Make sure it’s fresh and sifted to avoid lumps. We recommend using a high-quality brand for the smoothest results.
- Meringue Powder: This magical ingredient replaces raw egg whites. It gives your icing structure, stability, and that classic crisp finish. It also makes your icing food-safe, which is super important! (FoodSafety.gov).
- Water: Plain old tap water works just fine. You’ll add it little by little to get the perfect consistency.
- Vanilla Extract (Optional): A splash of vanilla can add a lovely flavor. Clear vanilla extract will keep your icing bright white, if that’s your goal.
Your Stand Mixer Setup
You’ll need your stand mixer, of course! Make sure it’s clean and ready to go. The bowl and whisk attachment are your best friends for this task.
- Stand Mixer: Any standard stand mixer will do.
- Whisk Attachment: This is crucial for incorporating air into the mixture and achieving that fluffy, stiff consistency. To ensure optimal mixing for your royal icing, you may also need to adjust the beater to bowl height.
- Rubber Spatula: Essential for scraping down the sides of the bowl.
Mixing Your Royal Icing: Step-by-Step
Ready to make some magic? This process is straightforward, but each step plays a role in getting that perfect icing. We’ll guide you through it.
Step 1: Combine Dry Ingredients
First, get your dry ingredients into the mixer bowl. This helps them mix evenly before you add any liquid. Think of it as creating a well-blended foundation for your icing.
- Pour your powdered sugar directly into your stand mixer bowl.
- Add the meringue powder to the bowl.
- Give them a quick stir with a spoon or whisk attachment (turned off!) just to combine them slightly. This prevents a powdered sugar cloud when you start the mixer!
Step 2: Add Water Gradually
This is where patience pays off. Adding water slowly is key to controlling the consistency. We found that too much water too soon can lead to a runny mess, and nobody wants that!
- Start with about half of the total water your recipe calls for.
- If you’re using vanilla extract, add it now.
- Turn your stand mixer on low speed. This prevents powdered sugar from flying all over your kitchen.
- Mix until the ingredients are just combined and form a thick paste.
- Gradually add the remaining water, a tablespoon at a time, until the mixture looks smooth but still quite thick.
Step 3: Whip to Perfection
Now for the fun part: watching your icing transform! This is where your stand mixer truly shines, creating the perfect texture without any effort on your part.
- Increase the mixer speed to medium-high.
- Let the mixer run for about 7-10 minutes.
- During this time, the icing will lighten in color, become glossy, and increase in volume. It’s really quite satisfying to watch!
- Scrape down the sides of the bowl with your rubber spatula every few minutes. This ensures all the sugar is incorporated and prevents dry streaks in your icing.
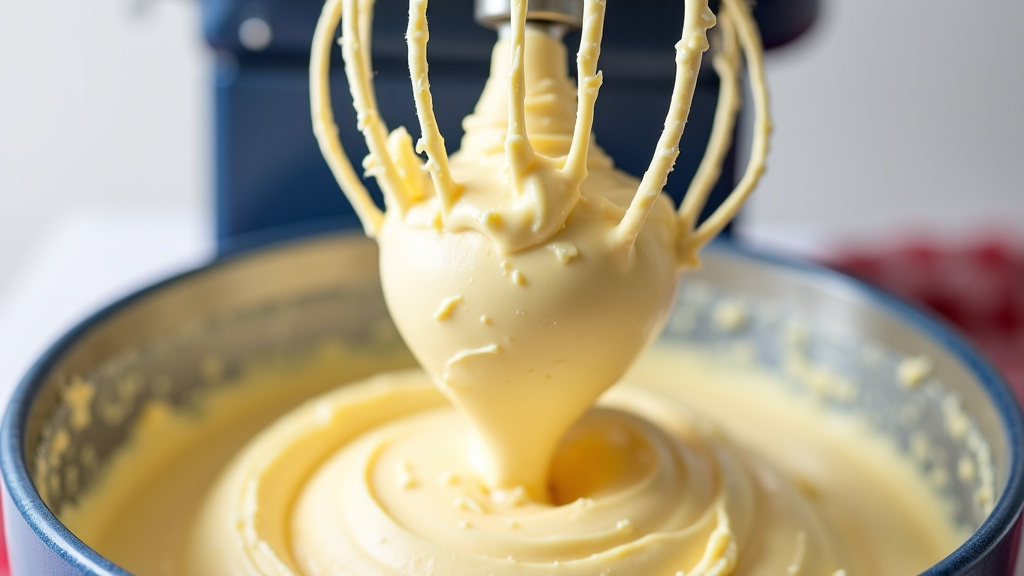
- Continue beating until the icing forms stiff, glossy peaks. When you lift the whisk, the peak should stand firm and not flop over.
Checking for the Right Consistency
Getting the consistency right is perhaps the most important part of making royal icing. It determines how well your icing pipes, floods, and holds its shape. We often find this is where most people have questions.
Understanding Icing Consistency Terms
There are different consistencies for different uses. Here’s a quick guide:
| Consistency | Description | Common Uses |
|---|---|---|
| Stiff Peak | Thick, holds sharp peaks, moves very little. When a small dollop is dropped back into the bowl, it holds its shape. | Piping intricate details, flowers, borders, glueing gingerbread houses. |
| Medium Peak | Slightly softer than stiff peak. Holds its shape but has a bit more movement. When dropped, it holds for a few seconds then settles. | Piping outlines, writing, simple designs. |
| Flood (Run-out) | Very thin, liquid-like, but still has body. Drips slowly from a spoon. When a line is drawn through it, it disappears in 5-10 seconds. | Filling in outlined areas on cookies, creating smooth surfaces. |
Adjusting Your Icing
Don’t worry if your icing isn’t perfect right away. Adjusting it is easy!
- If it’s too thick: Add water, one teaspoon at a time. Mix on low speed after each addition until fully incorporated. Keep testing until you reach your desired consistency. Remember, you can always add more water, but you can’t easily take it out!
- If it’s too thin: Add one tablespoon of powdered sugar at a time. Mix on low speed until combined, then beat on medium-high again for a minute or two to re-incorporate air. This is less common if you add water slowly, but it can happen!
Tips for Perfect Royal Icing Every Time
We’ve picked up a few tricks over the years that will help you achieve consistently beautiful results. Think of these as little secrets to success!
Use Clean Equipment
Any grease or oil in your mixer bowl or on your whisk can prevent the meringue powder from whipping up properly. This is a common pitfall! We always recommend washing your bowl and whisk with hot, soapy water, then drying them thoroughly, even if they look clean.
Sift Your Powdered Sugar
Seriously, don’t skip this step! Powdered sugar can contain tiny lumps that will clog your piping tips and make your icing less smooth. Sifting ensures a silky-smooth icing that’s a dream to work with.
Cover Your Icing
Royal icing dries out quickly when exposed to air. This is its superpower for decorating, but a challenge for storage. Always keep your icing covered with plastic wrap pressed directly onto the surface to prevent a crust from forming.
Checklist for Success
Here’s a quick rundown to make sure you’re set up for success:
- ✅ All ingredients measured and ready?
- ✅ Mixer bowl and whisk spotless and grease-free?
- ✅ Powdered sugar sifted to remove lumps?
- ✅ Water added slowly, bit by bit?
- ✅ Icing whipped to stiff, glossy peaks?
- ✅ Icing covered tightly with plastic wrap when not in use?
Conclusion
You now have all the tools and knowledge to create perfect royal icing with minimal effort. Using your stand mixer truly simplifies the process, ensuring a smooth, stable, and beautifully consistent icing every time. This method saves you energy and guarantees professional-looking results for all your decorating projects.
So go ahead, put these tips into practice! Start experimenting with different consistencies and colors. Your perfectly decorated cookies and cakes are just a mixer-full of royal icing away!
Frequently Asked Questions
How long does royal icing last when stored?
When stored correctly in an airtight container at room temperature, royal icing can last for up to two weeks. If you add flavorings or colorings, this timeframe might be slightly shorter. Always stir it well before using again, and you might need to re-whip it briefly.
Can I add food coloring to my royal icing?
Absolutely! Gel food colorings are recommended as they are highly concentrated and won’t thin out your icing. Add them after your icing has reached its desired consistency. Mix on low speed until the color is evenly distributed.
What if my royal icing cracks after drying?
Cracking can happen if your icing is applied too thickly or if it dries too quickly. Try to apply thinner, even layers. You can also allow decorated items to dry in a slightly humid environment, rather than a very dry one, to help prevent cracking.
Is it possible to make royal icing without meringue powder?
Yes, you can use fresh egg whites to make royal icing. However, meringue powder offers greater stability and shelf life, and it eliminates any concerns about consuming raw eggs. For best results and food safety, we recommend sticking with meringue powder.
Can I re-use royal icing that has already dried?
No, once royal icing has completely dried, it hardens and cannot be rehydrated or re-used. It’s best to store any unused wet icing properly. Dried royal icing is brittle and will just crumble if you try to incorporate it back into a fresh batch.
