
How to Thread Pasta Dough Through a Roller Attachment?
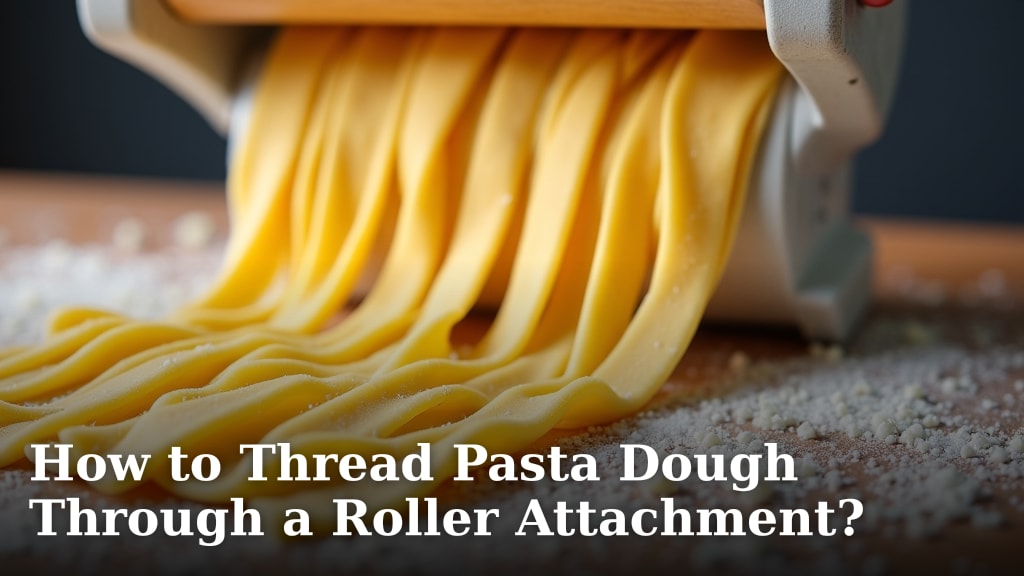
The easiest way to thread pasta dough through a roller attachment is to start on the widest setting and make a few passes. This helps to flatten and smooth the dough before you begin thinning it. You’ll want to fold and pass the dough multiple times on this widest setting until it’s smooth and even. This preparatory step prevents tearing and ensures a consistent thickness.
Threading your pasta dough correctly is key to achieving restaurant-quality noodles at home. Many home cooks find this step a little daunting, but it’s quite manageable with the right technique. We found that being patient and working the dough gradually makes a big difference. It’s not about speed; it’s about consistency and a gentle hand.
- Feed dough on widest setting first.
- Fold and pass dough multiple times.
- Gradually decrease roller settings.
- Dust with flour if sticky.
- Work slowly and gently.
Below, we’ll walk you through exactly how to thread your pasta dough through a roller attachment, step by step. Let’s get your pasta maker ready!
Rolling Your Pasta Dough: The Step-by-Step Guide
So, you’ve got your beautiful, rested pasta dough, and you’re ready to transform it into silky strands of deliciousness. The pasta roller attachment is your best friend here, but it can feel a bit intimidating at first. Don’t worry! We’re going to break down exactly how to thread your dough through it. It’s simpler than you think, and the payoff is immense – think fresh pasta that rivals your favorite Italian restaurant.
The key to success is **gradual progression**. You wouldn’t try to run a marathon without training, right? Your pasta dough needs a similar gentle introduction to the roller. We’ve found that starting on the widest setting and working your way down is the most effective method. This approach ensures your dough remains pliable and doesn’t tear, giving you perfectly even sheets every time.
Preparing Your Dough for the Roller
Before you even think about turning the crank or powering up your mixer, your dough needs a little prep work. This initial step is **absolutely critical** for smooth operation and preventing frustration.
The Importance of the Widest Setting
As mentioned in the intro, the very first pass through your pasta roller should always be on its **widest setting**. Think of this as the dough’s warm-up lap. It flattens any uneven lumps and gives the dough a consistent starting thickness.
We’ve seen many home cooks jump straight to a thinner setting, only to end up with torn, sticky dough. This initial wide pass helps to evenly hydrate the flour and develop the gluten structure gently. It sets the stage for all the subsequent passes.
The Folding Technique: Building Strength and Smoothness
Once your dough has gone through the widest setting, it’s time to employ a simple folding technique. This is where you really start to build the dough’s structure and achieve that signature silky texture.
How to Fold Your Dough
Take the flattened sheet of dough. If it’s long, you might cut it in half so it’s more manageable. Then, fold it in half, like you’re closing a book. Some people prefer to fold it into thirds, like a letter. Either way works!
Once folded, feed the dough back through the **widest roller setting again**. You’ll repeat this process several times. We recommend at least 4-6 passes on the widest setting. You’ll notice the dough becoming smoother and more elastic with each fold and pass.
When to Stop Folding
You’ll know you’ve reached the right point when the dough sheet is smooth on both sides and has a consistent, even texture. There shouldn’t be any rough edges or tears. If the dough feels a bit sticky, now is the time to lightly dust it with flour. Just a whisper of flour is needed – too much can make your pasta dry.
Research suggests that this repeated folding and rolling process is similar to the kneading action in bread making. It develops the gluten strands, making the dough stronger and more pliable for thinner rolling (Food Science Today). This means less tearing and a better final texture for your pasta.
Gradually Thinning Your Pasta Dough
Once your dough is beautifully smooth and pliable from the initial wide passes, it’s time to start thinning it out. This is where you’ll see your pasta sheets taking shape.
Moving Through the Settings
After you’ve completed your folding on the widest setting, move the roller to the next narrowest setting. Feed the dough through once. Then, move to the next setting and feed it through again. You’ll continue this process, **gradually decreasing the roller thickness** with each pass.
It’s crucial not to skip settings. Think of it like walking down a staircase – you take one step at a time. Jumping too many settings can put too much stress on the dough, leading to tears. We found that for most pasta shapes, you’ll end up on a setting around number 5, 6, or 7 on a standard 9- or 10-setting roller. This typically yields a sheet about 1/16th of an inch thick.
Dealing with Sticky Dough Mid-Process
Occasionally, even with careful preparation, your dough might start to feel a bit sticky as you work through the thinner settings. This is a common occurrence, especially in humid conditions.
If your dough is sticking to the roller or feels tacky, stop. Lightly dust both sides of the dough sheet with a tiny bit of all-purpose flour or semolina flour. Then, feed it through the current setting one more time. This light dusting should prevent further sticking. Just remember, you want just enough flour to make it non-stick, not so much that it dries out the dough.
Maintaining Dough Consistency
The goal is to have perfectly **uniform pasta sheets**. By working slowly and using the gradual setting changes, you ensure that the dough is thinned evenly across its entire surface. This consistency is key for even cooking later on.
A properly thinned pasta sheet will feel smooth and slightly elastic. It should hold its shape without being stiff or brittle. If your dough feels like it’s tearing easily, you might have gone too thin too quickly, or the dough might need a little more resting time.
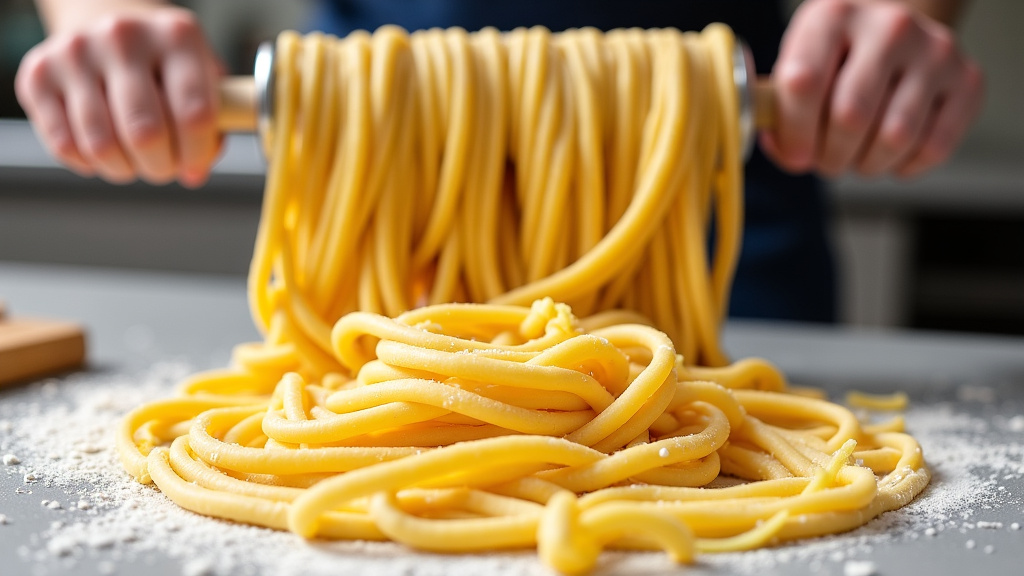
Tips for Perfect Pasta Rolling
Mastering the pasta roller takes a little practice, but a few key tips can make a big difference. These are little nuggets of wisdom we’ve gathered from experience and research.
One common mistake is rushing the process. Remember, pasta making is a meditative craft. Slowing down allows you to feel what the dough is doing and react accordingly. We’ve found that patience is truly your best ingredient here.
- Feed Straight: Always try to feed the dough into the rollers as straight as possible. This prevents uneven stretching and potential tearing.
- Support the Dough: As the sheet gets longer and thinner, it can drag. Gently support the outgoing sheet with your free hand to prevent it from pulling or tearing.
- Keep it Clean: Make sure your roller attachment and work surface are clean. Any stray flour clumps or debris can get embedded in the dough.
- Don’t Overwork: While folding is good, overworking the dough can make it tough. Stick to the recommended number of passes.
Common Issues and How to Fix Them
Let’s talk about what might go wrong and how to fix it. Everyone encounters a sticky patch or a tear now and then!
Torn Dough
If your dough tears, don’t panic. You can often patch it up. Gather the torn pieces and press them back onto the main sheet. You might need to do another pass or two on a wider setting to meld the pieces together. For larger tears, it might be best to combine the torn piece with a new small piece of dough and run it through the widest setting again to incorporate it. It’s like a little pasta surgery!
Sticky Dough
As we discussed, a light dusting of flour is usually the solution. Ensure your hands are also clean and dry before touching the dough. Sometimes, excess moisture on your hands can transfer to the dough, making it sticky.
Uneven Thickness
This often happens if the dough isn’t fed straight into the rollers or if you skipped settings. Going back a few settings and feeding the dough through again, ensuring it’s straight, can help even it out. You might also try gently stretching any thicker parts by hand before rolling.
The National Pasta Association suggests that proper hydration of the dough is key to preventing many of these rolling issues. If your dough is consistently too dry and crumbly, it may need a touch more liquid. If it’s too wet and sticky, it might need a bit more flour during the initial mixing stage.
The Pasta Roller Settings Explained (Typical Guide)
Most home pasta rollers have numbered settings that correspond to the thickness of the pasta sheet. While the exact numbers can vary between brands, here’s a general idea of what you can expect. This table provides a helpful visual:
| Roller Setting (Example) | Approximate Thickness | Best For |
|---|---|---|
| 1 (Widest) | ~3mm / 1/8 inch | Initial flattening, folding, and lasagna sheets |
| 2 | ~2.5mm / 3/32 inch | Thicker fettuccine, pappardelle |
| 3 | ~2mm / 5/64 inch | Fettuccine, tagliatelle |
| 4 | ~1.5mm / 1/16 inch | Spaghetti, linguine |
| 5 | ~1.2mm / 3/64 inch | Angel hair, thin noodles |
| 6 (Thinnest) | ~1mm / 1/32 inch | Very thin noodles, ravioli skins |
Remember, this is a guideline. The ideal thickness for your pasta depends on the type of pasta you’re making and your personal preference. We’ve found that for most common pasta shapes, settings 4-6 are the most frequently used.
Your Pasta Rolling Checklist
To make sure you’re set up for success, keep this quick checklist handy:
- Dough is rested and at room temperature.
- Pasta roller attachment is clean and securely fitted.
- Start with the widest roller setting (usually ‘1’).
- Perform at least 4-6 folding passes on the widest setting.
- Gradually decrease roller settings one by one.
- Lightly dust with flour ONLY if dough becomes sticky.
Conclusion
You’ve got this! Threading pasta dough through your roller attachment is a skill that gets easier with every pass. Remember, the magic lies in **starting wide**, using that **folding technique** to build strength, and then **gradually thinning** your dough. Be patient, pay attention to how the dough feels, and don’t be afraid of a little flour if needed. You’re well on your way to enjoying delicious, homemade pasta. Now, go get rolling!
Frequently Asked Questions
How do I know when my pasta dough is ready to be thinned out?
Your dough is ready for thinning when it feels smooth and elastic on both sides after several passes on the widest setting. It should have a consistent texture without any rough edges or tears. If it feels slightly sticky, a very light dusting of flour is your cue.
What’s the biggest mistake people make when using a pasta roller?
The most common mistake we see is trying to thin the dough too quickly by skipping settings or rushing the process. This often leads to tearing or uneven sheets. Always go one setting at a time for the best results.
My dough is tearing. What should I do?
Don’t toss it! If your dough tears, try gently patching it back together with your fingers. You might need to run it through a wider setting again to help it meld. For larger tears, incorporating a small new piece of dough can sometimes save the sheet.
Can I use semolina flour instead of all-purpose for dusting?
Yes, absolutely! Semolina flour is a great choice for dusting sticky pasta dough. Its coarser texture can prevent sticking effectively, and it adds a nice subtle flavor. Just use it sparingly.
How thick should my pasta sheet be for most recipes?
For most common pasta shapes like fettuccine or spaghetti, a thickness around setting 4 to 6 on a standard roller is ideal. This usually results in a sheet about 1/16th of an inch thick, which cooks evenly and has a great texture.
