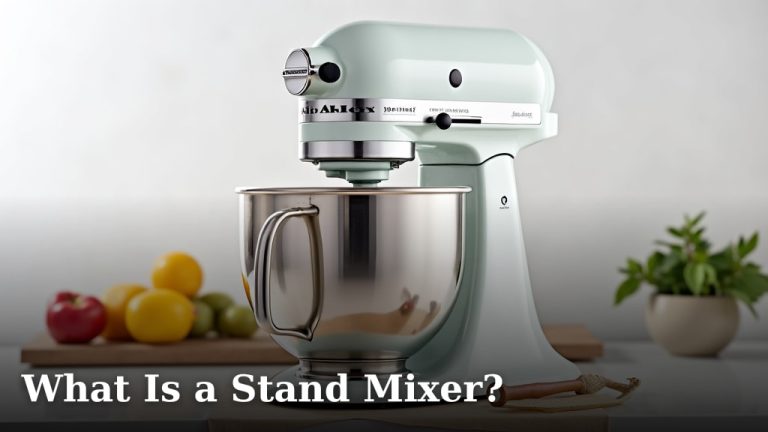
Can You Use a Stand Mixer to Knead Bread Dough?

Yes, you can absolutely use a stand mixer to knead bread dough, and it’s a fantastic way to save your arms! We found that stand mixers with a dough hook attachment are incredibly efficient for developing gluten in your dough, leading to perfectly elastic bread.
You might be wondering if it’s as good as kneading by hand, right? Many bakers agree that a stand mixer can often achieve a more consistent and thorough knead, especially for larger batches or wetter doughs. It dramatically reduces the physical effort involved in making homemade bread, making baking more accessible and enjoyable for everyone.
- Saves your hands and arms: Let the machine do the hard work.
- Ensures consistent kneading: Provides even gluten development every time.
- Best for larger batches: Handles more dough than manual kneading.
- Ideal for wet doughs: Manages sticky doughs effortlessly.
- Requires a dough hook: Essential for proper kneading.
Ready to ditch the sticky hands and master your bread-making? Let’s walk through exactly how to use your stand mixer for perfect bread dough, step by step.
Maximizing Your Stand Mixer for Bread Dough
You’re ready to embrace the ease of machine kneading! Using your stand mixer for bread dough isn’t just about saving your hands; it’s about achieving a consistent, well-developed dough every time. Let’s explore how to make the most of this kitchen workhorse.
We’ll cover everything from choosing the right dough hook to understanding dough consistency and what to do when things don’t go exactly as planned. Think of your stand mixer as your baking assistant, tirelessly working to create the perfect texture.
The Essential Tool: Your Dough Hook
When you look inside your stand mixer box or cabinet, you’ll likely see a few attachments. For bread dough, your best friend is the dough hook. This isn’t just any attachment; its unique spiral or C-shape is specifically designed to push, pull, and stretch your dough.
This motion mimics the action of hand kneading, ensuring the flour and liquid combine properly and gluten strands begin to form. Without it, other attachments like the paddle or whisk would simply shred or aerate your dough, which isn’t what you want for bread.
Identifying Your Dough Hook
Most stand mixers come with at least three standard attachments: a paddle, a whisk, and a dough hook. Your dough hook will typically be a metal or coated metal piece with a distinctive curve. Some are a “C” shape, while others are a more modern spiral. Both work efficiently for kneading.
Always double-check your mixer’s manual if you’re unsure which attachment is which. Using the wrong one can damage your mixer or, at the very least, lead to a very unhappy batch of dough.
Preparing Your Ingredients
Even with a powerful stand mixer, ingredient preparation is key. Having everything ready before you start mixing ensures a smooth process and helps prevent any last-minute scrambling.
Consider this your mise en place for bread-making. It makes the entire experience more enjoyable and reduces the chance of errors, like forgetting crucial ingredients or mismeasuring.
- Measure Accurately: Use a kitchen scale for flour and other dry ingredients. Volume measurements can be imprecise, especially for flour, which can vary greatly depending on how it’s packed.
- Temperature Matters: Ensure your liquids (especially water or milk) are at the temperature specified in your recipe. This is vital for yeast activation.
- Room Temperature Ingredients: Ingredients like eggs or butter should often be at room temperature for optimal incorporation into the dough.
- Sift Dry Ingredients: Sifting flour can help prevent lumps, though your stand mixer will do a good job dispersing them too.
Step-by-Step: Kneading with Your Stand Mixer
Now, let’s get down to the actual kneading. This process is straightforward, but paying attention to the dough’s consistency and adjusting as needed will lead to the best results.
Remember, your stand mixer is doing the heavy lifting, but your watchful eye is still its best co-pilot. We found that a little observation goes a long way in achieving baking success.
Adding Your Ingredients
Start by adding your liquid ingredients to the mixer bowl first, followed by the dry ingredients, including your flour and yeast. This order helps ensure everything combines properly. Attach the dough hook.
Begin mixing on the lowest speed. This prevents flour from flying out of the bowl and allows the ingredients to come together safely. Gradually increase the speed as the dough starts to form.
The Kneading Process
Once your ingredients are mostly combined, you can increase the mixer speed to a medium-low setting. Most recipes recommend kneading at a speed of 2 or 3 on a KitchenAid mixer, for example. The exact speed might vary slightly depending on your mixer model, but you want to see the dough “walk” or gather around the hook, stretching and slapping against the sides of the bowl.
As the dough kneads, it will become smoother and more elastic. The total kneading time can vary, but it’s typically between 8-12 minutes for most standard bread doughs. We found that observing the dough is more important than rigidly sticking to a timer.
What Your Dough Should Look Like
Knowing when your dough is perfectly kneaded is an art, but there are clear signs to look for. These visual cues and feel tests tell you the gluten has developed just right.
A well-kneaded dough is the foundation of delicious bread. If you stop too early, your bread might be dense; too late, and it could lose some structure.
The Windowpane Test
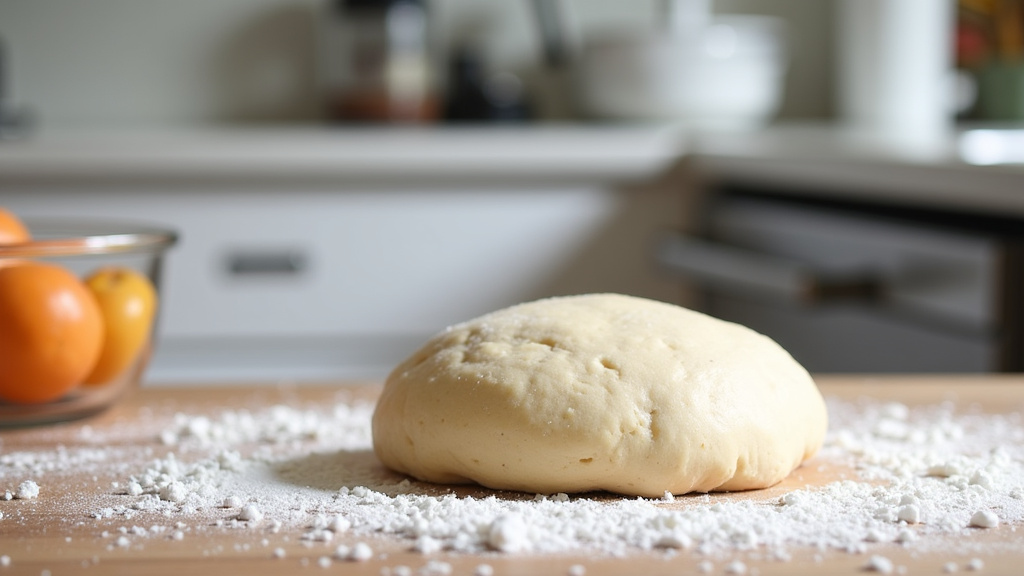
This is the gold standard for checking gluten development. Take a small piece of dough (about a tablespoon) and gently stretch it between your fingers. If you can stretch it thin enough to see light through it without it tearing, like a “windowpane,” your dough is ready.
If it tears easily, continue kneading for another minute or two and retest. This test confirms that ample gluten has formed to create an elastic and strong dough structure (Harvard T.H. Chan School of Public Health).
Other Indicators
- Smooth and Elastic: The dough should look smooth and feel elastic. It will bounce back slowly when gently poked with a finger.
- Cleans the Bowl: As the dough kneads, it should pull away from the sides of the mixer bowl, leaving it relatively clean.
- No Longer Sticky: While moist, a properly kneaded dough shouldn’t be overly sticky to the touch.
Troubleshooting Common Issues
Even with a stand mixer, you might encounter a few hiccups. Don’t worry, these are common, and knowing how to fix them will make you a more confident baker.
Every baking journey has its moments of learning. We found that most dough issues are easily remedied with a few simple adjustments.
Dough Too Sticky?
If your dough is too wet and sticky after several minutes of kneading, add flour one tablespoon at a time. Let the mixer knead for 30 seconds after each addition before assessing again. Over-flouring can make your bread dry, so add flour sparingly.
Sometimes, humidity can play a role in how much flour your dough needs, so being ready to adjust is a great skill.
Dough Too Dry or Stiff?
If your dough seems too dry and isn’t coming together, add liquid (water or milk, according to your recipe) one teaspoon at a time. Allow the mixer to knead for a minute before re-evaluating. A very dry dough won’t develop gluten well.
This often happens if you’ve mismeasured flour or if your flour is particularly absorbent. Small adjustments are often all that’s needed.
Mixer Overheating?
If you’re kneading a particularly stiff dough or a large batch, your mixer motor might start to warm up. Most stand mixers have built-in safety features that will automatically shut them off if they get too hot. If this happens, turn off your mixer and let it cool down before continuing.
For very large or heavy doughs, consider taking a short break during kneading or even dividing the dough into smaller batches if your mixer struggles. This protects your appliance for years of use.
Maintaining Your Stand Mixer for Longevity
Your stand mixer is an investment, and like any good tool, it benefits from a little care. Proper maintenance ensures it continues to be your reliable bread-making partner for years to come.
A well-maintained mixer is a happy mixer! We found that a few simple habits can significantly extend the life of your appliance.
- Always turn off and unplug your mixer before cleaning or changing attachments.
- Clean attachments immediately after use to prevent dough from drying and hardening.
- Wipe down the mixer body with a damp cloth; avoid abrasive cleaners or submerging the power unit in water.
- Refer to your owner’s manual for specific cleaning and maintenance instructions for your model.
- Avoid forcing your mixer with overly stiff or large doughs that exceed its stated capacity.
- Store your mixer and attachments properly when not in use.
The Benefits of Mixer Kneading vs. Hand Kneading
While hand kneading is a meditative experience for some, the stand mixer offers clear advantages, especially for busy bakers or those with physical limitations.
It’s all about choice and convenience. Here’s a quick look at why many bakers opt for the machine.
| Feature | Stand Mixer Kneading | Hand Kneading |
|---|---|---|
| Effort Required | Minimal physical effort | Significant physical effort |
| Consistency | Highly consistent gluten development | Varies with technique and stamina |
| Dough Type | Excellent for sticky/wet doughs | Messy and challenging for wet doughs |
| Batch Size | Handles larger batches with ease | Best for smaller to medium batches |
| Time Commitment | Hands-off for 8-12 minutes | Hands-on for 15-20 minutes or more |
Recipes Perfect for Mixer Kneading
Many classic bread recipes truly shine when kneaded by a stand mixer. You’ll find that the consistent action creates wonderful textures.
Think about the types of bread you love to eat; chances are, your stand mixer can help you make them at home. It opens up a whole world of baking possibilities.
- Basic White Bread: The foundation of all bread, perfect for mixer practice.
- Sourdough Bread: Mixers are fantastic for incorporating the starter and developing gluten, though some prefer minimal handling.
- Brioche: This rich, buttery dough is typically wet and sticky, making it ideal for a mixer.
- Pizza Dough: A mixer makes quick work of developing the strong gluten needed for a chewy crust.
- Challah: Another rich dough that benefits from thorough, consistent kneading.
Experiment with your favorite recipes. You’ll likely discover that your stand mixer quickly becomes an indispensable tool in your bread-making repertoire.
Conclusion
You’ve now discovered that using a stand mixer completely changes the bread-making game. You can say goodbye to tired arms and sticky countertops. We found that embracing your mixer for kneading ensures a more consistent, well-developed dough every time you bake.
From mastering the dough hook to understanding the windowpane test, you have all the tools. Your stand mixer isn’t just a convenience; it’s a powerful tool for elevating your homemade bread. Go ahead, choose your favorite recipe, and let your mixer do the hard work for you!
Frequently Asked Questions
Can a stand mixer overknead dough?
Yes, it’s possible to overknead dough with a stand mixer, although it’s less common than underkneading. Overkneaded dough can become tough and lose its elasticity, making it difficult to shape and resulting in dense bread.
Pay close attention to the windowpane test and visual cues. Stop kneading once the dough looks smooth and passes the test.
How long should I knead bread dough in a stand mixer?
The ideal kneading time varies by recipe and mixer, but it typically ranges from 8 to 12 minutes on a medium-low speed (like speed 2 on a KitchenAid). Always refer to your recipe’s guidelines.
Prioritize the dough’s appearance and the windowpane test over strict adherence to a timer. These are better indicators of readiness.
Do all stand mixers come with a dough hook?
Most standard stand mixers designed for baking, especially popular brands, include a dough hook as one of their primary attachments. Smaller or less powerful mixers might not.
Always check the product specifications or user manual before purchasing if bread-making is a priority for you.
Can I use my stand mixer for gluten-free bread dough?
Yes, you can use your stand mixer for gluten-free bread dough, but the kneading process is different. Gluten-free doughs don’t develop gluten like traditional wheat doughs, so they don’t require the same intense kneading to build structure.
The mixer helps combine ingredients thoroughly and creates some aeration. Mix just until combined and smooth, rather than stretching for a windowpane.
Why is my dough climbing up the dough hook?
If your dough is climbing up the dough hook, it usually means the dough is too wet, or the mixer speed is too high. A very sticky dough will cling to the hook rather than “walking” around the bowl.
Try lowering the speed first. If it persists, add a tiny bit of flour, one tablespoon at a time, until the dough pulls away from the sides of the bowl more effectively.