How to Sharpen a Meat Grinder Attachment Blade?
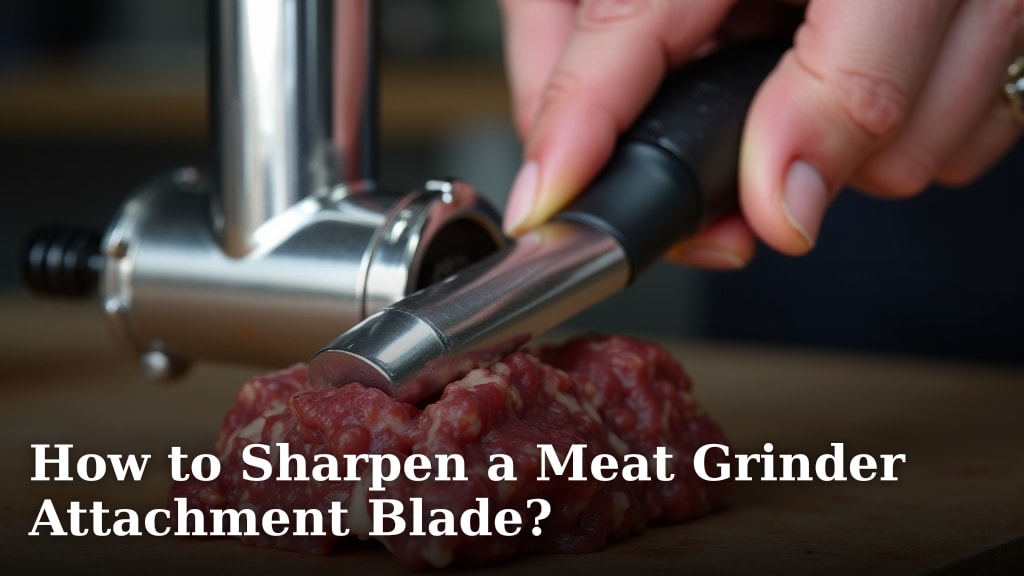
You can sharpen a meat grinder attachment blade by using a sharpening stone or very fine-grit sandpaper. This process helps restore the blade’s cutting edge, making your grinder much more effective. A sharp blade is essential for efficient meat processing, preventing it from tearing instead of cleanly cutting.
A dull blade often leads to frustration, requiring more effort and producing poorly ground meat. Taking a few minutes to properly sharpen your blade can significantly improve your results. We found that a well-maintained blade also helps extend the life of your meat grinder attachment.
- Quickly sharpen your meat grinder blade.
- Use a sharpening stone or fine-grit sandpaper.
- Improve your grinder’s cutting performance.
- Prevent meat from tearing; get a cleaner grind.
- Extend the life of your attachment.
Let’s walk through exactly how to sharpen your meat grinder attachment blade, step by step. You’ll be amazed at the difference a sharp blade makes!
Getting Your Meat Grinder Blade Ready for Sharpening
Before you can sharpen anything, you need to make sure your meat grinder attachment is clean and ready. A dirty blade makes sharpening harder and less effective.
First, always ensure your meat grinder is unplugged. Safety comes first, right? You don’t want any accidental starts while your hands are near the blade. We found that most kitchen accidents happen when people rush or forget basic safety steps.
Disassembling and Cleaning Your Grinder Attachment
You’ll need to take apart your grinder attachment to get to the blade. This process is usually straightforward for most models.
- Unscrew the retaining ring at the front of the grinder.
- Carefully remove the grinding plate and the blade. Watch out, they can be sharp even when dull!
- Take out the auger (the screw-like part) and the feeder tube.
- Wash all components thoroughly with warm, soapy water. Use a small brush to get into any crevices where meat residue might be hiding.
- Rinse everything well and dry completely. Water left on parts can lead to rust, which nobody wants. We found that air-drying is often best, but a clean towel works too.
A clean blade helps you see the actual edge you’ll be sharpening. It also prevents any old food bits from interfering with the sharpening process.
Understanding the Meat Grinder Blade and Plate
Your meat grinder doesn’t just have a blade; it also has a grinding plate. Both parts work together to cut the meat.
The blade spins against the grinding plate, pushing meat through small holes. Think of it like a pair of scissors, where both blades need to be sharp to cut cleanly. If one part is dull, the whole system struggles.
The Importance of a Flat Grinding Plate
You might be focusing on the blade, but the grinding plate is just as important. The surface of this plate, where the blade rubs, needs to be perfectly flat.
If the plate isn’t flat, the blade can’t make full contact, leading to poor cutting. We found that many people overlook the plate, but it’s a critical component for a sharp grind. A warped or uneven plate will make even a freshly sharpened blade seem dull.
Choosing Your Sharpening Tools
You have a couple of good options for sharpening your meat grinder blade. Each has its own advantages, depending on what you have available and your comfort level.
The main goal is to create a fine, consistent edge on the blade. You’re not trying to create a new bevel, just refresh the existing one.
Option 1: Using a Sharpening Stone
A sharpening stone, also known as a whetstone, is a classic choice. You’ll want one with at least two different grit levels: a coarser side (around 400-600 grit) for initial sharpening and a finer side (1000-2000 grit) for refining the edge.
Many experts recommend using a stone that you can keep wet. This helps clear away metal particles and keeps the stone’s surface effective (Grinding and Sharpening Guide).
Preparing Your Sharpening Stone
If you have a water stone, soak it in water for 5-10 minutes until no more bubbles appear. If it’s an oil stone, apply a thin layer of honing oil to the surface.
Make sure your stone is stable. Placing it on a non-slip mat or holding it firmly in a vice works well. You want it to stay put while you’re working.
Option 2: Using Fine-Grit Sandpaper
If you don’t have a sharpening stone, fine-grit sandpaper can be a good alternative. You’ll need grits similar to the stone: around 400-600 for initial work and 1000-2000 for finishing.
The trick here is to use the sandpaper on a perfectly flat surface. A piece of glass, a marble tile, or even a very flat piece of wood works great. The flatter the surface, the better your results will be.
Setting Up Your Sandpaper Method
Attach the sandpaper to your flat surface. You can use spray adhesive or double-sided tape to keep it from moving. Make sure there are no wrinkles or air bubbles underneath the paper. We found that a secure setup prevents uneven sharpening.
The Sharpening Process: Step-by-Step
Now for the main event! Sharpening your meat grinder blade requires patience and a consistent motion. Remember, you’re looking for a smooth, even edge.
The goal is to remove just enough metal to create a fresh, sharp surface without changing the original angle of the blade.
Sharpening the Blade Itself
This is where your chosen tool comes into play.
With a Sharpening Stone:
- Start with the coarser side of your stone (400-600 grit).
- Place the flat side of the grinder blade firmly against the stone. Keep it perfectly flat – this is key. Do not tilt it.
- Using light, even pressure, move the blade in a circular or figure-eight motion across the stone. Keep the stone wet if it’s a water stone.
- Perform about 10-20 passes, then check the edge. You’re looking for an even dull shine across the entire cutting surface.
- Switch to the finer side of the stone (1000-2000 grit). Repeat the same flat, circular motion for another 10-20 passes. This polishes the edge, making it extra sharp.
- Feel for a burr – a tiny ridge of metal on the opposite side of the blade. If you feel it, you’re making progress. Remove the burr by gently stroking the blade against the stone at a very shallow angle, or by doing a few lighter passes on the flat side.
With Sandpaper:
- Place your coarser grit sandpaper (400-600 grit) on your flat surface.
- Place the flat side of the grinder blade firmly against the sandpaper. Again, maintain a perfectly flat angle.
- Move the blade in a consistent circular motion, applying light pressure.
- Continue for 10-20 passes, then check the blade. You should see a slightly brighter, more uniform surface.
- Switch to the finer grit sandpaper (1000-2000 grit). Repeat the process, aiming to refine and polish the edge.
- As with the stone, feel for the burr and carefully remove it with very light passes.
We found that consistency in pressure and angle is far more important than speed. Take your time.
Lapping the Grinding Plate (Flatness Check)
Remember that important grinding plate? You need to make sure its cutting surface is also perfectly flat and smooth. This process is called lapping.
You can use the same sharpening stone or sandpaper setup you used for the blade. The method is very similar.
Lapping the Plate:
- Start with your coarser grit sharpening stone or sandpaper.
- Place the cutting surface of the grinding plate flat against the abrasive.
- Use a circular or figure-eight motion, applying even pressure across the entire plate.
- Continue until the entire surface appears uniformly dull, indicating you’ve removed any high spots.
- Switch to the finer grit and repeat. This will give the plate a smoother, more refined finish.
The goal is for the grinding plate to be as flat and smooth as possible. This ensures that when the blade spins against it, there are no gaps for meat to escape without being cut.
Testing and Reassembling Your Grinder
You’ve put in the effort, now let’s see the results!
After sharpening, thoroughly clean both the blade and the grinding plate to remove any metal dust or abrasive particles. A quick rinse and dry will do the trick.
The Paper Test (Optional but Recommended)
To quickly check your blade’s sharpness, try the paper test. Carefully hold a piece of paper in one hand and try to slice through it with your blade, like you would with a knife.
A truly sharp blade will slice through the paper cleanly without tearing. If it snags or tears, you might need a few more passes on the fine grit.
Reassembling Your Attachment
Now, put your meat grinder back together in reverse order:
- Insert the auger into the feeder tube.
- Place the newly sharpened blade onto the auger’s end. Make sure it’s oriented correctly, with the cutting edge facing outwards towards the plate.
- Position the grinding plate against the blade. The flat sides of both should be touching.
- Screw on the retaining ring until it’s snug. Don’t overtighten it, or you might damage the components.
You’re now ready to grind some meat! You should notice a significant difference in how easily the meat passes through and the quality of your grind.
Maintaining Your Sharp Edge
Sharpening isn’t a one-and-done deal. To keep your meat grinder performing its best, a little ongoing maintenance goes a long way.
Here’s a quick checklist to help you maintain your newly sharpened blade:
- Always clean your grinder immediately after use. Don’t let meat dry on the components.
- Store components dry to prevent rust.
- Consider a light coating of food-grade mineral oil on metal parts if storing for a long time.
- Avoid grinding bones or very tough materials that can dull your blade quickly.
- Resharpen regularly, perhaps every 10-15 uses, or whenever you notice a decline in performance.
We found that consistent care makes your sharpening efforts last much longer. Happy grinding!
Conclusion
You’ve seen how simple it is to restore your meat grinder blade. Taking a few minutes to sharpen your blade and lap your grinding plate will make a huge difference. You’ll get a cleaner, more efficient grind every time. We found that this small effort prevents frustration and keeps your equipment in top condition.
Don’t let a dull blade slow you down. Grab your sharpening stone or sandpaper and experience the joy of a perfectly sharp meat grinder. Your culinary creations will thank you!
Frequently Asked Questions
How often should I sharpen my meat grinder blade?
You should sharpen your meat grinder blade whenever you notice a decline in performance. This might be every 10-15 uses, or if meat starts tearing instead of cleanly cutting. Regular maintenance prevents excessive dullness.
Can I use a regular knife sharpener for my meat grinder blade?
No, we do not recommend using a regular knife sharpener. Meat grinder blades require a perfectly flat surface for sharpening, which most knife sharpeners do not provide. Using the wrong tool can damage the blade’s crucial flat edge.
What if my grinding plate is deeply scratched or uneven?
If your grinding plate is deeply scratched or visibly uneven, simple lapping might not be enough. You might need to consider replacing the grinding plate. A damaged plate will prevent even a sharp blade from performing correctly.
Is it possible to over-sharpen a meat grinder blade?
It’s hard to “over-sharpen” in terms of making it too sharp, but you can remove too much material. Focus on light, consistent passes rather than aggressive grinding. Removing the burr gently is also key to avoiding damage.
Does sharpening affect the warranty of my meat grinder attachment?
Generally, sharpening the blade itself does not void your warranty, as it’s a normal maintenance task. However, always check your manufacturer’s specific warranty information if you have concerns. We found that most companies encourage proper care of their products.