How to Make Pizza Dough in a Stand Mixer?

The easiest way to make pizza dough at home is by using a stand mixer. Your stand mixer will handle all the hard work of kneading. This saves your arms and gives you perfectly smooth dough every time.
Dough made in a stand mixer is consistent and elastic. We found it creates a superior texture for your crust. Many home bakers find this method less messy and more efficient than hand-kneading.
- Effortlessly make pizza dough.
- Stand mixer does all the kneading.
- Achieve consistent, smooth dough.
- Save time and avoid mess.
- Get a great crust for your pizza.
Ready to master your own homemade pizza? We’ll walk you through exactly how to make pizza dough using your stand mixer, step by step.
Crafting Pizza Dough With Your Stand Mixer
Making pizza dough at home is really rewarding. Your stand mixer makes it simple and mess-free. Let’s get into the details.
Gather Your Ingredients and Tools
Before you start, gather everything you’ll need. This makes the process much smoother. You won’t have to stop mid-recipe to hunt for a measuring cup.
Essential Ingredients for Perfect Dough
Good pizza starts with good ingredients. You don’t need many, but quality counts. Using fresh items makes a big difference.
- Warm Water: This activates your yeast. Aim for body temperature, around 105-115°F (40-46°C). Too hot, and it kills the yeast. Too cold, and the yeast won’t activate properly.
- Active Dry Yeast: This is what makes your dough rise. Make sure it’s fresh. Expired yeast won’t give you a good rise.
- All-Purpose or Bread Flour: Bread flour has more protein, giving a chewier crust. All-purpose works well too for a softer texture. We often use bread flour for a sturdier base.
- Salt: Flavor and structure are both improved by salt. Don’t skip it! It also helps control the yeast activity.
- Olive Oil: A little oil adds flavor and helps with elasticity. It also gives the crust a nice golden color.
- Sugar (Optional): A pinch of sugar gives the yeast “food.” It can speed up activation and add a touch of sweetness.
Must-Have Kitchen Tools
Your stand mixer is the star, but a few other items are helpful. These tools ensure accuracy and ease.
- Stand Mixer with Dough Hook: The most important tool! The dough hook is designed for kneading.
- Large Mixing Bowl: Even though you’re using the mixer, sometimes you need a spare bowl.
- Measuring Cups and Spoons: Accuracy is key in baking.
- Kitchen Scale (Recommended): Weighing flour is far more precise than scooping. Many professional bakers swear by it (King Arthur Baking Company).
- Instant-Read Thermometer: To check your water temperature. This prevents guesswork.
- Plastic Wrap or Damp Kitchen Towel: For covering your dough during rising.
The Step-by-Step Dough Making Process
Now that you have everything ready, let’s get mixing! Don’t worry, it’s simpler than you might think. We’ll guide you through each stage.
Activating Your Yeast: The First Rise of Life
This crucial first step wakes up your yeast. It’s like giving it a little jolt of coffee. If it doesn’t get foamy, your yeast might be dead.
In your stand mixer bowl, combine the warm water and yeast. If you’re using sugar, add it now. Give it a gentle swirl. Let it sit for 5-10 minutes. What are you looking for? It should become foamy and bubbly. This tells you the yeast is active and ready to work. If it doesn’t foam, your water might have been too hot or too cold, or your yeast is old. Toss it and start again.
Combining Dry and Wet Ingredients
Once your yeast is bubbling happily, it’s time to add the rest. This creates the initial, shaggy dough.
Add the flour, salt, and olive oil to the yeast mixture in the stand mixer bowl. Make sure the salt doesn’t sit directly on the yeast for too long at this stage. Salt can slightly inhibit yeast if it’s too concentrated (Fleischmann’s Yeast). Attach the dough hook. Start mixing on low speed. You’ll see the ingredients come together. It will look like a shaggy ball at first, a bit rough around the edges.
Kneading in Your Stand Mixer: Let the Machine Work
Here’s where your stand mixer shines. It takes all the effort out of “knead until smooth.”
Increase the mixer speed to medium-low. Let your stand mixer knead the dough for 8-10 minutes. You’re aiming for a dough that pulls away from the sides of the bowl. It should look smooth and elastic. You might need to occasionally scrape down the sides of the bowl. Does it look too wet and sticky? Add a tablespoon of flour at a time. Too dry? Add a teaspoon of warm water. The goal is a dough that feels soft and slightly tacky, but not overly sticky.
The First Rise: Developing Flavor and Texture
This rest period is where the magic happens. The dough ferments, creating wonderful flavor and a light texture.
Lightly oil a large bowl. Place your kneaded dough inside, turning it once to coat. Cover the bowl tightly with plastic wrap or a damp kitchen towel. Let it rise in a warm spot for 1 to 1.5 hours. What’s a “warm spot”? Anywhere from 70-80°F (21-27°C) is ideal. A turned-off oven with the light on works great. The dough should double in size. This “first rise” is important for the dough’s structure and taste.
Punching Down and Shaping the Dough
After the first rise, your dough is ready for its next steps. This part is quite satisfying!
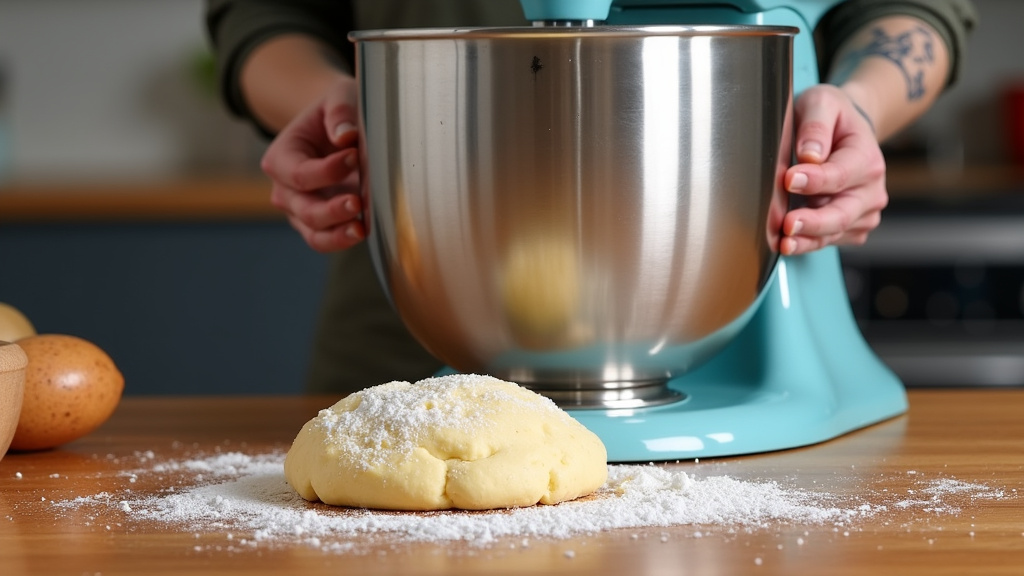
Gently ‘punch down’ the dough to release the air. This usually means pressing your fist gently into the center. Then, turn the dough out onto a lightly floured surface. At this point, you can divide the dough into portions for individual pizzas. For example, a typical recipe makes two medium pizzas. Gently shape each portion into a smooth ball. Try not to overwork it. You want to keep some of that air in there.
Tips for Amazing Stand Mixer Dough
A few extra pointers can take your pizza dough from good to truly great. These are little secrets we’ve picked up over time.
Don’t Rush the Rise
Patience is a virtue, especially with dough. Rushing the rise will give you a dense, less flavorful crust. We found that giving it enough time truly improves the end result. If your kitchen is cool, it will take longer. Don’t worry if it takes an extra 30 minutes; just watch the dough, not the clock.
Adjust Flour as Needed
Humidity and even the brand of flour can affect how much liquid your dough needs. Always measure your ingredients, but be prepared to make small adjustments. A general rule of thumb: start with slightly less flour than the recipe calls for, then add tiny amounts until the dough reaches the right consistency – soft, pliable, and slightly tacky.
High-Humidity Proofing
Dough likes a humid environment to rise. This prevents a dry, crusty top. If your kitchen is dry, try this trick: place the covered bowl in your oven (turned off!) with a pan of hot water on the rack below. The steam creates a perfect proofing chamber. The dough loves this setting, so we suggest you give it a try.
Common Problems and Quick Fixes
Sometimes things don’t go perfectly, and that’s okay! Here are some common issues and how to fix them.
| Problem | Possible Cause | Solution |
|---|---|---|
| Dough isn’t rising | Dead yeast, water too hot/cold | Use fresh yeast. Check water temp (105-115°F). |
| Dough is too sticky | Too much water, not enough flour | Add flour 1 tbsp at a time while mixing. |
| Dough is too dry/stiff | Too much flour, not enough water | Add water 1 tsp at a time while mixing. |
| Finished crust is tough | Over-kneading, too much flour | Knead until just smooth (8-10 min). Reduce total flour. |
Keeping Your Dough Fresh
What if you made too much dough, or want to prep ahead? You have options for storing your amazing creation.
Refrigerating Your Dough
For up to 3 days, you can store your dough in the fridge. After its first rise, deflate it gently. Place it in an oiled, airtight container. The cold slows down the yeast. When you’re ready to use it, let it come to room temperature for about 30-60 minutes before shaping. This makes it easier to work with. Dough stored in the fridge often develops even more complex flavors (The Kitchn).
Freezing for Later
You can also freeze your dough for longer storage. After the first rise, punch it down and divide it. Form into balls. Lightly oil each ball. Wrap them tightly in plastic wrap, then place in a freezer-safe bag. It can last up to 3 months. When you want to use it, thaw overnight in the fridge. Then let it sit at room temperature for an hour or so before shaping. Freezing is a great way to always have dough on hand.
Your Pizza Dough Checklist
Here’s a quick recap to ensure your homemade pizza dough experience is a success!
- Check your yeast to ensure it’s fresh and active.
- Use a kitchen scale for precise flour measurement.
- Knead for the suggested 8-10 minutes for optimal texture.
- Let your dough rise in a warm, draft-free spot.
- Don’t be afraid to adjust flour or water slightly.
- Handle the risen dough gently to keep air pockets.
Conclusion
You’ve now learned how simple it is to create perfect pizza dough with your stand mixer. This method saves you time and effort, giving you consistent, delicious results every time. We found that the stand mixer truly makes homemade pizza more accessible and enjoyable for everyone. No more tired arms or inconsistent dough! Remember, good pizza starts with good dough, and your stand mixer is now your secret weapon.
Go ahead and confidently bake your next pizza night using this new skill. Your taste buds—and your guests—will thank you!
Frequently Asked Questions
What is the best type of flour for pizza dough?
Bread flour is often preferred for a chewier, stronger crust due to its higher protein content. However, all-purpose flour works very well for a slightly softer crust. You can even experiment with a blend of both to find your favorite texture.
Why isn’t my pizza dough getting stretchy during kneading?
If your dough isn’t developing elasticity, it might need more time kneading. It could also have too much flour, or not enough water. Aim for a dough that feels soft, smooth, and slightly tacky. Adjust flour or water by the tablespoon/teaspoon as needed.
Can I make pizza dough without a stand mixer?
Yes, you absolutely can make pizza dough by hand. However, it requires significantly more manual kneading. Expect to knead for 10-15 minutes by hand until the dough is smooth and elastic. The stand mixer just makes the process much easier and less messy.
How can I tell if my pizza dough has risen enough?
The dough should roughly double in size during its first rise. You can also do the “poke test”: gently press two fingers into the dough. If the indentations remain, it’s ready. If they spring back quickly, it needs more time.
My pizza crust is tough and hard after baking. What went wrong?
A tough crust can be caused by over-kneading the dough, or by using too much flour, which can dry it out. Avoid overworking the dough after its first rise. Also, ensure your oven is hot enough; a quick, hot bake helps create a crispy, not tough, crust.