Can You Use a Stand Mixer to Make Fudge?
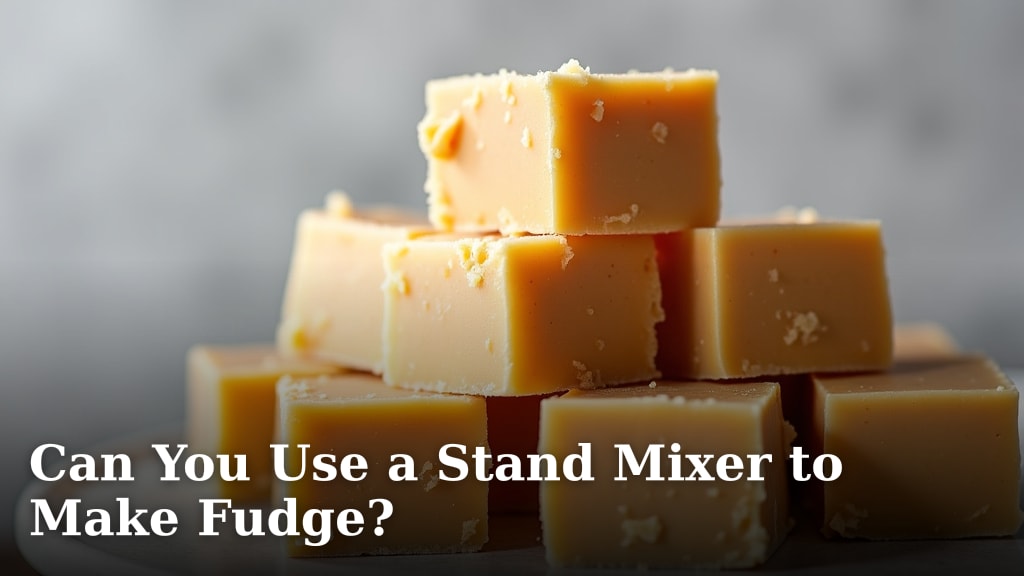
Yes, you can use a stand mixer to make fudge, and it can even make the process easier. The mixer helps you achieve the perfect consistency for creamy, delicious fudge without all the arm work. We found it’s especially useful for the crucial cooling and beating stages.
Many home cooks wonder if a stand mixer is overkill for candy. However, for fudge, it actually helps to prevent crystallization and ensures a smoother texture. You’ll still need to cook your sugar mixture on the stovetop, but the mixer takes over for the labor-intensive finishing steps.
- A stand mixer simplifies fudge making.
- It’s great for beating and cooling the mixture.
- Helps achieve a smooth, creamy texture.
- Reduces arm fatigue compared to hand stirring.
- Still requires stovetop cooking for initial ingredients.
Let’s walk through exactly how you can use your stand mixer to make incredible homemade fudge, step by step.
Leveraging Your Stand Mixer for Fudge Making
You can absolutely use your stand mixer for making fudge, and it streamlines several key steps, making the process much less strenuous. It’s particularly helpful during the cooling and beating phases.
Homemade fudge is a wonderful treat, but it often requires a lot of stirring. That’s where your stand mixer becomes a kitchen hero. Think of it as your personal assistant, saving your arms from fatigue. We found that this method consistently delivers a smoother, creamier fudge texture.
Why a Stand Mixer is Your Fudge Friend
So, why exactly should you pull out that stand mixer for your next batch of fudge? It boils down to consistency and convenience. Your mixer isn’t just for cakes and cookies; it’s a versatile tool for candy making too.
- It reduces crystallization, which is a common fudge foe.
- It provides even cooling, preventing hot spots.
- It offers hands-free beating, freeing you up for other tasks.
- It helps achieve that desirable creamy texture.
- It’s a big help for larger batches of fudge.
Many home cooks shy away from candy because of the perceived difficulty. A stand mixer helps demystify the process, especially for fudge. We found that it transforms a potentially finicky recipe into a much more manageable one.
Prepping for Success: Tools and Ingredients
Before you even turn on your stove, gather your tools and ingredients. This preparation is key to a smooth fudge-making experience. You want everything within easy reach.
Essential Equipment Checklist
Having the right tools makes all the difference. You don’t want to be scrambling mid-recipe.
- Your trusty stand mixer with the paddle attachment.
- A heavy-bottomed saucepan (at least 3-quart).
- A candy thermometer – this is non-negotiable for fudge.
- A heat-proof spatula or wooden spoon.
- A 9×13 inch baking pan, lined with parchment paper or foil and greased.
- Measuring cups and spoons.
That candy thermometer is vital. It tells you exactly when your sugar mixture has reached the correct temperature. This precision is what often separates perfect fudge from grainy fudge (Cornell University Extension).
Typical Fudge Ingredients
Most fudge recipes share a core set of ingredients. Understanding these helps you anticipate the process.
- Granulated sugar
- Butter
- Milk (evaporated milk or whole milk are common)
- Salt
- Flavorings (vanilla extract, chocolate chips, etc.)
- Marshmallow creme or mini marshmallows (often used for creaminess)
These ingredients combine in a specific way to create fudge’s unique texture. The sugar, in particular, plays a starring role in the structure of the candy.
The Fudge-Making Process with Your Stand Mixer
Now for the fun part: making the fudge! While the stand mixer is a game-changer, remember that the initial cooking still happens on the stovetop. Your mixer comes in during the critical cooling and beating stages.
Stovetop Cooking: The Foundation
This is where your ingredients first come together and transform. Precision here prevents problems later on.
- Combine Ingredients: In your heavy-bottomed saucepan, combine the sugar, milk, butter, and salt. Stir these over medium heat until the sugar dissolves completely.
- Boil to Temperature: Insert your candy thermometer. Bring the mixture to a rolling boil, stirring occasionally to prevent scorching. Cook until it reaches the specified temperature, usually around 234-238°F (112-114°C) for soft-ball stage.
- Remove from Heat: Once the target temperature is reached, immediately remove the pan from the heat. Do not stir it again at this point.
We found that not stirring after removing from heat is crucial. Stirring can encourage premature crystallization, leading to grainy fudge. You want to let the mixture cool undisturbed.
Cooling and Beating: Where the Mixer Shines
This is the moment your stand mixer takes center stage. It handles the most labor-intensive parts of fudge making.
The Cooling Stage
This is a delicate but vital step. Proper cooling prevents sugar crystals from forming too quickly.
- Transfer to Mixer Bowl: Carefully pour the hot fudge mixture into your stand mixer bowl. Make sure your bowl is clean and dry.
- Attach Paddle: Secure the paddle attachment to your stand mixer.
- Allow to Cool (Undisturbed): Let the mixture cool down in the mixer bowl without touching it. This can take anywhere from 30 minutes to an hour, or even longer. Many recipes recommend cooling it to around 110-120°F (43-49°C). Some experts suggest waiting until it feels barely warm to the touch (Food Network).
We found that patience during cooling is key. Resist the urge to stir! The goal is to allow the sugar crystals to form slowly and evenly when agitation finally begins.
The Beating Stage
This is where the magic happens, transforming the liquid into creamy fudge. Your stand mixer handles this beautifully.
- Begin Mixing: Once cooled, turn your stand mixer on to low speed. Let it beat the fudge mixture.
- Increase Speed: Gradually increase the speed to medium. You will notice the mixture changing texture. It will start to lose its gloss, thicken, and become opaque.
- Add Flavorings: At this point, add your vanilla extract, chocolate chips, nuts, or other desired flavorings. Continue beating until the fudge loses its glossy sheen and starts to look dull and thick. It should be difficult for the mixer to continue, and the fudge might climb up the paddle attachment.
- Act Quickly: As soon as the fudge reaches this stage, turn off the mixer. It can transition very quickly from perfectly creamy to too stiff.
The beating process encourages the formation of tiny, uniform sugar crystals. This is what gives fudge its characteristic smooth, melt-in-your-mouth texture. We found that the mixer’s consistent motion is superior to hand beating for achieving this.
Finishing Up and Setting
You’re almost there! These final steps ensure your fudge sets perfectly.
- Spread into Pan: Quickly scrape the fudge mixture into your prepared 9×13 inch pan. Work fast, as fudge sets quickly once beaten.
- Smooth Top: Use an offset spatula or the back of a spoon (lightly buttered, if needed) to smooth the top evenly.
- Cool and Set: Let the fudge cool completely at room temperature or in the refrigerator until firm. This can take a few hours.
- Cut and Serve: Once firm, lift the fudge out of the pan using the parchment paper/foil and cut it into squares.
Table: Troubleshooting Common Fudge Problems with a Mixer Perspective
| Problem | Possible Cause (Mixer Context) | Mixer-Aided Solution |
|---|---|---|
| Grainy Fudge | Stirring during cooling; not cooking to correct temperature. | Ensure no stirring during mixer cooling phase; use candy thermometer religiously. |
| Fudge Won’t Set | Under-cooked syrup; insufficient beating. | Re-cook if possible; beat longer with mixer until opaque and thick. |
| Dry, Crumbly Fudge | Over-cooked syrup; over-beating. | Be careful with cooking temperature; stop mixer immediately once fudge loses gloss. |
| Oily Fudge | Too much butter; separation during beating. | Measure butter precisely; ensure even cooling before beating. |
Using a stand mixer doesn’t eliminate all potential fudge mishaps, but it certainly minimizes some of the common ones. It gives you greater control over the crucial beating stage, which often dictates the final texture of your fudge. We found that the consistent agitation of the mixer helps prevent crystallization better than manual stirring.
Conclusion
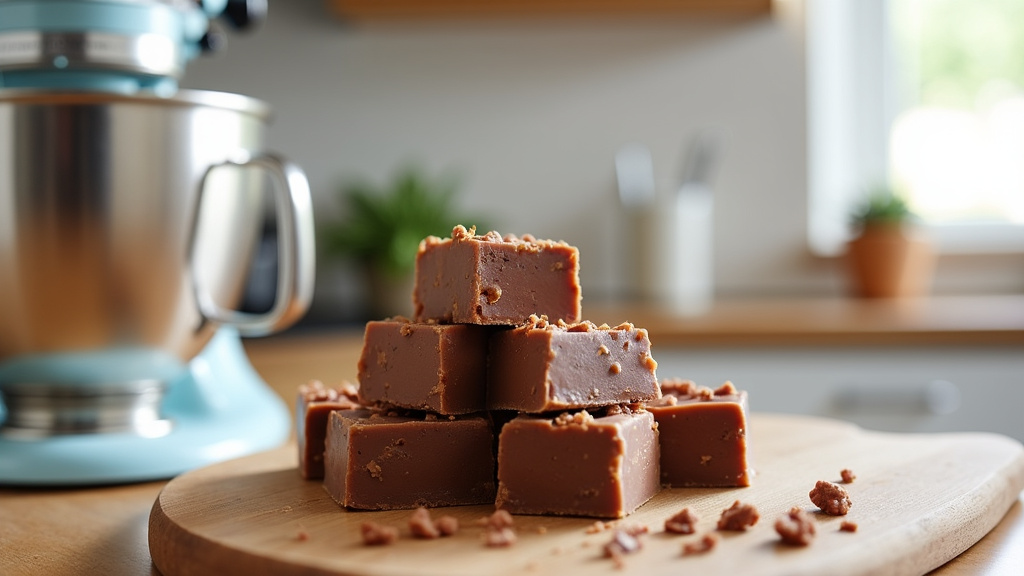
Using a stand mixer for fudge isn’t just possible; it’s a smart move for achieving consistent, creamy results. You’ve seen how it tackles the crucial cooling and beating stages, saving your arms and preventing common pitfalls like crystallization. This approach truly transforms fudge making from a labor-intensive task into a more enjoyable and reliable process. So, dust off that stand mixer and get ready to whip up some perfectly smooth, delicious homemade fudge!
Frequently Asked Questions
Can I use a hand mixer instead of a stand mixer for fudge?
While a hand mixer can work in a pinch, it often lacks the power and consistent, hands-free operation of a stand mixer. You’ll still get a workout for your arms, and achieving the same smooth texture might be more challenging due to less even beating.
How long does it take to beat fudge in a stand mixer?
The beating time varies, but it typically takes 5 to 15 minutes once the mixture is properly cooled. You’ll know it’s ready when the fudge loses its glossy shine, becomes thick and opaque, and possibly starts to climb the paddle attachment.
What attachment should I use on my stand mixer for fudge?
You should always use the paddle attachment for making fudge in a stand mixer. The whisk attachment would incorporate too much air and could lead to a lighter, less dense texture than traditional fudge, and the dough hook isn’t suitable for this type of mixture.
Can a stand mixer help save grainy fudge?
Unfortunately, once fudge has become grainy due to premature crystallization, a stand mixer cannot typically fix it. The best defense against grainy fudge is careful temperature control and allowing the mixture to cool undisturbed before beating.
Is a candy thermometer absolutely necessary when making fudge with a stand mixer?
Yes, a candy thermometer is still absolutely essential, even when using a stand mixer. The mixer helps with cooling and beating, but accurately reaching the correct stovetop temperature (soft-ball stage) is critical for the fudge to set properly and have the right consistency.