Why Is My Stand Mixer Splashing?
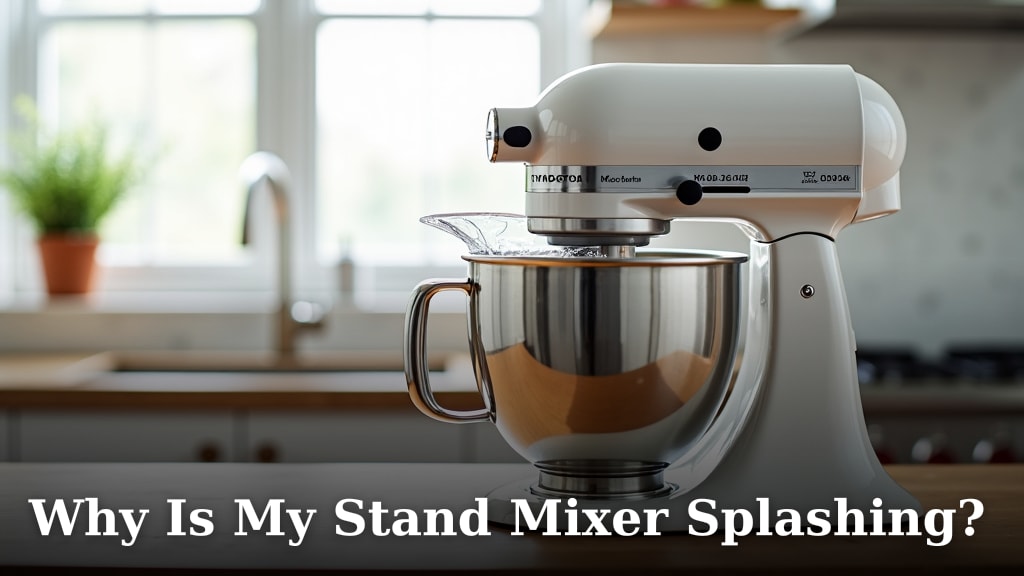
Your stand mixer is splashing because you’re likely mixing at too high a speed, using a bowl that’s too full, or not adding ingredients correctly. Sometimes, thinner batters or liquids naturally cause more splatter. It’s a common kitchen issue, and we’ve all been there.
Nobody wants their kitchen walls covered in batter. We found that most splashing issues come down to simple adjustments in your mixing technique or equipment. Understanding these causes will help you keep your workspace much cleaner and make your baking more enjoyable.
- Mixing speed is too high.
- Bowl is too full or too empty.
- Ingredients are added incorrectly.
- Batter consistency is too thin.
- No splash guard is being used.
Let’s walk through exactly why your stand mixer is splashing and what you can do about it, so you can mix with confidence.
Common Reasons for Mixer Messes
Most splashing issues stem from a few key areas. Addressing these will dramatically reduce your clean-up time.
Mixing Speed Matters
Is your mixer acting like a kitchen fountain? Often, the culprit is simply mixing too fast. It’s like driving a car too quickly through a puddle; you’re bound to get wet.
The “Start Low, Go Slow” Rule
We’ve found that many people start their stand mixer on a medium or high speed right away. This can instantly cause thin batters or liquids to fly out of the bowl. Instead, always begin on the lowest setting. Allow the ingredients to combine, then gradually increase the speed as needed. Think of it as a gentle coaxing, not a sudden jolt.
For example, when making whipped cream, you might start on speed 2 to incorporate air slowly. Then, you can increase to speed 6 or 8 for faster whipping. But never jump straight to the highest setting.
Understanding Speed Settings
Your stand mixer has different speeds for a reason. Higher speeds are great for aeration, like whipping egg whites or cream. Lower speeds are ideal for mixing dry ingredients, kneading dough, or gently folding in delicate items. Using the wrong speed for the task at hand is a primary cause of splashing, especially with liquid-heavy recipes.
Ingredient Volume and Consistency
The amount and type of ingredients you’re mixing also play a big role in controlling splatter. It’s not just about how fast you mix, but what you’re mixing.
Bowl Fill Level
Have you ever filled a cup too high and tried to carry it? The same principle applies here. If your mixer bowl is too full, even at low speeds, the ingredients have nowhere to go but out. We recommend keeping your bowl no more than two-thirds full. This gives the ingredients room to move and combine without overflowing.
On the flip side, an almost empty bowl can also splash. If you’re mixing a very small amount of liquid, the beater might whip it up against the sides of the bowl, causing tiny droplets to escape. In such cases, consider using a smaller bowl if your mixer allows, or adding slightly more volume if the recipe can accommodate it.
Batter and Liquid Consistency
Some recipes are just naturally splashy. Think about pancake batter or a thin cake batter. These liquids have low viscosity, meaning they flow easily. When a mixer attachment moves through them, it creates more disturbance and, you guessed it, more splashes.
Conversely, thicker doughs or cookie batters are less likely to splash because they are heavier and stick together more. When working with thin liquids, be extra vigilant about starting on the lowest speed. You might also find that a splash guard is indispensable for these recipes (more on that later).
Adding Ingredients Correctly
How you introduce ingredients into the bowl can make a huge difference. It’s a common mistake to dump everything in at once, especially dry ingredients.
The “Dust Cloud” Effect
Imagine adding flour to your mixer bowl while it’s already running at a moderate speed. What happens? A flour cloud, right? This isn’t just messy; it means your ingredients aren’t getting incorporated properly. Always add dry ingredients slowly, one at a time, preferably while the mixer is on a very low speed, or even off.
When adding liquids, pour them in a slow, steady stream. This allows them to gradually combine with the existing mixture without creating a sudden surge or splash. Think of it like a gentle rain, not a sudden downpour.
Proper Ingredient Temperature
Believe it or not, ingredient temperature can affect splashing. For instance, if your butter is too cold and you add it to other ingredients, it won’t combine smoothly. Instead, it might break into chunks and get flung around the bowl. This is less about liquid splashing and more about solid ingredients making a mess.
Many recipes call for room temperature ingredients for a reason. They mix more uniformly, creating a smoother batter or dough. This uniformity helps prevent ingredients from “fighting” the mixer attachment and splashing out.
Preventative Measures and Smart Habits
Now that you understand why splashing happens, let’s look at practical solutions. These tips can turn your messy mixer into a clean culinary companion.
Utilizing a Splash Guard
This might seem obvious, but many people don’t use the splash guard that came with their mixer. It’s often viewed as an extra hassle. However, we found that a good splash guard is perhaps the most effective tool against spatter.
A splash guard fits over the top of your mixing bowl, leaving a small opening for adding ingredients. It acts as a physical barrier, catching anything that tries to escape. Think of it as a safety net for your kitchen. We highly recommend using one, especially for recipes involving thin batters or high speeds.
Here’s a quick comparison:
| Without Splash Guard | With Splash Guard |
|---|---|
| Ingredients fly freely. | Contains splatter within the bowl. |
| Kitchen surfaces get messy. | Keeps counters cleaner. |
| Can waste ingredients. | Minimizes ingredient loss. |
| Adds clean-up time. | Reduces post-mixing mess. |
Choosing the Right Attachment
Your stand mixer comes with different attachments for different tasks. Using the wrong one can contribute to splashing. For example:
-
Wire Whisk: Best for aerating, like whipping cream or egg whites. It incorporates a lot of air, which can cause liquids to splash if the speed is too high.
-
Flat Beater: Ideal for general mixing, creaming butter and sugar, or making cake batter. It’s less prone to splashing than the whisk, but still requires care with thin mixtures.
-
Dough Hook: Designed for kneading heavy doughs. Splashing is usually not an issue here because doughs are thick.
Ensure you’re using the recommended attachment for your recipe. If you’re mixing a very wet batter, the flat beater might be a safer bet than the whisk to start, even if you switch to the whisk later for aeration.
Maintaining Your Mixer Attachments
Worn-out attachments can sometimes cause issues. If your flat beater is bent, or your whisk wires are loose, they might not mix efficiently. This can lead to ingredients being unevenly combined, which in turn could make some parts of the mixture splash more than others. A well-maintained mixer performs better and often cleaner.
Make sure your attachments are properly secured to the mixer head. A loose attachment can wobble, causing ingredients to be flung outwards unexpectedly. We found that a quick check before you start mixing can save a lot of trouble later.
Practice and Patience
Like any skill in the kitchen, mastering your stand mixer takes practice. You’ll learn the nuances of your specific model and how different recipes behave. We found that patience is a virtue when it comes to preventing splashing. Don’t rush the process, especially when adding ingredients or increasing speed.
Think of it as developing a rhythm with your machine. Once you understand its quirks and capabilities, you’ll be able to mix even the splashiest batters with confidence and minimal mess.
Your Splash-Free Mixing Checklist
Keep this handy list in mind for a cleaner kitchen:
- Start at the lowest speed and increase gradually.
- Ensure the bowl is not overfilled (2/3 full maximum).
- Add ingredients slowly and steadily.
- Use a splash guard, especially for thin batters.
- Select the correct attachment for the task.
- Check that attachments are securely fitted.
Conclusion
Dealing with a splashing stand mixer can be frustrating, but it’s a problem with straightforward solutions. By adjusting your mixing speed, being mindful of your bowl’s fill level, and adding ingredients slowly, you can easily control the mess. We found that incorporating simple habits like using a splash guard and selecting the right attachment really makes a difference.
You now have the knowledge to turn your messy mixing sessions into clean, efficient baking experiences. Take these tips to your kitchen, make those small changes, and enjoy a much tidier countertop the next time you bake!
Frequently Asked Questions
Why does my mixer splash so much with wet ingredients?
Wet ingredients, like thin batters or liquids, have a lower viscosity, meaning they flow easily. When the mixer attachment moves through them, it creates more disturbance and quickly flings droplets outwards. Starting on the lowest speed helps keep these liquids contained.
Can a dirty or old mixer cause splashing?
While the mixer itself might not directly cause splashing due to age, worn-out or bent attachments can contribute. If your beater isn’t mixing efficiently or is wobbly, it can cause ingredients to be flung unevenly. Always check your attachments for damage or secure fit.
Is it better to add liquids or dry ingredients first to prevent splashing?
It often depends on the recipe, but typically, adding dry ingredients to wet (or vice versa) slowly and on a low speed is key. Dumping a large amount of flour into a running mixer will create a “dust cloud,” while pouring liquids too fast can cause them to splash out. Gradual incorporation is always best.
My stand mixer still splashes even on the lowest speed. What else can I do?
If splashing occurs even on the lowest speed, check if your bowl is too full or if you’re mixing a very small amount of liquid. A splash guard is your best defense in this scenario. Also, ensure your ingredients are at the correct temperature, as very cold ingredients can sometimes be less cooperative.
Are some mixer attachments more prone to splashing than others?
Yes, the wire whisk attachment is generally the most prone to splashing, especially with thinner liquids, because it incorporates a lot of air and creates more movement. The flat beater is usually less splashy for general mixing. Always ensure you’re using the right attachment for the task to minimize mess.