
How to Use a Pasta Attachment on a Stand Mixer?
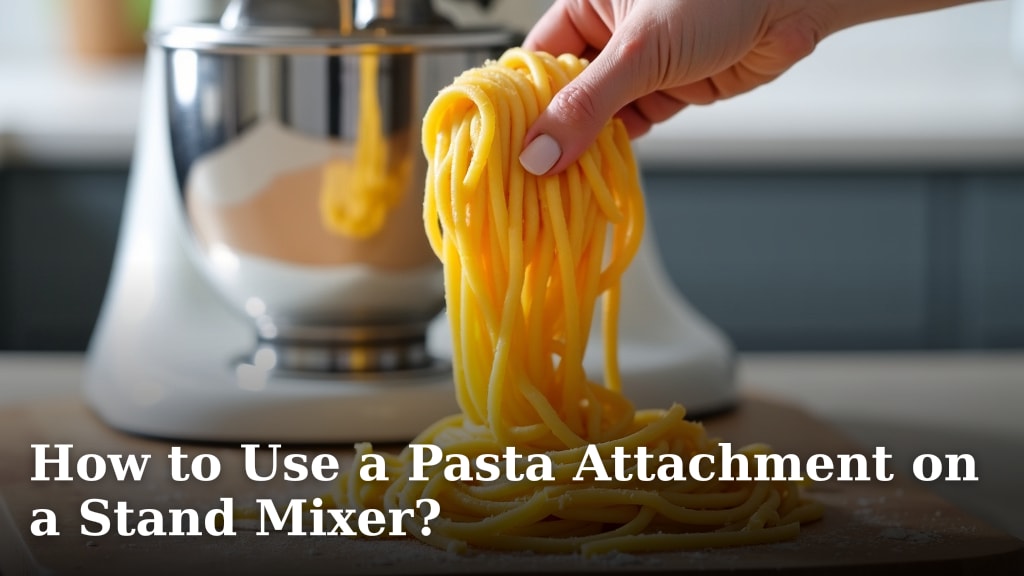
To use a pasta attachment on a stand mixer, you simply attach it to the power hub and follow the instructions for your specific pasta maker. This allows you to effortlessly produce fresh, homemade pasta right in your kitchen.
Making your own pasta can seem intimidating. But with the right tools, it’s actually quite simple. Many home cooks report that a stand mixer with a pasta attachment makes the entire process much more enjoyable and efficient.
TL;DR:
- Attach the pasta maker to your stand mixer’s power hub.
- Prepare your pasta dough according to a reliable recipe.
- Follow the attachment’s feeding and rolling instructions.
- Cut your pasta to your desired length or shape.
- Enjoy fresh, homemade pasta with minimal effort.
You’re probably wondering exactly how to get started, right? We’ll guide you through each step of using your pasta attachment to make delicious fresh pasta.
Getting Started with Your Stand Mixer Pasta Maker
You’ve got your stand mixer. You’ve got your pasta attachment. Now what? The first step is to understand your tools. Knowing the different parts and how they work together is key to making delicious pasta.
Think of your stand mixer as the engine and the pasta maker as the specialized tool. They’re designed to work in harmony, making what once was a labor-intensive process much simpler for you.
Identify Your Pasta Attachment Type
Not all pasta attachments are created equal. They generally fall into two main categories: rollers and extruders. Knowing which one you have will dictate your next steps.
Pasta Roller Attachments
These attachments are designed to flatten your pasta dough into sheets. You then hand-cut these sheets or use a separate cutter attachment for shapes like fettuccine or spaghetti. This type of attachment is what most people picture when they think of homemade pasta.
Rollers typically feature a series of adjustable settings. These settings allow you to gradually thin your dough. You usually start with a wider setting and progressively move to narrower ones until you reach your desired thickness.
Pasta Extruder Attachments
An extruder works differently. It pushes dough through dies to create various pasta shapes like macaroni, rigatoni, or fusilli. This means you don’t need to roll out dough into sheets first.
Extruders often come with several different dies. You choose the die that matches the pasta shape you want. This setup saves a lot of time if you prefer shaped pasta.
Prepping for Pasta Perfection
Before you even think about attaching anything, a little preparation goes a long way. This includes setting up your workspace and getting your pasta dough ready. A smooth process begins with a little organization.
Set Up Your Workspace
Clear your countertop. You’ll need enough space for your stand mixer, the attachment, and room to handle your pasta dough. A clean and spacious area helps prevent frustration.
Make sure your cutting board or a clean, floured surface is nearby. As you roll or extrude pasta, you’ll need somewhere to place it immediately. This prevents sticking.
Prepare Your Pasta Dough
The quality of your pasta starts here. A good dough recipe is foundational. We found that the majority of successful pasta-makers emphasize the importance of well-hydrated and rested dough (America’s Test Kitchen).
Your dough should be firm but pliable. If it’s too sticky, it will clog your machine. If it’s too dry, it will crumble. Aim for a texture that feels like playdough.
After kneading, let your dough rest for at least 30 minutes, or even an hour. Resting allows the gluten to relax, making the dough much easier to work with. This step is critical; don’t skip it!
Attaching the Pasta Maker to Your Stand Mixer
This is where the magic begins! Attaching the pasta maker is usually a simple process, but it’s important to do it correctly for safety and optimal performance.
Locate the Power Hub
On most stand mixers, the power hub is located on the front of the mixer’s head. It’s usually covered by a removable cap. This hub is where the mixer’s motor provides power to accessories.
Remove the cap. You might need to twist a little knob or push a button, depending on your mixer model. It should come off easily.
Insert the Attachment Shaft
Your pasta attachment has a shaft that fits into the power hub. It’s often hexagonal or square. Carefully align the shaft with the opening in the power hub.
Push the attachment firmly into the hub. You’ll often feel a click or hear it lock into place. Many models have a locking screw or lever you then tighten to secure the attachment. Double-check that it’s snug; you don’t want it wiggling during operation.
Using Your Pasta Roller Attachment
If you have a roller, your primary goal is to create smooth, even sheets of pasta. This takes a few passes, gradually thinning the dough each time.
Initial Rolling of Dough
Set your roller attachment to its widest setting, usually “1.” Take a small portion of your rested dough – about the size of a lemon. Flatten it slightly with your hands into a rough rectangle.
Turn your stand mixer to a low speed, typically setting “2” or “3.” Feed the flattened dough through the roller. It will come out as a rough, thick sheet.
Folding and Re-Rolling
Take the sheet you just rolled. Fold it into thirds, like a letter. This helps to further develop gluten and create smoother, more uniform sheets.
Feed the folded dough through the widest setting again. Repeat this folding and rolling process 2-3 times. You should notice the dough becoming smoother and more elastic with each pass.
Gradually Thinning the Dough
Now, progressively move to narrower settings. Roll the dough sheet through setting “2,” then “3,” and so on, until you reach your desired thickness. For spaghetti or fettuccine, settings “4” or “5” are common. For lasagna, you might stop at “3” or “4.”
Flour your dough lightly at each stage if it becomes sticky. This prevents tearing and ensures a consistent texture. Many cooks recommend dusting with semolina flour for a less sticky surface.
Using Your Pasta Extruder Attachment
Extruders offer a quicker way to get shaped pasta, but they require a slightly different dough consistency and approach.
Selecting Your Die
Choose the pasta shape you want to make. Insert the corresponding die into the extruder. Make sure it’s securely in place according to your attachment’s instructions.
Feeding the Extruder
Your dough for an extruder needs to be a bit firmer than dough for a roller. Cut your dough into small pieces or logs that will fit easily into the extruder’s hopper.
Turn your mixer to a low speed, usually “2” or “3.” Gently feed the dough into the hopper. The auger inside the attachment will push the dough through the die.
Cutting the Pasta
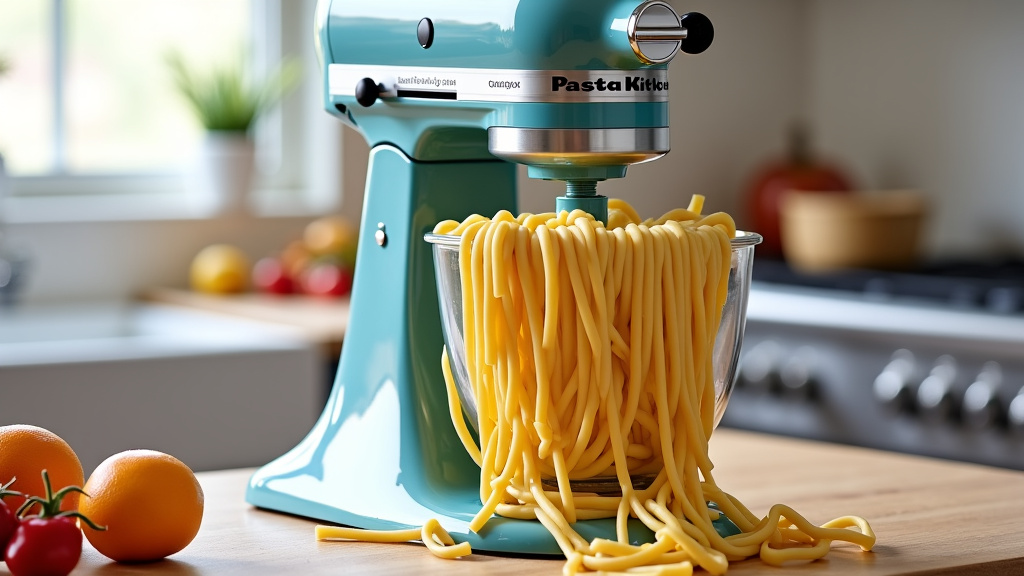
As the pasta emerges from the die, it will form long strands or shapes. Use a sharp knife or the cutting tool that often comes with the extruder to cut the pasta to your desired length. Have a floured baking sheet or drying rack ready to place the freshly cut pasta immediately.
Important Tips for Success
Making fresh pasta is a journey, not just a recipe. These tips will help you avoid common pitfalls and achieve consistent results.
- Work with small batches of dough: Don’t try to roll or extrude a huge portion at once. It’s much easier to manage smaller pieces.
- Keep unused dough covered: While you’re working, cover any dough you’re not actively using with plastic wrap or a damp cloth. This prevents it from drying out.
- Use flour judiciously: A light dusting helps prevent sticking, but too much flour can make your pasta tough or gummy. Find the right balance.
- Don’t rush the process: Pasta making is a calming, almost meditative task. Enjoy the process. Forcing the dough or speeding up the mixer can lead to tears or jams.
- Clean your attachment immediately: Once you’re done, clean your pasta attachment right away. Dried dough is incredibly hard to remove. Many parts are not dishwasher safe, so handwashing is usually required (NSF International guidelines on food equipment cleaning).
Troubleshooting Common Pasta Making Problems
Even seasoned pasta makers encounter issues occasionally. Don’t worry if your first batch isn’t perfect. It’s all part of the learning process.
Dough is Tearing or Sticking
If your dough is tearing as it goes through the rollers, it might be too dry. Try spritzing it gently with a little water before the next pass. If it’s sticking, it’s likely too wet. Dust it lightly with flour or semolina.
Also, ensure you’re folding and re-rolling dough through the widest setting a few times. This helps create a more elastic and tear-resistant dough. We found this step is often overlooked by beginners.
Pasta Not Feeding Properly
For rollers, make sure your dough piece is flattened enough to enter the widest setting. For extruders, ensure your dough pieces are small enough to fit into the hopper and aren’t getting stuck.
Sometimes, the mixer speed might be too slow or too fast. Try adjusting it within the recommended range (usually low to medium-low). A consistent, steady speed is usually best.
Your Pasta Making Checklist
Ready to get started? Here’s a quick checklist to help you make sure you’re prepared for a smooth pasta-making experience:
- Pasta attachment is clean and ready.
- Dough is prepared, rested, and divided.
- Workspace is clear and floured.
- Stand mixer is on a stable surface.
- Cutting tools or drying racks are accessible.
- You’re mentally prepared for deliciousness!
A Side-by-Side Look: Rollers vs. Extruders
Choosing between a roller and an extruder attachment depends on your preferences and the kinds of pasta you want to make most often. Here’s a quick comparison to help you decide or simply understand your current tool better.
| Feature | Pasta Roller Attachment | Pasta Extruder Attachment |
|---|---|---|
| Typical Shapes Made | Lasagna, fettuccine, spaghetti, pappardelle, ravioli (from sheets) | Macaroni, rigatoni, fusilli, bucatini, various shells |
| Dough Preparation | Softer, more pliable dough, requires gradual thinning | Firmer dough, often requires less kneading time |
| Process Efficiency | Requires multiple passes and often hand-cutting for specific shapes. | Faster for shaped pasta; dough is fed once and cut as it emerges. |
| Cleaning Effort | Usually easier to clean; dough bits wipe off. | Can be more challenging due to small holes in dies; often requires a brush. |
| Versatility | Good for sheet pasta that can be cut into many forms or filled. | Excellent for consistent, classic shaped pasta directly. |
As you can see, both have their strengths. The best one for you simply depends on your needs. Many home cooks enjoy having both for a full range of pasta options.
Conclusion
Using a pasta attachment on your stand mixer truly transforms homemade pasta from a chore into an enjoyable kitchen adventure. You’ve learned how to prepare your workspace, manage your dough, and master both roller and extruder attachments. Remember, practice makes perfect, and it’s okay if your first few batches aren’t flawless. Keep those valuable tips in mind, clean your tools diligently, and you’ll soon be regularly delighting in fresh, homemade pasta creations. So, grab your mixer and start rolling or extruding – deliciousness awaits!
Frequently Asked Questions
Can I use store-bought dough with a pasta attachment?
While you can, most store-bought pizza or bread doughs are not formulated for pasta. They tend to be too sticky or not elastic enough. For best results, we recommend using a dough recipe specifically designed for fresh pasta.
How do I clean my pasta attachment after use?
It’s crucial to clean your attachment immediately. Allow any residual dough to air dry for about 20-30 minutes, then use a stiff brush or a wooden skewer to dislodge it. Most attachments are not dishwasher-safe and should be wiped clean with a damp cloth, avoiding immersion in water.
What’s the best way to store fresh pasta?
Cook fresh pasta immediately for the best flavor and texture. If not cooking right away, you can air dry it on a pasta rack for an hour or two. For longer storage, freeze it in individual portions after a good dry, and then transfer to airtight bags. Fresh pasta can last a few weeks in the freezer.
My pasta is coming out too thick or too thin. What should I do?
For rollers, ensure you’re gradually moving through the settings, starting wide and progressively narrowing. If it’s too thin and tearing, you might be going one setting too far. Adjust your final setting based on the dish you’re making. Extruders produce consistent thickness based on the die, so check your dough consistency for proper feeding.
Do I need special flour for homemade pasta?
While all-purpose flour works, many traditional recipes, and what we found most successful, call for “00” flour, which is a finely milled Italian flour. It creates a very smooth and silky pasta texture. Semolina flour is also excellent, especially mixed with “00,” providing a slightly firmer bite and easier handling.
