
Can You Use a Stand Mixer to Make Fresh Pasta from Scratch?
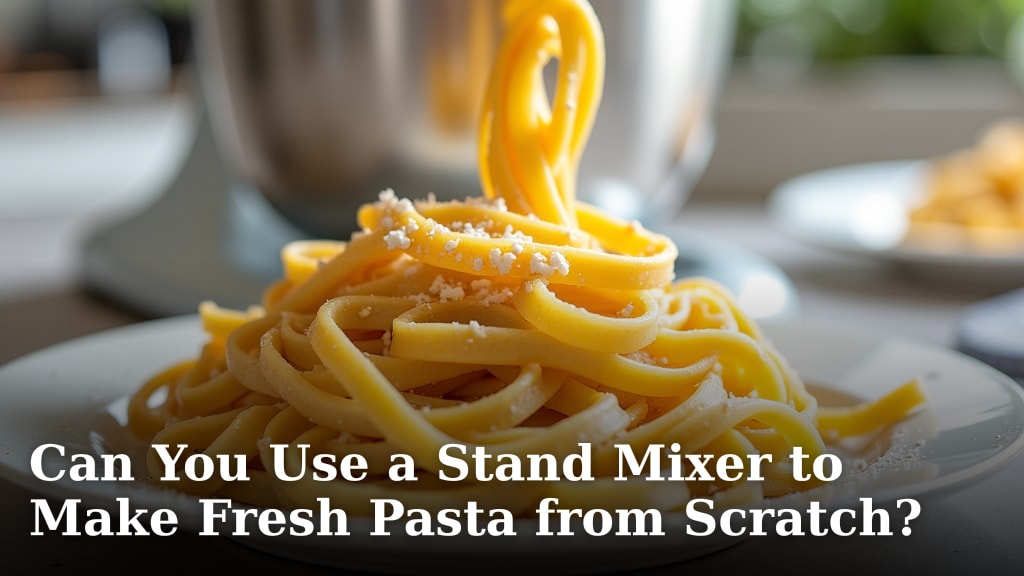
Yes, you absolutely can use a stand mixer to make fresh pasta from scratch! It’s a fantastic tool that can save you a lot of time and effort compared to kneading by hand. Many people find it makes achieving the perfect pasta dough much easier.
Your stand mixer, with the right attachments, can handle the heavy lifting of mixing and kneading. This allows you to focus on the finer points of pasta making. We found that using a stand mixer often results in a smoother, more consistent dough, which is key for delicious homemade pasta.
- Stand mixers are great for pasta dough.
- They save time and make kneading easier.
- Attachments help create a smooth dough.
- Consistency is key for great pasta.
- It’s a beginner-friendly way to start.
Let’s walk through exactly how your stand mixer can become your new best friend in the kitchen for all things pasta.
Making Fresh Pasta with Your Stand Mixer: A Guide
So, you’re thinking about making fresh pasta from scratch, and you’ve got a stand mixer. That’s wonderful! Your stand mixer can be a real game-changer for pasta making. It takes the muscle work out of kneading. This means you can achieve a beautifully smooth and consistent dough, even if you’re new to this. We found that for many home cooks, this is the key to success with homemade pasta.
Why Your Stand Mixer is Perfect for Pasta Dough
Let’s talk about why your stand mixer is actually ideal for making pasta dough. Making pasta dough by hand requires a lot of kneading. You need to develop the gluten in the flour. This gluten network gives pasta its structure and bite. Kneading by hand can take 10-15 minutes of serious effort. Your stand mixer can do this much more efficiently. It ensures the gluten develops evenly. This leads to a more tender and enjoyable pasta texture.
The Science Behind Gluten Development
When you mix flour and water, gluten proteins start to form. Kneading stretches and aligns these proteins. It creates a strong, elastic network. A well-developed gluten network is what gives your pasta that satisfying chew. It also prevents it from falling apart when cooked. Too little kneading results in gummy, fragile pasta. Too much can make it tough. Your stand mixer allows for precise control over this process. We found that it’s easier to get it just right.
Saving Your Arms and Your Time
Think about it: 10-15 minutes of vigorous kneading. That’s a workout! Your stand mixer handles this task with ease. You can set it and forget it for a few minutes. This frees you up to prepare other ingredients. Or, you can just relax for a moment. We found that the time savings are significant. This makes fresh pasta feel much more achievable on a weeknight.
Essential Stand Mixer Attachments for Pasta
To make pasta with your stand mixer, you’ll need a couple of specific attachments. Most stand mixers come with a flat beater and a dough hook. Both are useful in different stages of pasta making. Some brands offer dedicated pasta maker attachments. These are fantastic if you plan to make pasta often. Some brands offer dedicated pasta maker attachments. Our guide to the best stand mixer attachments for pasta making can help.
The Flat Beater: Mixing the Ingredients
The flat beater, sometimes called the paddle attachment, is your initial mixer. You’ll use this to combine your flour, eggs, and any liquids. It’s great for bringing the ingredients together until they form a shaggy mass. This is the first step before the real kneading begins. It ensures everything is incorporated without overworking the dough at this stage.
The Dough Hook: The Kneading Powerhouse
Once your dough has started to come together, it’s time for the dough hook. This attachment is designed to mimic the kneading motion. It will turn and fold the dough, developing that crucial gluten structure. You’ll typically use the dough hook on a low to medium speed. We found that starting slow prevents flour from flying everywhere. This is where your stand mixer really shines.
Specialized Pasta Attachments (Optional but Amazing)
If your stand mixer brand offers them, specialized pasta attachments are a game-changer. These usually include a roller attachment and cutters. The roller attachment allows you to evenly flatten your dough to precise thicknesses. The cutters then slice it into your desired shapes, like fettuccine or spaghetti. These attachments are incredibly efficient and produce professional-looking results. They really take the effort out of shaping.
Step-by-Step: Using Your Stand Mixer for Pasta Dough
Ready to get started? Here’s how to use your stand mixer to create that perfect pasta dough.
Step 1: Measure Your Ingredients Carefully
Accurate measurements are key. For basic egg pasta, you’ll typically need flour (like all-purpose or ’00’ flour) and eggs. Some recipes might call for a little water or olive oil. We found that using a kitchen scale provides the most consistent results for flour measurements. It’s more precise than cups. Make sure your ingredients are at room temperature, especially eggs.
Step 2: Combine Dry Ingredients
In the bowl of your stand mixer, add your flour. If your recipe calls for salt, whisk it into the flour now. Many experts suggest this to ensure even distribution (King Arthur Baking). You can also add other dry ingredients like semolina flour if you’re using a blend.
Step 3: Add Wet Ingredients and Mix
Make a well in the center of your flour. Add your eggs and any liquid ingredients like olive oil. Attach the flat beater. Start mixing on a low speed. Gradually increase the speed as the ingredients begin to combine. Mix until a shaggy, crumbly dough forms. This usually takes about 1-2 minutes. You don’t want a smooth ball yet; just for everything to be moistened.
Step 4: Knead with the Dough Hook
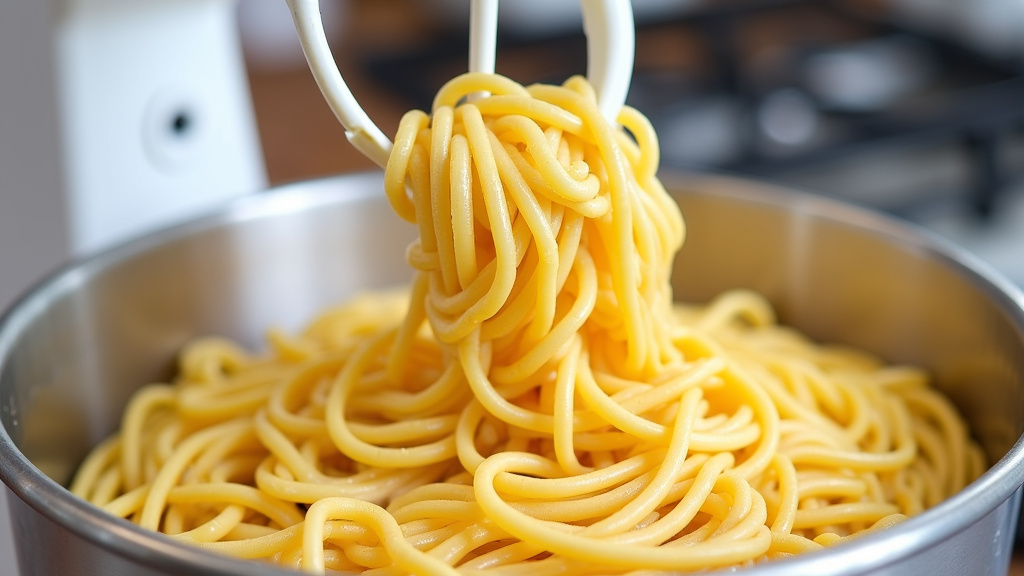
Now, swap out the flat beater for the dough hook. Turn the mixer speed down to low (speed 2 on many KitchenAid models). Let the dough hook knead the dough for about 5-8 minutes. You’re looking for the dough to become smooth, elastic, and pull away from the sides of the bowl. It should feel firm but pliable. We found that stopping the mixer occasionally to scrape down the sides ensures everything is kneaded evenly.
Signs of Perfectly Kneaded Dough
How do you know when it’s ready? The dough should feel smooth to the touch. It should spring back slowly when you gently poke it. It shouldn’t be sticky or overly dry. If it’s too sticky, add a tablespoon of flour at a time. If it’s too dry and crumbly, add a teaspoon of water. We found that patience here pays off. The dough should look cohesive and well-formed.
Step 5: Rest the Dough
Once the dough is perfectly kneaded, remove the bowl from the mixer. Shape the dough into a ball. Wrap it tightly in plastic wrap. Let it rest at room temperature for at least 30 minutes. This resting period is crucial. It allows the gluten to relax. This makes the dough much easier to roll and shape later. Many culinary resources highlight this resting step for optimal pasta texture (The Culinary Institute of America).
Troubleshooting Common Pasta Dough Issues with Your Mixer
Even with a stand mixer, you might run into a few snags. Don’t worry, these are common!
Dough is Too Wet and Sticky
If your dough is sticking excessively to the hook or the bowl sides after a few minutes of kneading, it’s too wet. Did you perhaps use a larger egg or add too much liquid? Add flour one tablespoon at a time while the mixer is running on low speed. Mix until the dough starts to pull away cleanly. We found that less is more when adding flour; you can always add more, but you can’t easily take it out.
Dough is Too Dry and Crumbly
On the flip side, if your dough looks dry, shatters when you try to form it, or doesn’t come together, it’s too dry. This can happen in dry climates or if your flour absorbs liquid differently. Add water or another liquid (like egg wash, if using) one teaspoon at a time. Let the mixer run for a minute or two between additions. You want it to become smooth and pliable.
Dough Isn’t Developing Enough Gluten
If your dough feels weak, tears easily, and doesn’t spring back, it might not have kneaded long enough. Ensure you’re using the dough hook. Keep the mixer on a low to medium-low speed for the full 5-8 minutes. Check the dough’s consistency. It should feel elastic and smooth, not like playdough. Some sources suggest that proper gluten development is key for a good pasta bite (Serious Eats).
Tips for Success with Your Stand Mixer Pasta Making
Here are a few extra pointers to make your fresh pasta journey even smoother.
- Use the Right Flour: ’00’ flour is finely milled and low in gluten, perfect for tender pasta. All-purpose works well too, offering a slightly chewier texture.
- Don’t Over-Mix: Once the dough is smooth and elastic, stop. Over-mixing can lead to tough pasta.
- Be Patient with Resting: That 30-minute rest is non-negotiable for easy handling.
- Clean Your Mixer Promptly: Pasta dough can be sticky. Clean the bowl and attachments soon after use.
Pasta Dough Checklist for Your Stand Mixer
Ready to mix up some pasta? Here’s a quick checklist:
- Stand mixer with flat beater and dough hook ready.
- All ingredients measured accurately.
- Flour, eggs, and liquids at room temperature.
- Bowl and attachments clean.
- Plastic wrap for resting the dough.
- Your favorite pasta sauce planned!
Conclusion
You’ve learned that your stand mixer is an absolute champion for making fresh pasta from scratch. It takes the hard work out of kneading, ensuring you get that perfect, smooth dough every time. We found that using your mixer with the right attachments, like the dough hook, makes the process efficient and achievable for anyone. Don’t be afraid to experiment with your recipes! Now that you’re armed with this knowledge, the next step is to gather your ingredients and give it a try. Your kitchen is ready for delicious homemade pasta!
Frequently Asked Questions
Can I make pasta dough in a stand mixer without a dough hook?
While a dough hook is ideal, you can attempt it with the flat beater attachment. You’ll need to mix for a bit longer and potentially finish by hand kneading. We found that the dough hook truly simplifies the gluten development process.
How long should I knead pasta dough in a stand mixer?
Typically, you’ll knead with the dough hook on low speed for about 5-8 minutes. You’re looking for a smooth, elastic dough that pulls away from the sides of the bowl. We found that stopping occasionally to scrape the bowl helps ensure even kneading.
What kind of flour is best for stand mixer pasta?
’00’ flour is often recommended for its fine texture, creating tender pasta. All-purpose flour is also a great option and can provide a slightly chewier bite. We found that both work well in a stand mixer.
My pasta dough is too sticky. What should I do?
If your dough is too wet, add flour one tablespoon at a time while the mixer is running on low speed. Mix until it starts to pull away cleanly from the bowl. We found that adding flour slowly prevents the dough from becoming too dry.
Can I use my stand mixer for gluten-free pasta dough?
Gluten-free pasta dough behaves differently. While you can mix the ingredients in a stand mixer, it usually doesn’t require extensive kneading. You might want to use the flat beater or mix for a very short time. We found that hand-mixing is often preferred for gluten-free varieties.
