
Do You Need a Dough Hook to Make Bread?
No, you absolutely do not need a dough hook to make bread. While it can make kneading easier, you can achieve perfectly kneaded dough using Our guide on using a stand mixer to knead bread dough explains the process.your hands or other kitchen tools. Many bakers have been making delicious bread for centuries without one!
So, if you’re worried about not having this specific attachment, don’t be! You can still get that wonderful gluten development needed for a chewy, airy loaf. We found that simple methods often yield the best results for home bakers.
- You don’t need a dough hook to make great bread.
- Your hands are a perfectly capable tool for kneading.
- Other common kitchen items can also work.
- Focus on technique, not just the tools.
Let’s walk through how you can make fantastic bread without a dough hook, and what to look out for.
“`htmlMaking Bread Without a Dough Hook Attachment
So, you’re ready to bake some fresh bread, but you don’t have a fancy dough hook for your stand mixer? Let’s get one thing straight right away: you absolutely do not need a dough hook to make a delicious loaf of bread. Many bakers worldwide have been creating wonderful bread for centuries using just their hands and simple kitchen tools. The secret isn’t the equipment; it’s understanding the Our guide explains how to make pizza dough in a stand mixer.process of kneading. We’ve found that focusing on technique will get you the best results.
Understanding the Role of Kneading
Kneading is the most critical step in bread making. Its main job is to develop gluten. Gluten is a network of proteins found in flour. When you knead dough, these proteins link together. This creates a strong, elastic structure. This structure is what allows your bread to rise and hold its shape. It also gives bread its wonderful chewy texture and airy crumb. Without proper gluten development, your bread might turn out dense and flat. It’s like building a sturdy house; you need a strong foundation.
What Happens During Kneading?
When you mix flour and water, the proteins (glutenin and gliadin) start to hydrate. Kneading then stretches and folds these protein strands. Imagine them like tiny rubber bands. They get pulled apart and then realign. As you continue to knead, these strands become longer and more interconnected. This forms a cohesive network. This network traps the gases produced by yeast during fermentation. This trapping is what makes your bread rise beautifully. Research shows that proper kneading can take anywhere from 5 to 15 minutes, depending on the method and dough consistency (National Center for Home Food Preservation).
Signs of Well-Developed Gluten
How can you tell if your dough is ready? There are a few key indicators. First, the dough will become smooth and elastic. It will feel less sticky and more pliable. Second, it will pass the “windowpane test.” This is a simple test where you gently stretch a small piece of dough. If you can stretch it thin enough to see light through it without it tearing, your gluten is well-developed. This means the protein network is strong and flexible enough for baking. We found this test to be incredibly reliable for home bakers.
Hand Kneading: Your Most Powerful Tool
Your hands are perhaps the most versatile and effective tool for kneading bread dough. You have direct control over the pressure and movement. This allows you to feel the dough’s texture and adjust your technique accordingly. Don’t underestimate the power of your own two hands! Many artisanal bakers swear by hand kneading for its connection to the dough. It’s a tactile experience that many find very rewarding. We believe it’s an essential skill for any bread maker.
The Basic Hand Kneading Technique
Start by turning your dough out onto a lightly floured surface. Make sure the surface is clean and spacious. Bring the dough together into a rough ball. Now, you begin the push-fold-turn method. Press the heel of your hand into the dough, pushing it away from you. Then, fold the dough in half towards you. Give the dough a quarter turn. Repeat this motion: push, fold, turn. Do this rhythmically and consistently. It might feel awkward at first. Just keep going! You’ll soon find a natural rhythm.
Tips for Easier Hand Kneading
To make hand kneading more manageable, keep your hands and the work surface lightly floured. Too much flour can make the dough tough. Too little, and it will stick everywhere. You want just enough to prevent sticking. Also, if the dough is very sticky, try wetting your hands slightly instead of adding more flour. This can help incorporate the sticky bits without making the dough dense. Aim for consistency in your push, fold, and turn motions. This ensures even gluten development throughout the dough.
How Long Should You Knead by Hand?
Generally, hand kneading takes longer than using a machine. Expect to knead for about 10 to 15 minutes. The exact time depends on the dough’s hydration level and your kneading speed. You’ll know it’s ready when it passes the windowpane test. You’ll also notice the dough becomes smoother and more elastic. It will spring back slowly when you poke it gently with a finger. This shows that the gluten structure is well-formed and ready for its first rise.
Alternative Tools for Kneading Dough
If hand kneading isn’t your preference, or you want a little help, other common kitchen tools can assist. You don’t need a specialized attachment to get the job done. Many of these methods mimic the action of hand kneading. They help develop that essential gluten network for your bread. We found that using a sturdy spatula or even a clean, blunt butter knife can be surprisingly effective for initial mixing.
Using a Sturdy Spatula or Spoon
For very wet or sticky doughs, a strong spatula or a robust wooden spoon can be your best friend. You can use it to stir and mix the ingredients until they just come together. This isn’t true kneading, but it’s a great starting point. It helps hydrate the flour and begin the gluten formation process. After this initial mix, you can often transition to hand kneading. This makes the dough much easier to handle. Many recipes for no-knead bread rely on this gentle stirring.
The “Stretch and Fold” Technique
This method is fantastic for developing gluten without intense kneading. It’s perfect for wetter doughs, like ciabatta or focaccia. Instead of traditional kneading, you perform a series of “stretch and folds.” You can do this with wet hands or a bench scraper. Reach under one side of the dough, gently stretch it upwards, and fold it over the center. Rotate the bowl and repeat this a few times. You typically do these stretches and folds every 20-30 minutes during the first rise. This builds strength gradually. It results in a beautifully open crumb. We found this technique to be very forgiving.
Bench Scraper: A Helping Hand
A bench scraper is an incredibly useful tool for bread making. It’s flat and stiff, made of metal or plastic. You can use it to help you lift and fold the dough during the stretch and fold method. It also helps scrape any sticky dough off your work surface. This is essential for keeping your hands clean and your workspace tidy. It can even help you portion dough if you need to. It’s a simple tool that makes a big difference.
What to Focus on Instead of a Dough Hook
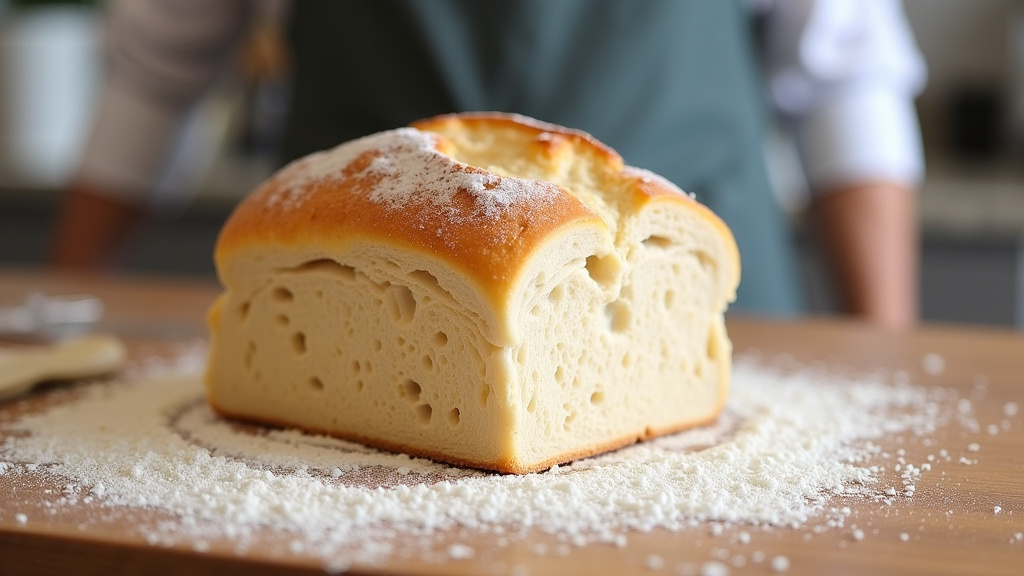
Ultimately, the success of your bread doesn’t hinge on a dough hook. It depends on your understanding of a few key principles. Focus on the ingredients, the technique, and the environment. These elements work together to create a perfect loaf. We’ve gathered some tips to help you nail these aspects.
Ingredient Quality Matters
Using good quality flour is essential. Different flours have different protein contents. Higher protein flour generally produces more gluten. This is ideal for bread. Make sure your yeast is fresh and active. Stale yeast won’t give your dough the lift it needs. Measuring ingredients accurately is also crucial. Too much or too little liquid can drastically change how your dough behaves. Baking is a science, and precision helps.
Temperature and Time Control
The temperature of your ingredients and your kitchen affects yeast activity. Warm temperatures speed up fermentation. Cooler temperatures slow it down. Most recipes assume a room temperature of around 70-75°F (21-24°C). If your kitchen is cold, your dough might take longer to rise. Conversely, a very warm kitchen can make it rise too quickly, potentially affecting flavor development. Allow your dough the time it needs to rise properly. Don’t rush the process. Patience is a baker’s virtue.
Developing Your Dough’s Feel
Paying attention to the dough’s feel is perhaps the most important skill. As you gain experience, you’ll learn to recognize when dough is properly hydrated. You’ll also feel when gluten has developed sufficiently. Don’t just rely on recipe times. Use your senses. Does the dough feel alive? Is it smooth and elastic? This tactile feedback is invaluable. Many experienced bakers often describe dough development as learning a new language. You’re learning to understand what the dough is telling you.
Checklist for Dough Hook-Free Bread Baking:
- Measure your ingredients accurately.
- Use fresh, active yeast.
- Knead until the dough is smooth and elastic.
- Perform the windowpane test for gluten development.
- Allow dough adequate time to rise in a suitable temperature.
- Don’t be afraid to adjust flour or water slightly if needed.
Conclusion
You’ve learned that a dough hook is not essential for baking fantastic bread. Your own hands are incredibly capable, and with a little practice, you can develop the perfect gluten structure needed for a delicious loaf. Focusing on good ingredients, proper technique like the push-fold-turn method, and understanding the dough’s feel will lead you to success. Remember the windowpane test as your guide. So, don’t let a missing attachment stop you. Get your hands in the dough and enjoy the rewarding process of baking your own bread!
Frequently Asked Questions
Can I really make good bread without any mixer at all?
Absolutely! Many traditional recipes rely solely on hand kneading. You’ll develop a wonderful connection with your dough. It might take a bit longer than using a mixer, but the results are incredibly rewarding and often preferred by artisanal bakers.
What if my dough is too sticky to hand knead?
If your dough is too sticky, resist the urge to add too much extra flour. Lightly wetting your hands with water can help prevent sticking without making the dough tough. You can also use a bench scraper to help manage the dough during kneading.
How long does hand kneading typically take?
Hand kneading usually takes about 10 to 15 minutes of consistent effort. This timeframe can vary based on the dough’s hydration and your kneading speed. The key is to knead until the dough passes the windowpane test and feels smooth and elastic.
Is the “stretch and fold” method as effective as kneading?
Yes, the stretch and fold technique is highly effective, especially for wetter doughs. It gradually builds gluten strength over time, producing a beautiful, open crumb texture. This method is often used for breads like focaccia or ciabatta.
How do I know if my yeast is still active?
To check your yeast, mix a small amount with warm water (around 105-115°F or 40-46°C) and a pinch of sugar. Let it sit for about 5-10 minutes. If it becomes foamy and bubbly, your yeast is active and ready to use.
