
How to Make Cream Cheese Frosting in a Stand Mixer?
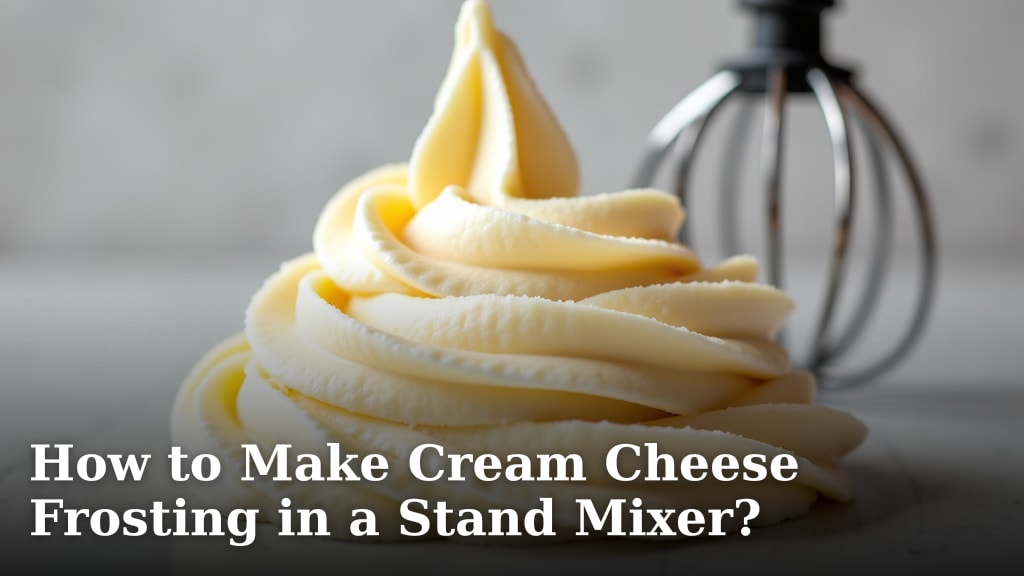
Making cream cheese frosting in a stand mixer is a super easy way to get perfectly smooth and fluffy results. You can achieve delicious cream cheese frosting in just a few simple steps. This method is designed to be quick and foolproof for all your baking needs.
Using a stand mixer means less elbow grease for you. It helps to properly cream the butter and cream cheese, which is key. We found that this technique ensures your frosting is airy and light, not dense or lumpy. It’s a reliable way to achieve bakery-quality frosting at home.
- Cream cheese frosting in a stand mixer is simple.
- It ensures a smooth, fluffy texture.
- The mixer does the hard work for you.
- Key is properly creaming ingredients.
- Results are light and airy.
Let’s walk through exactly how to make this dreamy cream cheese frosting using your stand mixer, step by step. You’ll be frosting cakes and cupcakes in no time! You can absolutely use a stand mixer to mix cake batter for your baking needs.
Whipping Up Dreamy Cream Cheese Frosting With Your Stand Mixer
Making incredibly smooth and delicious cream cheese frosting is totally achievable at home. Your stand mixer is a fantastic tool for this. It handles the heavy lifting, ensuring your frosting is light, fluffy, and perfectly blended. Let’s get you frosting those cakes and cupcakes like a pro!
Gathering Your Cream Cheese Frosting Essentials
Before you dive in, let’s make sure you have everything ready. Having your ingredients measured and at the right temperature is key to success. This prevents lumps and ensures a beautiful consistency.
The Must-Have Ingredients
You won’t need a long list of fancy items. Most of these are probably already in your pantry or fridge. It’s the quality of your ingredients that really shines through in the final taste.
- Full-fat cream cheese: This is the star! Make sure it’s full-fat for the best texture and flavor. Light or fat-free cream cheese can make your frosting too soft.
- Unsalted butter: Use good quality, unsalted butter. This gives you control over the saltiness. It should be softened, not melted.
- Powdered sugar: Also known as confectioners’ sugar or icing sugar. Sifting it can help prevent lumps, though the mixer will do a lot of the work.
- Vanilla extract: Pure vanilla extract adds a lovely warmth and depth of flavor.
- Pinch of salt: This small amount really balances the sweetness and enhances the other flavors.
Essential Kitchen Tools
Besides your trusty stand mixer, a few other items will make the process smooth sailing. You likely have most of these on hand already.
- Stand mixer: Of course! With the paddle attachment.
- Measuring cups and spoons: For accurate ingredient amounts.
- Spatula: For scraping down the sides of the bowl.
- Sifter (optional): If your powdered sugar is lumpy.
Preparing Your Ingredients for Success
The temperature of your ingredients makes a huge difference. This is where many recipes go awry. Let’s avoid that!
The Importance of Softened Ingredients
You need your butter and cream cheese to be softened to room temperature. This means they should give slightly when you press them. They shouldn’t be melted or greasy. Softened ingredients blend together much more easily and create a smoother frosting. Many bakers find that leaving them out for about 1-2 hours does the trick.
Why Room Temperature Matters
When butter and cream cheese are at the right temperature, they emulsify properly. This means they combine into a smooth, stable mixture. Cold ingredients will result in a lumpy, grainy frosting. We found that using slightly cooler, but still soft, butter can sometimes prevent the frosting from becoming too runny, especially in warmer kitchens.
Sifting Your Powdered Sugar
While not strictly mandatory when using a stand mixer, sifting your powdered sugar is a good habit. It removes any small clumps. This leads to an even smoother final product. If you’re short on time, you can skip this step. Your mixer will likely break up most of the lumps anyway.
The Stand Mixer Cream Cheese Frosting Method
Now for the fun part! Using your stand mixer is incredibly straightforward. Just follow these steps, and you’ll have glorious frosting in no time.
Step 1: Creaming the Butter and Cream Cheese
Start by placing your softened butter and cream cheese into the stand mixer bowl. Attach the paddle attachment. Mix on medium-low speed. You want to beat these together until they are creamy and well combined. This usually takes about 2-3 minutes. Scrape down the sides of the bowl with your spatula to ensure everything is incorporated. This initial creaming is vital for a smooth texture.
Achieving Peak Creaminess
Your goal here is a homogenous mixture. You shouldn’t see distinct streaks of butter or cream cheese. This step is often called “creaming,” and it’s crucial for a light frosting. Many baking resources suggest beating for at least two minutes at this stage.
Step 2: Gradually Adding the Powdered Sugar
Turn your mixer to its lowest speed. Begin adding the powdered sugar, about a cup at a time. Wait until the previous addition is mostly incorporated before adding more. This prevents a huge mess of powdered sugar flying everywhere. Continue adding sugar until it’s all in the bowl.
The Importance of Low Speed
Starting on low speed is key to controlling the powdered sugar. If you add it all at once on high speed, you’ll have a sugar cloud in your kitchen! Be patient. The mixer will do the work for you. We found that adding it in four or five stages works best.
Step 3: Incorporating Vanilla and Salt
Once all the powdered sugar is added and mostly mixed in, add your vanilla extract and pinch of salt. Turn the mixer back up to medium speed. Beat for another 1-2 minutes. This helps to fully combine everything and gives the frosting a beautiful, glossy finish.
Step 4: Final Mixing and Adjustments
After the vanilla and salt have been mixed in, give your frosting a final check. Scrape down the sides of the bowl one last time. Mix on medium speed for another minute. Your frosting should now be smooth, fluffy, and easy to spread.
Troubleshooting Frosting Consistency
Is your frosting too stiff? Add a teaspoon of milk or cream at a time, mixing until it reaches your desired consistency. Is it too soft or runny? Add a bit more sifted powdered sugar, a tablespoon at a time, until it thickens up. Many experts recommend refrigerating slightly stiff frosting for about 15-20 minutes if it’s too soft before you try to frost. This can firm it up nicely.
A Quick Frosting Checklist
Here’s a handy checklist to ensure your cream cheese frosting comes out perfectly every time:
- Ensure butter and cream cheese are softened.
- Use the paddle attachment for your stand mixer.
- Cream butter and cream cheese until smooth.
- Add powdered sugar gradually on low speed.
- Mix in vanilla and salt until glossy.
- Scrape down the bowl often!
Storing Your Delicious Cream Cheese Frosting
Once your frosting is ready, you can use it immediately. If you have leftovers, it stores well. For short-term storage, cover the bowl tightly with plastic wrap. You can keep it at room temperature for a few hours. If you need to store it longer, transfer it to an airtight container. Refrigerate it for up to a week.
Reviving Stored Frosting
When you take refrigerated frosting out, it will likely be quite firm. This is normal! To make it spreadable again, let it sit at room temperature for about 30-60 minutes. You can also give it a quick beat with your stand mixer on low speed. This will revive its creamy texture. Many find that a minute or two of beating is all it needs.
| Ingredient | Typical Amount | Purpose |
|---|---|---|
| Cream Cheese (8 oz block) | 1 (8 oz) block | Provides tang and creamy base |
| Butter (unsalted) | 1/2 cup (1 stick) | Adds richness and stability |
| Powdered Sugar | 3-4 cups | Sweetens and thickens frosting |
| Vanilla Extract | 1-2 teaspoons | Enhances flavor |
| Salt | Pinch (1/4 teaspoon) | Balances sweetness |
This table provides a general guideline. You can adjust the amount of powdered sugar based on your sweetness preference. We found that starting with 3 cups and adding more if needed is a good approach.
Conclusion
You’ve now learned how simple it is to make perfectly smooth and fluffy cream cheese frosting using your stand mixer. Remember, the key is using softened ingredients and gradually adding your powdered sugar on a low speed. Your stand mixer does the hard work, ensuring a light, airy texture that’s perfect for cakes and cupcakes. Don’t be afraid to tweak the consistency with a splash of milk or a bit more sugar if needed. Now go ahead and whip up a batch to make your next baked good truly irresistible!
Frequently Asked Questions
Can I use light cream cheese instead of full-fat?
While you can use light cream cheese, we’ve found it often results in a softer, less stable frosting. For the best texture and flavor, full-fat cream cheese is highly recommended. If you do use a lighter version, you might need to add more powdered sugar to achieve the desired consistency.
What if my frosting is too thin or too thick?
If your frosting is too thin, gradually add more sifted powdered sugar, about a tablespoon at a time, until it thickens. If it’s too thick, add a teaspoon of milk or cream at a time until it reaches your preferred spreading consistency. We found that small adjustments make a big difference.
My frosting is lumpy. What went wrong?
Lumpy frosting is often due to ingredients not being at the right temperature. Ensure your butter and cream cheese are properly softened to room temperature. If your powdered sugar is clumpy, sifting it before adding can also help. A quick re-beat in the stand mixer can sometimes smooth things out.
How long does cream cheese frosting last?
Once made, cream cheese frosting can be stored in an airtight container in the refrigerator for up to a week. It’s best to let it come to room temperature for about 30-60 minutes before using it again, or give it a quick whip in your stand mixer to restore its creamy texture.
Can I make cream cheese frosting without a stand mixer?
Yes, you absolutely can! It will require more effort, but you can achieve a similar result by using an electric hand mixer or even mixing by hand with a sturdy whisk and spatula. Make sure your butter and cream cheese are very well-softened. You’ll need to beat vigorously to incorporate air and achieve a smooth consistency.
