
How to Use the Splash Guard on a Stand Mixer?
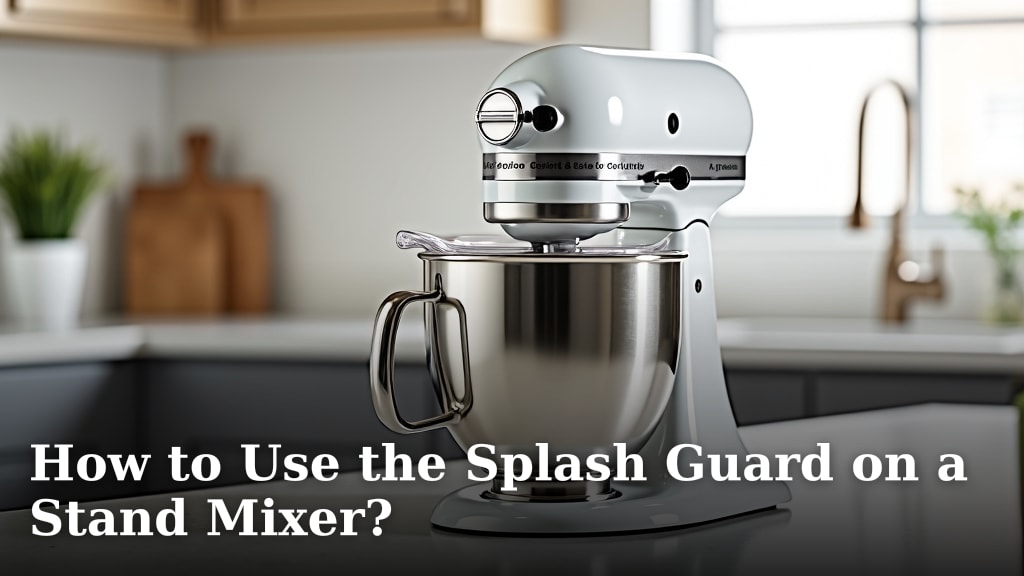
Using your stand mixer’s splash guard is surprisingly simple. You just attach it to the top of the mixer bowl before you start mixing. This helps prevent ingredients from splashing out, keeping your kitchen clean. It’s a handy tool for any home baker.
A splash guard is a kitchen accessory designed to catch ingredients. This means fewer messes and less cleanup time after baking. Many bakers find it makes the mixing process much more enjoyable. It’s a smart addition for wet batters and dry ingredients alike.
- Attach the splash guard to the bowl.
- Add ingredients through the feed tube.
- It keeps your kitchen tidy.
- Enjoy a cleaner baking experience.
Ready to see how easy it is? Let’s walk through exactly how to use your stand mixer’s splash guard step by step.
You’ve got your stand mixer ready to go. Flour, sugar, eggs – the whole gang is waiting. But before you start whipping up a masterpiece, let’s talk about that often-overlooked accessory: the splash guard. It’s more than just a piece of plastic; it’s your secret weapon against kitchen chaos.
Getting the Most from Your Stand Mixer Splash Guard
Using your stand mixer’s splash guard is simpler than you think. It acts as a shield. This helps contain ingredients during the mixing process. You’ll spend less time cleaning up splatters. That means more time enjoying your baked goods. Our guide explains how to use a stand mixer for cake batter.
What Exactly is a Stand Mixer Splash Guard?
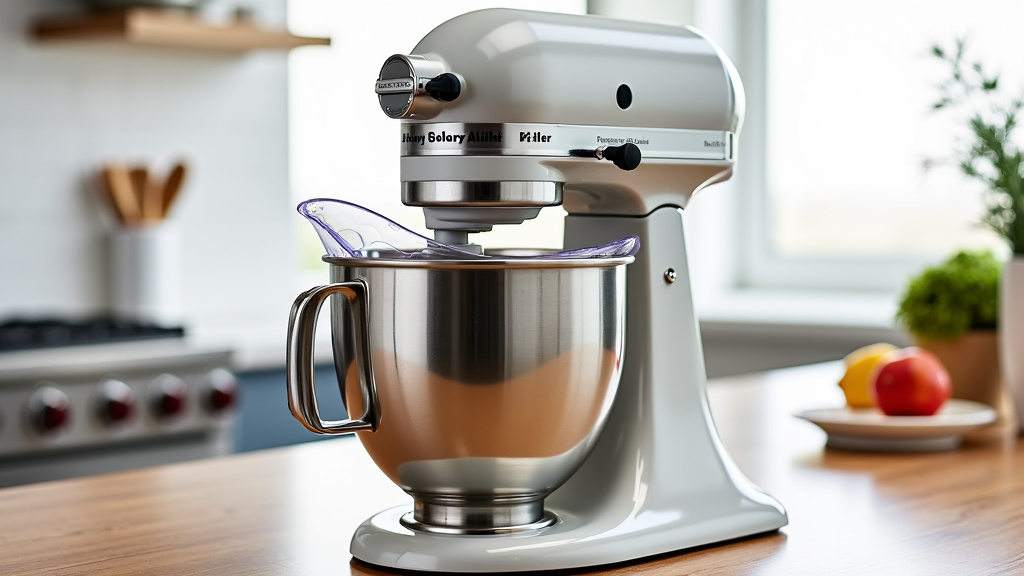
A splash guard, sometimes called a pouring shield, is a domed or U-shaped accessory. It attaches to the top rim of your stand mixer bowl. Its main job is to prevent ingredients from flying out of the bowl. This is especially helpful when you’re mixing at higher speeds. Or when you’re adding dry ingredients like flour.
Why Should You Bother Using a Splash Guard?
Think of it this way: you wouldn’t bake a cake without eggs, right? A splash guard is a similar essential ingredient for a clean bake. It makes your life so much easier. You’ll find your countertops stay much cleaner. Less mess means less scrubbing later. This is particularly true for wet batters or when adding powdery ingredients. Our guide helps you find the right size stand mixer for your needs.
We found that using a splash guard can drastically cut down on cleanup time. Many bakers agree it’s a game-changer for a tidy kitchen. Imagine baking a dense cookie dough without flour dust coating your mixer. Or a runny batter not decorating your backsplash. That’s the magic of a splash guard.
Step-by-Step Guide to Attaching Your Splash Guard
Attaching the splash guard is usually a straightforward process. Most models are designed for quick and easy installation. Let’s break it down so you can get mixing without a hitch.
Preparation: Ensuring a Proper Fit
Before you attach the guard, make sure your mixer bowl is clean and dry. Also, check the splash guard itself for any dust or debris. Some splash guards have a specific orientation. They might only fit one way. Look for any notches or tabs that indicate how it should align with the bowl or mixer head.
Attaching the Guard to the Bowl
Most splash guards simply sit on top of the mixer bowl. They often have a groove or lip that fits snugly around the rim. Gently place the splash guard onto the bowl. You might feel it click into place or simply rest securely. It should feel stable and not wobble.
Some models might have small clips or tabs that secure the guard. If yours does, ensure these are properly engaged. You don’t want it coming loose mid-mix. A secure fit is key to its effectiveness. It needs to create a good seal around the bowl.
Checking for Stability
Once the guard is in place, give it a gentle nudge. It shouldn’t shift or easily detach. If it feels loose, remove it and try reattaching it. Ensure you’re using the correct bowl that came with your mixer, as splash guards are designed for specific bowl sizes.
How to Use the Feed Tube for Adding Ingredients
One of the most convenient features of a splash guard is the built-in feed tube. This opening allows you to add ingredients while the mixer is running. It’s a smartly designed system to keep things contained and efficient.
Understanding the Feed Tube’s Purpose
The feed tube is essentially a hole in the splash guard. It’s strategically placed so you can easily pour or drop ingredients into the bowl. Without this, you’d have to stop the mixer to add things. This would defeat some of the purpose of the guard.
Adding Ingredients Safely and Effectively
When you need to add more ingredients, use the feed tube. Slowly pour or drop them in. For dry ingredients like flour or sugar, use a cup or scoop. For liquids, you can pour directly from a measuring cup. It’s best to add ingredients gradually. This helps the mixer incorporate them smoothly.
Avoid dumping large amounts at once. This can overwhelm the mixer. It can also cause ingredients to mound up near the opening. Pacing yourself is key. You’ll find this method keeps most of the mess contained within the bowl. It’s a simple yet effective technique.
What NOT to Put Through the Feed Tube
While the feed tube is versatile, it has limits. Very large or solid items shouldn’t go through it. Think chunks of chocolate or large pieces of fruit. These are better added when the mixer is stopped. Or before you start mixing altogether. The feed tube is best for things that can be poured or are granular.
Troubleshooting Common Splash Guard Issues
Even with a helpful accessory, you might encounter a few minor hiccups. Most issues are easily resolved with a little understanding.
Guard Not Fitting Securely
If your splash guard feels wobbly, double-check that you have the correct bowl attached. Ensure there are no obstructions on the rim of the bowl or the guard itself. Sometimes, a bit of dried batter can prevent a good fit. Clean both parts thoroughly.
Ingredients Still Splashing Out
This can happen if you’re mixing at a very high speed. Or if you’re adding ingredients too quickly. Try reducing your mixer speed slightly. Add ingredients more slowly and steadily. Ensure the guard is seated properly. A small gap can allow ingredients to escape. It’s like a leaky faucet; even a small drip can add up.
Feed Tube Obstructions
If you accidentally drop something too large into the feed tube, it might get stuck. Never force it. Stop the mixer. You might be able to dislodge the item by gently shaking the bowl. Or by carefully using a spatula from the top. If it’s really jammed, you may need to remove the guard and clear it manually.
Maintaining Your Splash Guard for Longevity
Keeping your splash guard clean is simple. It ensures it works well for years to come. Proper care means it’s always ready for your baking adventures.
Cleaning After Use
Most splash guards are dishwasher safe. Check your mixer’s manual to be sure. If yours is, simply place it on the top rack. If you’re handwashing, use warm, soapy water. A soft sponge or cloth works best. Avoid abrasive cleaners that could scratch the plastic.
Storage Recommendations
Store your splash guard with your stand mixer. Many can be placed directly on the bowl or mixer head when not in use. Or you can store it in a cabinet or drawer. Keeping it with your mixer ensures you won’t forget where you put it. It’s ready when you are!
Let’s summarize the quick wins:
- Always attach the guard before mixing.
- Use the feed tube for adding ingredients.
- Add ingredients slowly and steadily.
- Ensure a secure fit on the bowl.
- Clean promptly after use.
- Store it safely with your mixer.
By following these simple steps, you’ll master the splash guard. You’ll enjoy cleaner, more efficient baking. Happy mixing!
Conclusion
You’ve learned how using your stand mixer’s splash guard is a simple yet effective way to improve your baking experience. By properly attaching the guard and utilizing the feed tube, you’ve got a powerful tool against kitchen messes. Remember, a secure fit and slow ingredient addition are key. This accessory means less time spent cleaning and more time enjoying delicious creations. Your next baking project will be cleaner and more enjoyable. Go ahead and attach that guard for your next recipe!
Frequently Asked Questions
Can I leave the splash guard on my stand mixer all the time?
It’s generally best to attach the splash guard only when you’re actively mixing. Leaving it on when the mixer isn’t in use can sometimes interfere with storage or get in the way. Always attach it right before you start mixing your ingredients.
What if my splash guard doesn’t seem to fit perfectly?
Ensure you’re using the correct bowl that came with your stand mixer, as guards are designed for specific bowl sizes. Check for any dried batter or debris on the bowl rim or the guard itself. A clean surface is essential for a snug fit.
Is it okay to add ingredients by hand if I forget the feed tube?
While you can stop the mixer to add ingredients by hand, the feed tube is there for a reason. Using it keeps ingredients contained, especially when mixing at higher speeds. It helps prevent unnecessary splatters and keeps your kitchen tidier.
My splash guard has a small gap, is that normal?
Most splash guards are designed to create a good seal, but minor gaps can sometimes occur. If you notice ingredients splashing out, try reducing your mixing speed or adding ingredients more gradually. Ensure the guard is seated correctly on the bowl.
How do I clean my splash guard if it’s not dishwasher safe?
If your splash guard isn’t dishwasher safe, a quick hand wash works wonders. Use warm, soapy water and a soft sponge or cloth. Avoid harsh detergents or abrasive scrubbers, which can damage the plastic and make it cloudy over time.
