
What Is the Best Stand Mixer Speed for Creaming Butter and Sugar?
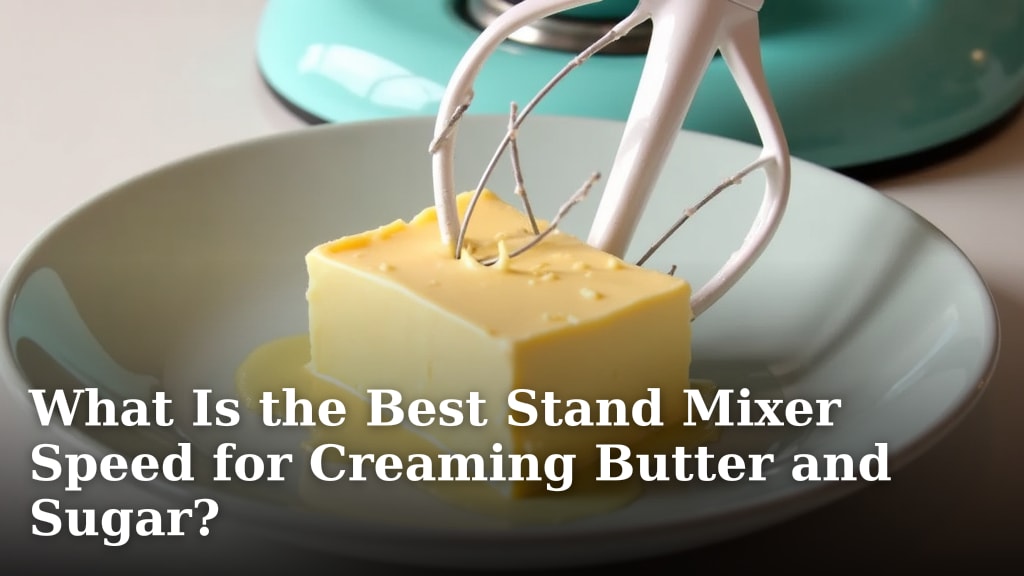
The best stand mixer speed for creaming butter and sugar is a medium-low speed, typically around Speed 2 or 3 on most models. This speed allows the butter and sugar to combine properly without incorporating too much air too quickly. You want to achieve a light and fluffy texture, not a whipped one at this stage. Getting this right sets the foundation for moist and tender baked goods. Our guide on how to bake a cake using a stand mixer details how creaming sets the foundation for tender baked goods.
Creaming is a vital step in many baking recipes, like cookies and cakes. It involves beating softened butter with sugar until the mixture is pale and airy. This process creates tiny air pockets. These pockets expand when baking. This helps your treats rise and achieve a tender crumb. Using the right mixer speed is key for this important task.
- Best speed for creaming: Medium-low (Speed 2-3).
- Goal: Light, fluffy texture, not whipped.
- Why it matters: Creates air pockets for rising.
- Sets the stage for tender baked goods.
- Avoid over-mixing at this stage.
Let’s break down why this speed is so important and how to nail it every time for your baking projects.
Getting the Perfect Butter and Sugar Creaming Speed
So, what’s the magic stand mixer speed for creaming butter and sugar? Research and many baking experts agree: it’s a medium-low speed. Think of Speed 2 or 3 on your KitchenAid or similar mixer. This gentle pace is your best friend for this crucial step. It allows the butter and sugar to properly combine. It also builds the right amount of air without going overboard.
Why Medium-Low Speed is Key
Creaming isn’t just about mixing. It’s about creating tiny air pockets. These pockets are like little balloons in your batter. When they heat up in the oven, they expand. This expansion helps your cakes and cookies rise beautifully. It also makes them wonderfully tender. Too fast a speed whips too much air in too quickly. This can create a cake that’s too crumbly or cookies that spread too much.
The Science of Air Pockets
When you cream butter and sugar, the sharp edges of the sugar crystals cut into the softened butter. This action traps air. The butter acts like a cushion. It holds these tiny air bubbles. A medium-low speed provides enough agitation. It helps create these pockets without destroying them. It’s a delicate balance. We’re aiming for light and fluffy, not stiff peaks like meringue.
What Happens at Higher Speeds?
If you crank the speed up too high, say Speed 6 or 8, you’re essentially doing two things. First, you’re not giving the sugar crystals enough time to properly aerate the butter. They just kind of get tossed around. Second, you might start to over-work the butter. This can lead to a greasy texture. It can also result in your baked goods being dense rather than light and airy. It’s like trying to sculpt with a sledgehammer instead of a chisel.
The Role of Butter Temperature
Getting the butter temperature right is just as important as the mixer speed. Your butter should be softened but not melted. It should yield to gentle pressure. If it’s too cold, it will be tough and won’t cream properly. If it’s too warm or melted, it will become greasy. It won’t hold those lovely air pockets we talked about. Most recipes suggest leaving butter on the counter for about an hour. This usually does the trick, depending on your room temperature. You can also test it by pressing it with your finger.
Testing for Proper Softness
A good way to check is to press your finger into the butter. If it leaves an indentation easily but doesn’t feel mushy, it’s likely perfect. If you can’t indent it, it’s too cold. If your finger goes right through and it feels greasy, it’s too warm. We found that slightly cooler butter can sometimes work well on a medium-low speed. It just takes a bit longer to achieve the right texture.
What to Look For: Visual Cues
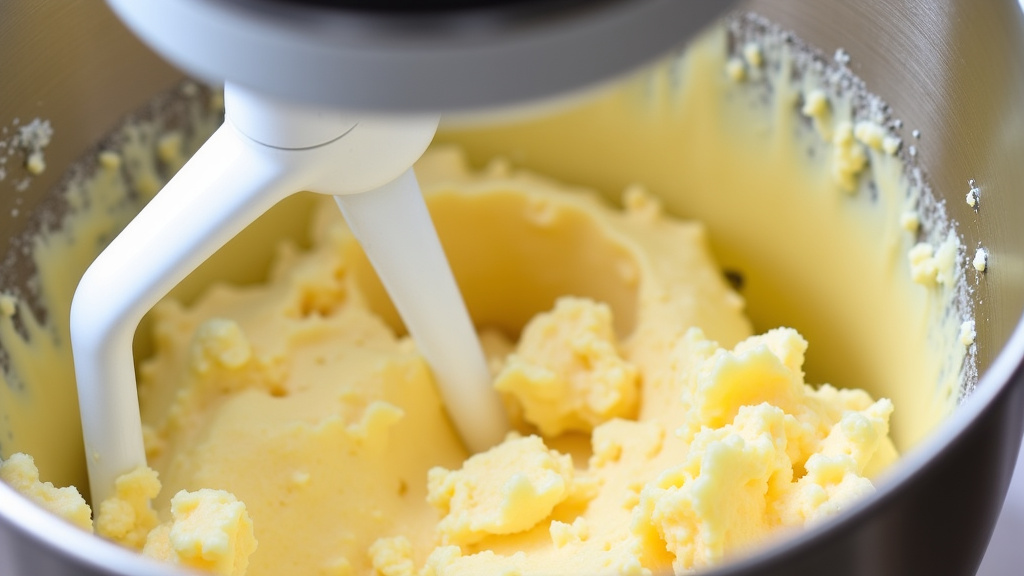
So, you’ve got your softened butter and sugar in the bowl. You’ve set your mixer to Speed 2. What should you be watching for? You’re looking for a transformation. The mixture will start to look paler in color. It will also become noticeably lighter and fluffier in texture. This usually takes about 3 to 5 minutes of mixing time. It really depends on your mixer’s power and how perfectly softened your butter was. Don’t guess; watch the bowl!
The Pale and Fluffy Goal
The ultimate goal here is a pale yellow, fluffy consistency. Imagine whipped cream, but denser. The sugar should be mostly incorporated. You won’t see large, distinct grains of sugar anymore. If your mixture still looks grainy or has a deep yellow color, it needs more time. Keep it on that medium-low speed. Resist the urge to turn it up!
Common Creaming Mistakes to Avoid
Even with the right speed, some common slip-ups can sabotage your creaming efforts. The most frequent one is using butter straight from the fridge. Another is overheating your butter. Some people also get impatient. They stop mixing too soon. They might also accidentally over-mix, turning their pale, fluffy mixture into something greasy.
Not Scraping Down the Bowl
This is a big one! Your stand mixer’s beaters can’t reach every bit of butter and sugar. Unmixed bits will stick to the sides and bottom of the bowl. You must stop your mixer periodically. Use a rubber spatula to scrape down the sides and bottom. Then, give the mixture a good stir with the spatula before continuing to mix. We found this step is often overlooked but makes a huge difference in even creaming.
How Long Should Creaming Take?
As mentioned, the exact time can vary. Generally, you’re looking at 3 to 5 minutes on Speed 2 or 3. This is for typical recipes. If your butter was a little firmer, it might take closer to 5 minutes. If it was very soft (but not melted), it might be closer to 3 minutes. Don’t set a timer and walk away. Watch the mixture. Trust your eyes and the feel of the texture.
Signs You’ve Mixed Enough (or Too Much)
You’ve reached the goal when the mixture is visibly paler and has a fluffy appearance. It should look airy. You can also rub a tiny bit between your fingers. You shouldn’t feel many sugar grains. If you keep mixing beyond this point, the butter can start to melt from the friction. It will become greasy and lose its aeration. This is where over-mixing happens, and it’s not ideal for most recipes.
The Mixer Speed Checklist for Creaming
Let’s recap the key points to nail your creaming process:
- Start with softened, but not melted, butter.
- Use a medium-low speed, typically Speed 2 or 3.
- Mix for about 3-5 minutes, watching the consistency.
- Aim for a pale yellow, light, and fluffy texture.
- Scrape down the sides and bottom of the bowl regularly.
- Stop mixing once you reach the desired pale and fluffy stage.
Following these guidelines will set you up for baking success. Getting the creaming step right is a foundation for delicious cookies, cakes, and more. It ensures a tender crumb and a good rise every time you bake. Following these guidelines will set you up for baking success, as detailed in our guide on using a stand mixer for cake batter.
Conclusion
Mastering the creaming step is essential for fantastic baked goods. Remember, the sweet spot for creaming butter and sugar is a medium-low speed, usually Speed 2 or 3. This gentle pace creates those vital air pockets without overworking the ingredients. Always look for that pale, fluffy texture, and don’t forget to scrape your bowl. You’ve got this! Now, go forth and bake something delicious with confidence.
Frequently Asked Questions
Can I use my stand mixer on high speed for creaming?
No, using a high speed is not recommended for creaming butter and sugar. High speeds can incorporate too much air too quickly, leading to a greasy texture and dense baked goods instead of a light, tender crumb.
What if my butter is too cold or too warm?
If your butter is too cold, it won’t cream properly and will result in a lumpy mixture. If it’s too warm or melted, it will become greasy and won’t hold air pockets. Aim for softened butter that yields to gentle pressure.
How do I know when I’ve creamed enough?
You’ll know you’re done when the mixture turns a pale yellow color and has a visibly fluffy, airy texture. It should look light, not dense or greasy. You can also rub a small amount between your fingers; you should feel few, if any, sugar grains.
What is the difference between creaming and whipping?
Creaming involves gently incorporating air into butter and sugar to create small air pockets for leavening and tenderness. Whipping is a more vigorous process that incorporates a lot more air, often used for ingredients like egg whites or heavy cream to achieve stiff peaks.
How often should I scrape the bowl when creaming?
You should scrape down the sides and bottom of your mixing bowl at least once or twice during the creaming process. This ensures all ingredients are evenly incorporated and prevents unmixed butter or sugar from affecting the final texture of your baked goods.
