How to Make Buttercream Frosting in a Stand Mixer?
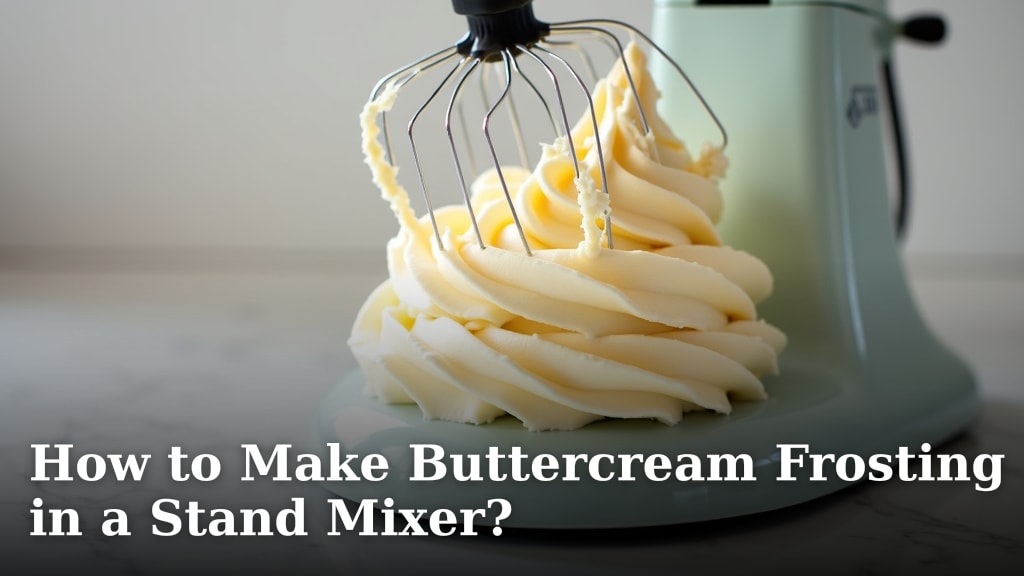
The easiest way to make buttercream frosting is by using a stand mixer. This kitchen workhorse automates the creaming and whipping steps, giving you beautifully smooth and fluffy buttercream with far less effort. We found that a stand mixer helps prevent lumps and ensures a consistent texture every time you make buttercream frosting.
Making buttercream in a stand mixer means you can achieve that perfectly airy consistency and glossy finish professionals aim for. It handles the heavy lifting, allowing ingredients to blend thoroughly and incorporate air beautifully. You won’t have to break a sweat thanks to your handy assistant, the stand mixer.
- Minimal effort for perfect results.
- Achieve smooth, lump-free frosting.
- Consistent texture every time.
- Hands-free mixing allows you to multitask.
Ready to whip up some magic? Let’s walk through exactly how to make buttercream frosting in a stand mixer, step by step.
Preparing Your Ingredients for Stand Mixer Buttercream
Before you even think about turning on your stand mixer, taking a few extra minutes to prepare your ingredients properly makes all the difference. This preparation ensures a smooth process and a perfect final product. We found that cold, hard ingredients simply won’t cooperate, leading to lumpy or separated frosting. You want everything to be ready to blend harmoniously.
Achieving Room Temperature Perfection
The single most important step for luscious buttercream is ensuring your ingredients are at room temperature. What does that really mean? It’s not just a suggestion; it’s a requirement. This applies primarily to your butter and sometimes your milk or cream. Butter, when properly softened, creams beautifully, incorporating air and sugar evenly. Too cold, and it won’t mix; too warm, and your buttercream will be a soupy mess (USDA).
Softening Butter the Right Way
You need your butter to be soft enough to indent easily with your finger but not melted or greasy. Think of it like soft serve ice cream, but firmer. We found that unwrapping your butter and letting it sit on the counter for 1-2 hours typically does the trick, depending on your kitchen’s temperature. If you’re in a hurry, you can cut the butter into cubes. This increases the surface area and helps it warm up faster. Avoid microwaving unless you’re incredibly careful, as even a few seconds too long can melt it unevenly, ruining its texture for buttercream.
Essential Equipment for Buttercream Success
While your stand mixer is the star of the show, having the right attachments and tools on hand simplifies the process immensely. Having everything ready to go means you can focus on the technique, not scrambling for missing utensils. We found that a little organization goes a long way in the kitchen, especially when baking.
Your Stand Mixer and Its Attachments
For buttercream, your stand mixer’s paddle attachment is your best friend. Why the paddle? It’s designed to cream butter and sugar together without incorporating too much air too early, which could result in a grainy texture. Later, it helps to whip the mixture into a fluffy consistency. We found the whisk attachment can sometimes add too much air too fast, making your buttercream overly light or difficult to pipe for certain applications.
A good flexible spatula is also invaluable. You’ll use it repeatedly to scrape down the sides of the bowl. This ensures all ingredients are fully incorporated and prevents streaks of unmixed butter or sugar. Don’t underestimate the power of a good scraping – it’s crucial for a uniform frosting.
The Step-by-Step Buttercream Process
Now that your ingredients are perfectly temperate and your tools are ready, it’s time to actually make some buttercream! Follow these steps closely, and you’ll be well on your way to frosting perfection. We’ve broken it down into manageable stages so you can achieve that sought-after smooth, airy texture.
Buttercream Checklist:
- Softened butter
- Confectioners’ sugar
- Vanilla extract
- Milk or cream
- Pinch of salt
Creaming the Butter
First, place your softened butter into the bowl of your stand mixer. Attach the paddle attachment. Start the mixer on low speed and let it run for about 1 minute, until the butter is smooth and creamy. This initial creaming ensures there are no hard lumps. You’re essentially waking up the butter and getting it ready for its sugar partner.
Adding the Confectioners’ Sugar
Now for the main event: the confectioners’ sugar. Add it to the butter in increments. We found that adding all the sugar at once can create a catastrophic sugar cloud explosion in your kitchen! Start with about a third of the sugar, mixing on low until just combined. Then, increase the speed slightly to medium and let it mix for a minute or two. You’ll repeat this process, adding the sugar in stages, until it’s all incorporated. Scrape down the bowl frequently.
Why Gradual Sugar Addition Matters
Adding sugar gradually, rather than all at once, is key to preventing both a messy kitchen and a lumpy frosting. It allows the sugar to dissolve more effectively into the butter, creating a truly smooth base. This also helps to build structure in your buttercream. If you dump it all in, the mixer can struggle, and you might end up with air pockets and undissolved sugar crystals, which no one wants in their frosting. Many bakers recommend this method for the best results (King Arthur Baking).
Incorporating Flavor and Liquid
Once your butter and sugar are thoroughly combined, it’s time for the liquids and flavorings. Add your vanilla extract and a pinch of salt. The salt really helps to balance the sweetness, enhancing the overall flavor. Then, slowly drizzle in your milk or cream, a tablespoon at a time, while the mixer runs on low-medium speed. You’re looking for the right consistency here, so don’t be afraid to adjust. We found too much liquid too fast can make your frosting runny, while too little will leave it too stiff.
Adjusting Consistency with Liquids
The amount of liquid you need can vary based on humidity, butter moisture content, and even the brand of confectioners’ sugar. Start with less and add more as needed. You want a consistency that’s easily spreadable or pipeable but still holds its shape. If it’s too thin, you can add a little more confectioners’ sugar. If it’s too thick, add a tiny bit more milk or cream (like a teaspoon at a time) until it reaches your desired consistency. It’s all about finding that sweet spot for your specific needs.
Whipping for Fluffy Perfection
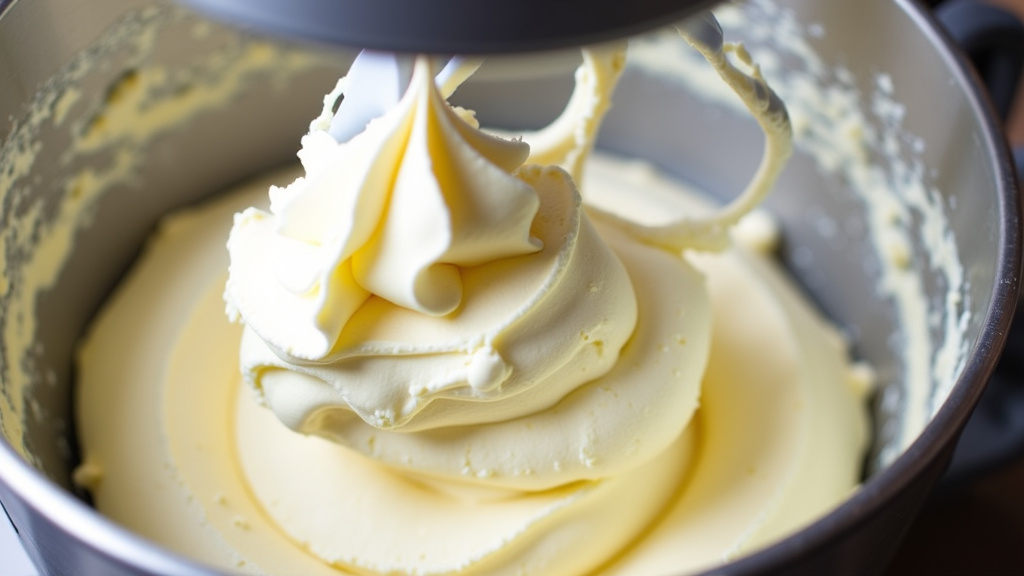
You’ve mixed everything together, but your buttercream isn’t quite ready. The final step is to whip it, incorporating air and making it wonderfully light and fluffy. This is where your stand mixer truly shines and earns its keep. It transforms a dense mixture into something ethereal.
The Final Whip
Once all ingredients are incorporated and your desired consistency is achieved, crank your stand mixer up to medium-high speed. Let it whip for 3-5 minutes. During this time, the buttercream will noticeably lighten in color, become incredibly fluffy, and increase in volume. This step is crucial for achieving that airy, melt-in-your-mouth texture. We found that under-whipping can leave your buttercream feeling dense and heavy, while over-whipping can sometimes make it too airy to pipe cleanly.
Troubleshooting Common Buttercream Issues
Even with the best intentions, things can sometimes go awry. Don’t worry; most buttercream issues are easily fixable! It’s all part of the baking adventure. We found that knowing how to troubleshoot will save you from frustration and wasted ingredients.
| Issue | Possible Cause | Solution |
|---|---|---|
| Separated/Curdled | Ingredients were different temperatures (e.g., cold butter, warm liquid). | Keep mixing on medium-low. If it doesn’t come together, gently warm a small portion in the microwave or over a double boiler, then slowly add it back to the bowl while mixing until it emulsifies. |
| Too Stiff/Dry | Not enough liquid; too much sugar. | Add milk or cream, 1 teaspoon at a time, while mixing on low until desired consistency is reached. |
| Too Thin/Runny | Too much liquid; butter too warm. | Add more confectioners’ sugar, 1/4 cup at a time. If butter was too warm, chill the bowl in the fridge for 10-15 minutes, then re-whip. |
| Gritty Texture | Sugar not fully dissolved; not enough whipping time. | Continue mixing on medium-high for a few more minutes. If still gritty, add a tiny bit of liquid to help dissolve the sugar. |
Remember, patience is a virtue in baking. If your buttercream isn’t perfect on the first try, don’t get discouraged! You’ll get the hang of it with practice. We’ve certainly learned this lesson ourselves. Making beautiful buttercream is a skill that develops over time, and your stand mixer is an excellent partner on that journey.
Conclusion
You’ve seen how simple it is to achieve bakery-quality buttercream right in your own kitchen with a stand mixer. From ensuring perfect room temperature ingredients to the final whip, each step plays a vital role. You now have the knowledge to troubleshoot common issues and create frosting that’s smooth, fluffy, and full of flavor. We found that practice makes perfect, so don’t hesitate to experiment and make it your own.
So go ahead, grab your stand mixer and start whipping up some delicious buttercream. Your cakes, cupcakes, and cookies are waiting!
Frequently Asked Questions
Can I make buttercream frosting without a stand mixer?
Yes, you can make buttercream frosting with a hand mixer, but it will require more effort and time. A stand mixer automates the process, making it much easier to achieve a consistent, fluffy texture. We prefer a stand mixer for the best results.
How long does homemade buttercream frosting last?
Homemade buttercream frosting can last at room temperature for about 2-3 days in an airtight container. If refrigerated, it can last up to a week. For longer storage, you can freeze it for up to 3 months.
My buttercream tastes too sweet. How can I fix this?
If your buttercream is too sweet, try adding a small pinch of salt, a touch more vanilla extract, or a tiny bit of lemon juice or cream of tartar. These can balance the sweetness and brighten the flavor. We found that a good quality vanilla extract makes a big difference.
What’s the best way to store leftover buttercream?
Store leftover buttercream in an airtight container in the refrigerator. When you’re ready to use it again, let it come to room temperature and then re-whip it in your stand mixer on medium speed for a few minutes until it’s smooth and fluffy again. This revitalizes its texture.
Can I use powdered sugar or regular granulated sugar for buttercream?
You must use confectioners’ sugar (also known as powdered sugar or icing sugar) for buttercream. Granulated sugar will not dissolve properly and will give your frosting a gritty texture. We always recommend using fine confectioners’ sugar for a smooth finish.