How to Clean a Grain Mill Attachment?
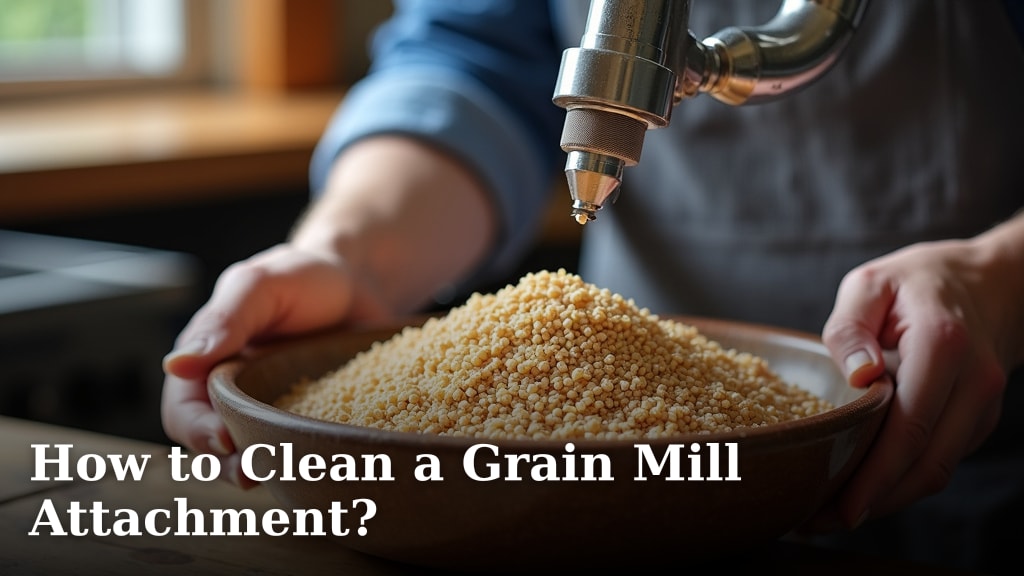
To clean your grain mill attachment, start by disassembling it completely. Remove all parts and use a small brush or vacuum to clear out any flour dust and debris. We found that a dry cloth is often enough for most surfaces to keep your grain mill attachment in top shape.
You probably love using your grain mill to make fresh flour, right? But even the best tools need a little TLC. Keeping your grain mill attachment clean is super important for both its longevity and your food safety. Nobody wants old, rancid flour contaminating their next batch!
- Disassemble your grain mill attachment.
- Brush or vacuum away flour dust.
- Wipe all surfaces with a dry cloth.
- Avoid water, especially on burrs.
- Reassemble once everything is dry.
Ready to give your grain mill attachment the spa treatment it deserves? Let’s walk through the exact steps for a sparkling clean, ready-to-use attachment.
Giving Your Grain Mill Attachment a Thorough Cleaning
Keeping your grain mill clean is key to happy baking and a longer-lasting appliance. This guide helps you tackle dust and debris.
When you use a grain mill, tiny flour particles get everywhere. These particles can become a breeding ground for mold or attract pests over time (USDA). A clean mill ensures fresh, uncontaminated flour for all your culinary adventures.
Gather Your Cleaning Arsenal
Before you start, make sure you have the right tools. This makes the job much easier and more effective. You don’t need anything fancy, just a few household items.
- A soft-bristled brush (a toothbrush works great!)
- A small vacuum cleaner or handheld dustbuster
- Dry cloths or paper towels
- An old towel or newspaper to protect your workspace
- Optional: Compressed air for hard-to-reach spots
Having everything ready prevents you from stopping mid-clean to search for a tool. It’s like preparing your ingredients before baking; it just makes sense!
Disassembly: The First Crucial Step
You can’t clean what you can’t reach, right? Taking your grain mill attachment apart is the most important step. Each model is a bit different, but the general principle is the same.
Always consult your grain mill’s user manual first. This ensures you know how to safely and correctly disassemble your specific model. Some parts might be tricky to remove without instructions.
Removing the Hopper and Grinding Mechanism
Start by detaching the hopper, which is where you load the grains. It usually twists off or unclips. Then, focus on the grinding mechanism itself. This often involves unscrewing a knob or pressing a release button.
Be gentle as you take it apart. You don’t want to damage any delicate components. Lay out the parts on your protected workspace in the order you remove them. This helps immensely when it’s time to put everything back together.
Separating the Burrs
The burrs are the heart of your grain mill. They are the parts that actually grind the grain. Carefully separate them according to your manual’s instructions. These can be sharp, so handle them with care.
Pay close attention to any small washers or springs. These are easily lost but are vital for proper function. Many owners find taking a quick picture with their phone during disassembly can be a real lifesaver for reassembly.
Dusting and Brushing Away Residual Flour
Once everything is apart, it’s time to get rid of all that flour dust. This step is critical for preventing clogs and keeping your flour fresh. You might be surprised how much builds up!
Even if your mill looks clean, fine flour dust can hide in crevices. This dust can absorb moisture, leading to mold growth or rancidity over time (Food Safety and Inspection Service).
Using a Brush for Visible Debris
Grab your soft-bristled brush. Systematically brush off all visible flour from each component. Pay extra attention to the burrs and any textured surfaces.
Work over your trash can or a large sheet of newspaper. This helps contain the mess. Don’t be shy about really getting into those grooves and corners.
Vacuuming for the Finer Particles
After brushing, use a small vacuum or dustbuster. This is perfect for sucking up the fine flour particles that brushing might miss. It’s like giving your mill a miniature deep clean.
If you don’t have a small vacuum, a can of compressed air can also work wonders. Just be sure to use it in a well-ventilated area, as it can create a cloud of flour dust.
The “Dry Wipe Only” Rule for Grain Mills
This is perhaps the most important rule for cleaning your grain mill attachment: avoid water whenever possible. Especially on the grinding burrs.
Why no water? Flour, when mixed with water, creates a paste. This paste can clog the grinding mechanism and become very difficult to remove. More importantly, water can cause rust on metal parts, especially the burrs, which ruins their effectiveness (Purdue Extension).
Wiping Down All Surfaces
Use dry cloths or paper towels to wipe down all internal and external surfaces. This removes any lingering dust or oily residue from grains. Make sure every part feels completely dry to the touch.
For tougher, sticky spots (though these should be rare with proper dry cleaning), a slightly damp cloth can be used on external plastic housings only. Ensure it is barely damp and dry immediately. Never use it near the burrs.
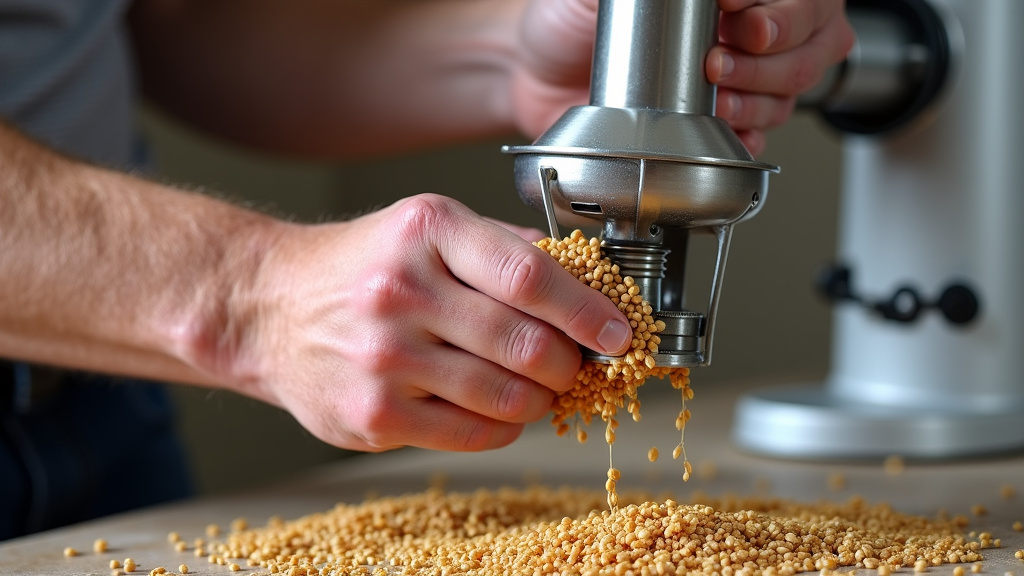
Reassembly and Final Inspection
Now comes the satisfying part: putting your clean grain mill back together. This is where those mental notes or photos from disassembly come in handy.
Take your time with reassembly. Forcing parts can cause damage. Everything should fit snugly without excessive effort.
Here’s a quick checklist for reassembly:
- Are all small washers and springs correctly placed?
- Are the burrs aligned according to the manual?
- Is the grinding mechanism securely fastened?
- Is the hopper attached firmly?
- Does the attachment feel stable and ready for use?
Once assembled, do a quick visual check. Look for any loose parts or gaps. Give it a gentle shake to make sure nothing rattles unexpectedly. Your clean grain mill attachment is now ready for its next batch of delicious, fresh flour!
Maintaining Your Grain Mill for Optimal Performance
Regular cleaning is your best friend when it comes to grain mills. But what else can you do to keep it running smoothly?
We found that a little maintenance goes a long way. Think of it like changing the oil in your car; it prevents bigger problems down the road.
Frequency of Cleaning
How often should you clean your grain mill? It really depends on how much you use it. For occasional bakers, a deep clean every few months might be enough.
If you use your mill daily or several times a week, a quick dry brush-down after each use is a great habit. Then, a thorough disassembly and clean once a month would be ideal. Many experienced mill users suggest cleaning after processing oily grains to prevent residue buildup (Kansas State University Research and Extension).
| Usage Frequency | Recommended Cleaning |
|---|---|
| Once a month or less | Disassemble and deep clean after each use. |
| Weekly | Quick brush after each use; deep clean monthly. |
| Daily or several times/week | Quick brush after each use; deep clean every 2-3 weeks. |
Storage Tips to Keep it Pristine
Proper storage also plays a role in keeping your mill clean. Store your grain mill attachment in a dry, cool place. Avoid areas with high humidity, like basements, as this can encourage mold growth.
Consider covering your attachment when not in use. A simple cloth cover or even placing it back in its original box can protect it from dust and airborne contaminants. This little extra step keeps your hard cleaning work from being undone too quickly.
Conclusion
Keeping your grain mill attachment spotless is simpler than you might think, and it pays off big time. By carefully disassembling it, thoroughly brushing and vacuuming away flour dust, and strictly avoiding water on the grinding parts, you ensure both food safety and the longevity of your equipment. Regular cleaning, tailored to your usage, keeps your homemade flour tasting its best and your mill running smoothly for years. So go ahead, give your grain mill the attention it deserves; your future baking adventures will thank you!
Frequently Asked Questions
How can I tell if my grain mill burrs are getting dull or need replacing?
You might notice your mill grinding slower, or the flour coming out coarser than usual at the same setting. Sometimes, a high-pitched squealing sound can also indicate burrs are worn down. Always check your manual for specific wear indicators and replacement part information.
Can I use any type of brush to clean my grain mill attachment?
We recommend a soft-bristled brush, like a dedicated cleaning brush or an old toothbrush. Avoid stiff wire brushes as they can scratch or damage the delicate grinding surfaces, especially on burrs or plastic components. Gentleness is key here.
What should I do if some flour has become sticky or caked on inside my mill?
If you encounter sticky flour, it usually means some moisture got in. Try using a sturdy, dry brush or a wooden toothpick to gently scrape it away. For stubborn spots on non-grinding parts, a very slightly damp cloth can be used as a last resort, but ensure immediate and thorough drying to prevent rust.
Is it okay to grind rice through my mill to clean it?
Some people suggest grinding a small amount of uncooked rice to help dislodge stubborn flour residue. However, check your manufacturer’s recommendations first, as not all mills are designed for grinding rice, and it could potentially cause damage or excessive wear on certain burr types.
How often should I really deep clean if I only use my mill once a month?
Even with infrequent use, flour dust can attract pests or go rancid over time. If you use your mill monthly or less, we suggest performing a full disassembly and deep clean after each use. This ensures it’s perfectly clean and ready for storage until your next baking session.