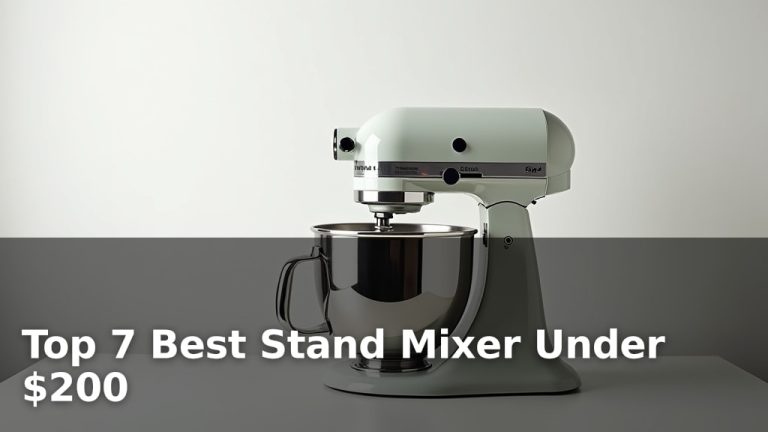
How to Make Macarons with a Stand Mixer?

You can absolutely make macarons with a stand mixer! A stand mixer is actually the ideal tool for whipping up those perfect meringue peaks. This method makes the process much easier for home bakers.
We found that using a stand mixer helps you achieve the right consistency for your meringue. This is a key step for successful macarons. It takes the guesswork out of the most difficult part of the recipe.
- The stand mixer is your best friend for macarons.
- It whips meringue perfectly every time.
- You’ll get consistently good results.
- No more tired arms from hand whisking.
Let’s walk through exactly how to master those delicate French treats with your stand mixer, step by step.
Crafting Macarons with Your Stand Mixer: A Step-by-Step Guide
You can achieve perfect macarons every time using your trusty stand mixer. This guide breaks down the process, making it easy for you to follow along.
We’ll cover everything from getting your ingredients ready to the final piping of your delicate treats.
Gather Your Ingredients and Tools
Before you begin, preparation is key. Having everything measured and ready saves you time and stress during the process.
This is called “mise en place” in cooking. It means “everything in its place.”
Essential Macaron Ingredients
Macarons use a few simple ingredients, but their quality matters. We found that using high-quality almond flour makes a big difference.
- Almond Flour: Superfine, blanched almond flour. Do not use almond meal.
- Powdered Sugar: Also called confectioners’ sugar.
- Granulated Sugar: For the meringue.
- Egg Whites: Aged egg whites work best. We’ll explain why below.
- Cream of Tartar (optional): Helps stabilize the meringue.
- Food Coloring (optional): Gel or powder food coloring works best. Liquid colors can affect consistency.
Many bakers suggest weighing your ingredients for accuracy (King Arthur Baking).
Stand Mixer and Other Necessary Equipment
Your stand mixer is the star of this show! Make sure it’s clean and ready to go. To ensure your stand mixer is perfect for your baking needs, consider what is the right size stand mixer for you.
- Stand Mixer: With a whisk attachment.
- Fine Mesh Sieve: For sifting dry ingredients.
- Large Mixing Bowls: Several are helpful.
- Rubber Spatula: For folding.
- Piping Bag and Round Tip (Wilton 1A or 12): For uniform shells.
- Baking Sheets: Sturdy ones prevent warping.
- Parchment Paper or Silicone Baking Mats: Essential for non-stick baking.
- Kitchen Scale: For precise measurements.
- Oven Thermometer: To ensure accurate oven temperature.
An accurate oven thermometer is often overlooked. We found it’s one of the most important tools for baking macarons.
Prepare Your Ingredients Like a Pro
Getting your ingredients ready properly can prevent many common macaron problems. Don’t skip these steps!
Aging Egg Whites
Why do you need to “age” egg whites? It’s simple: aged egg whites have less water. This helps create a more stable meringue.
To age egg whites, separate them a day or two in advance. Cover them loosely and store them in the refrigerator.
Let them come to room temperature before using them. This makes them whip up better.
Sift Dry Ingredients Thoroughly
Lumps are the enemy of smooth macaron shells. Sifting your almond flour and powdered sugar is a must.
Combine your almond flour and powdered sugar. Sift them together at least twice. This removes any large chunks.
We found that sifting three times gives the smoothest results. This creates the delicate texture macarons are known for.
Mastering the Meringue with Your Stand Mixer
The meringue is the heart of your macaron. Your stand mixer makes this step much easier to perfect.
We’ll focus on the French method for meringue here, as it’s common for home bakers.
Whipping Egg Whites to Stiff Peaks
This is where your stand mixer shines. Place your room temperature egg whites in the clean bowl of your stand mixer.
Start on medium-low speed. The goal is to create tiny, even bubbles.
Gradually increase the speed to medium. Once the egg whites become foamy, start adding your granulated sugar slowly.
Add the sugar about a tablespoon at a time. This allows it to dissolve properly into the egg whites.
Continue whipping on medium-high speed. You’re looking for stiff, glossy peaks.
When you lift the whisk, the meringue should hold its shape. The tip of the peak might curl slightly, like a bird’s beak.
Many experts say not to over-whip or under-whip your meringue (Serious Eats). Both can cause problems.
| Meringue Stage | Appearance | Key Takeaway |
|---|---|---|
| Soft Peaks | Foamy, collapses easily | Not ready, keep whipping |
| Medium Peaks | Holds shape, tip flops | Almost there, add sugar slowly |
| Stiff Peaks | Holds shape, glossy, firm tip | Perfect! Ready for macaronage |
| Over-whipped | Dry, crumbly, separates | Discard and start over |
We found that checking often helps prevent over-whipping. Stop the mixer and lift the whisk frequently.
The Art of Macaronage (Mixing)
Macaronage is the crucial step of folding the meringue into your dry ingredients. This step determines the texture of your macaron shells.
It’s about achieving the right “lava-like” consistency.
Folding for the Right Consistency
Add about one-third of your meringue to the dry ingredients. Fold gently with a rubber spatula. Use a cutting and scooping motion.
Add the remaining meringue in two more additions. Continue folding until the mixture is uniform.
You’ll know it’s ready when you lift the spatula and the batter flows slowly. It should form a ribbon that melts back into itself within 10-15 seconds.
This is often called the “ribbon test.” It’s a critical indicator.
Over-mixing leads to flat, brittle shells. Under-mixing leads to lumpy, cracked shells.
Piping and Resting Your Macarons
Once your batter is ready, it’s time to pipe. Then, you let them rest to form a “skin.”
Piping Uniform Shells
Transfer your macaron batter to a piping bag fitted with a round tip.
Hold the piping bag straight up, about half an inch above the baking mat. Apply even pressure and pipe small circles.
Aim for consistent size. You can use a template under your parchment paper for guidance.
After piping, gently tap the baking sheets on your counter a few times. This releases any air bubbles.
Use a toothpick to pop any remaining visible bubbles. This helps prevent cracks.
The Resting Period (Crust Formation)
This step is vital. Let your piped macarons rest at room temperature.
The goal is for a “skin” to form on the surface. This can take anywhere from 30 minutes to 2 hours, depending on humidity.
The skin helps create the famous “feet” on your macarons. Gently touch the surface. If it’s no longer sticky, they’re ready to bake.
Baking Your Macarons to Perfection
Baking is where all your hard work comes together. An accurately calibrated oven is essential here.
Oven Temperature and Baking Time
Preheat your oven with an oven thermometer inside. Many recipes call for 300-325°F (150-160°C).
The exact temperature can vary by oven. We recommend starting with 315°F (157°C) and adjusting as needed.
Bake one tray at a time in the middle rack. This ensures even heat distribution.
Baking time is usually 12-15 minutes. The macarons are done when they have developed “feet” and don’t wiggle on their base when gently touched.
If they wiggle, bake for another minute or two.
Cooling and Filling
Once baked, let the macarons cool completely on the baking sheet. Do not try to remove them while warm.
They will stick and break if you try to remove them too early. Patience is a virtue here.
Once cooled, gently peel them off the parchment or silicone mat. Pair shells of similar sizes.
Fill them with your favorite filling! Buttercream, ganache, or jam are popular choices.
Then, let them “mature” in the fridge for 24 hours. This softens the shell and melds the flavors. It’s often considered the secret to amazing macarons.
Checklist for Macaron Success
- Measure all ingredients precisely using a kitchen scale.
- Age egg whites and bring them to room temperature.
- Sift dry ingredients at least twice.
- Whip meringue to stiff, glossy peaks with your stand mixer.
- Fold batter gently until it flows like “lava.”
- Tap trays and pop air bubbles after piping.
- Let macarons rest until a skin forms.
- Use an oven thermometer for accurate baking temperature.
Conclusion
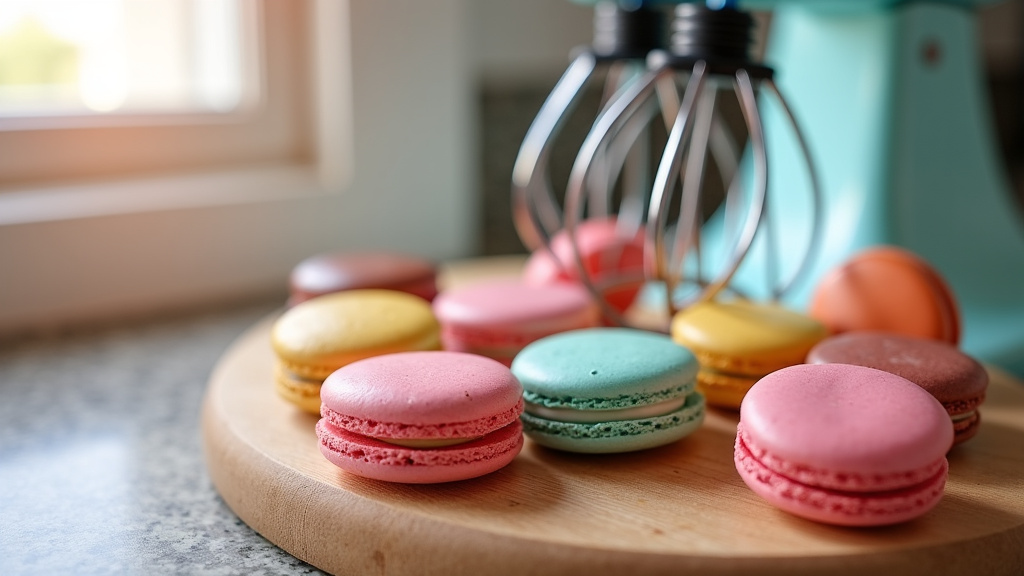
You now have all the tools and knowledge to bake beautiful macarons with your stand mixer. We found that the stand mixer truly simplifies the most challenging steps.
From achieving perfectly stiff meringue to understanding macaronage, you’re set for success. Remember, practice makes perfect.
Don’t be discouraged by initial attempts. Each batch teaches you something new. Gather your ingredients, fire up your stand mixer, and start creating those delightful treats today!
Frequently Asked Questions
Why do my macarons crack on top?
Macarons often crack due to trapped air or insufficient drying time. Make sure you tap your baking sheets well after piping to release air bubbles.
Also, ensure your macarons rest long enough for a proper “skin” to form before baking. This helps prevent cracking.
Can I use liquid food coloring for macarons?
We found that liquid food coloring can introduce too much moisture into your macaron batter. This can negatively affect the consistency and outcome.
For best results, use gel or powdered food coloring. These options provide vibrant colors without compromising your batter’s texture.
How long do homemade macarons last?
Filled macarons store well in an airtight container in the refrigerator for about 3-5 days. Their flavors actually deepen during this time, known as “maturing.”
You can also freeze unfilled macaron shells for up to a month. Just thaw them before filling and serving.
What does “macaronage” mean?
Macaronage is the crucial step of folding the meringue and dry ingredients together. It’s about achieving the correct “lava-like” consistency for your batter.
This mixing technique is key to getting smooth shells and the signature “feet.” It balances incorporating ingredients without deflating the meringue.
My macarons don’t have “feet.” What went wrong?
Lack of “feet” is a common issue. It’s often due to not letting the macarons rest long enough, or an incorrect oven temperature.
Make sure a proper skin forms before baking. Also, use an oven thermometer to ensure your oven is at the precise temperature needed for proper lift.