How to Store a Stand Mixer on a Small Counter?
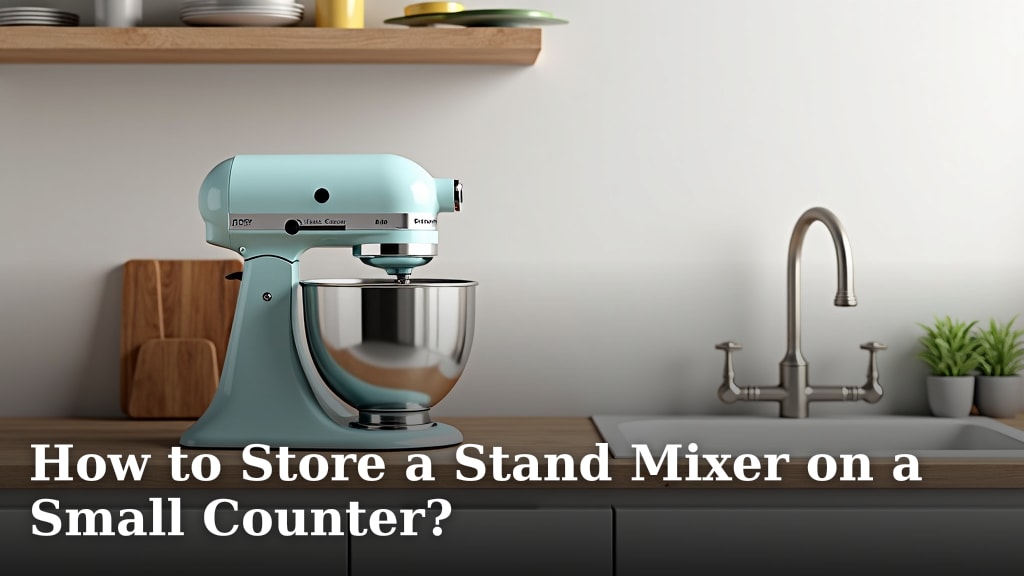
You can store your stand mixer on a small counter by using smart organization tricks and vertical space. The key is to find solutions that keep your mixer accessible but also out of the way. We found that a few simple changes make a big difference.
Many home cooks face the challenge of a tiny kitchen. Does this sound like you? Don’t worry; you don’t have to sacrifice your beloved stand mixer. With a little planning, you can maximize your counter space and keep your kitchen tidy. It’s all about making your small area work harder for you.
TL;DR
- Use vertical storage solutions.
- Consider appliance lifts or shelves.
- Keep accessories in nearby drawers.
- Declutter other counter items.
Let’s explore some clever ways to store your stand mixer, even in the smallest kitchen. We’ll help you find the perfect spot without giving up valuable prep space.
Optimizing Your Small Kitchen Counter for Stand Mixer Storage
Keeping your stand mixer handy on a small counter requires smart strategies. We found that rethinking how you use your space is key.
You love your stand mixer, right? It makes baking and cooking so much easier. But sometimes, it feels like it takes over your entire kitchen. Don’t worry; you don’t have to banish it to a dark cabinet. We can help you find a happy medium.
Assessing Your Current Kitchen Layout
Before you move anything, take a good look at your kitchen. What areas are you using the most? Where does your mixer usually sit? Understanding your workflow is important.
Identify Prime Real Estate
Think about where you actually use your mixer. Is it near an outlet? Do you have enough room to add ingredients without bumping into things? We often find that people try to cram appliances into corners that aren’t practical. The best spot is usually close to your prep area.
Declutter for Clarity
Sometimes, the biggest problem isn’t the mixer itself, but all the other stuff around it. Are there coffee makers, toasters, or spice racks that could go elsewhere? A little decluttering can reveal surprisingly large gaps.
- Remove unnecessary items from counters.
- Consolidate small appliances.
- Store items you rarely use in cabinets.
- Wipe down and organize surfaces.
- Create clear zones for different tasks.
Smart Storage Solutions for Your Stand Mixer
Once you know your space, you can pick the best storage. We’ve seen many clever ways to store mixers, even in the tiniest kitchens.
Using Vertical Space Wisely
Vertical storage is your best friend in a small kitchen. Look up! There’s often unused space above your counters or in tall cabinets.
Appliance Lifts and Pull-Out Shelves
An appliance lift is a game-changer. This device lets you store your mixer inside a base cabinet, then effortlessly lift it to counter height when needed. When you’re done, it glides back down. Many homeowners find this incredibly convenient (National Kitchen & Bath Association).
If an appliance lift isn’t an option, consider a heavy-duty pull-out shelf. You can install these in a deep cabinet. They don’t lift the mixer, but they make it easier to access and push back out of sight.
Sturdy Open Shelving
Do you have a bare wall? Strong open shelves can be a stylish and practical solution. Make sure they are secured directly into studs, especially for a heavy item like a stand mixer. You want them to be able to hold the weight without any sagging.
This keeps your mixer visible and accessible. It also frees up precious counter space below. We recommend placing your mixer on a lower shelf for easy lifting.
Finding a Dedicated Corner Spot
Sometimes, a specific corner can become your mixer’s home. It might not be ideal for other tasks, but it’s perfect for its designated appliance.
Corner Caddies and Appliance Garages
A corner caddy can organize your mixer and its attachments. Some units even have small wheels for easy movement. These are great for keeping everything together.
An appliance garage is a cabinet section designed to hide appliances. It usually has a roll-up or swing-out door. Your mixer is still on the counter, but it’s hidden when not in use. Many people find this helps maintain a clean, uncluttered look.
Creative Alternatives for Mixer Placement
What if your counters are truly tiny? Don’t give up! There are other places for your mixer.
Mobile Kitchen Carts and Islands
A small, sturdy kitchen cart or island on wheels can provide extra counter space exactly when you need it. You can store your mixer on it, then roll it into a corner or pantry when you’re done.
Look for carts with shelves or drawers for attachments. This keeps everything mobile and organized. Many home cooks find this approach incredibly flexible, especially in rental properties where major renovations aren’t possible.
Repurposing Other Furniture
Could an old dresser or a sturdy console table become your baking station? If you have space in a dining area or a hallway, you might create a dedicated spot there. This takes the mixer off your main kitchen counter entirely.
We’ve seen people transform small sideboards into beautiful and functional baking centers. Just make sure the surface is stable and at a comfortable working height. This approach means your kitchen counter is free for everyday cooking.
Organizing Accessories and Attachments
Storing the mixer is one thing, but what about all those beaters and bowls? Keeping them organized makes a big difference in how usable your mixer feels.
Drawer Dividers and Bins
Use drawer dividers to keep beaters, whisks, and dough hooks neat. Small plastic bins are also excellent for corralling smaller items. This prevents them from rattling around and getting lost.
Many experts recommend storing attachments close to the mixer itself. This reduces the time and frustration of searching for what you need when you’re in the middle of a recipe.
Wall-Mounted Solutions
Pegboards or magnetic strips can hold lighter attachments. This frees up drawer space and keeps often-used items within easy reach. Just be mindful of how much wall space you have. It’s about finding what works for you.
We often see these solutions in professional kitchens, and they can be adapted for home use. A small pegboard near your mixer can be surprisingly effective.
Comparing Storage Options
Here’s a quick look at some of the popular storage methods and their pros and cons. Think about your budget, your kitchen’s layout, and how often you use your mixer.
| Storage Method | Pros | Cons |
|---|---|---|
| Appliance Lift | Out of sight, easy access, saves counter space. | Requires cabinet modification, higher cost. |
| Open Shelving | Visible, accessible, frees counter space, stylish. | Requires careful installation, mixer is exposed. |
| Kitchen Cart | Mobile, flexible, extra prep space, no installation. | Can take up floor space, needs to be rolled away. |
| Appliance Garage | Hides mixer on counter, clean look, easy access. | Uses counter space within the garage, cabinet modification. |
| Repurposed Furniture | Off-counter storage, unique, creates baking station. | Requires space outside the kitchen, may not be perfect height. |
Your Stand Mixer Storage Checklist
Ready to get started? Here’s a simple checklist to guide you through the process. Tackling one step at a time makes it less overwhelming.
- Measure your mixer and available spaces.
- Declutter your counter and cabinets.
- Decide on a primary storage location.
- Choose a suitable storage solution (lift, shelf, cart).
- Organize all mixer attachments and accessories.
- Test your new setup for accessibility and ease of use.
Conclusion
Don’t let a small kitchen stop you from enjoying your stand mixer. We’ve covered many ways to store it, from vertical solutions to mobile carts. The best method depends on your kitchen and how you cook. By taking some time to plan, declutter, and measure, you can find the perfect spot.
Remember, your kitchen should work for you. Choose a storage method that keeps your mixer accessible and your counters clear. Now, go reclaim your counter space and get baking!
Frequently Asked Questions
How much space does a typical stand mixer need?
Most standard stand mixers, like KitchenAid Artisan models, require a footprint of about 9-10 inches wide by 14-16 inches deep. They also need about 14-16 inches of vertical clearance to fit comfortably under upper cabinets or on shelves.
Can I store my stand mixer in a pantry?
Yes, a pantry can be an excellent storage spot for your stand mixer, especially if counter space is very limited. Just ensure the pantry shelf is strong enough to hold its weight. Consider adding a pull-out shelf for easier access if it’s a deep pantry.
Is it okay to keep a stand mixer plugged in all the time?
For safety and energy conservation, it’s generally best to unplug your stand mixer when it’s not in use. This also helps prevent accidental activation. Only plug it in when you are actively using the appliance.
How can I make my stand mixer easier to move if it’s heavy?
If your mixer is heavy, consider placing it on a small caddy with wheels or a sliding mat designed for appliances. These accessories allow you to easily glide the mixer out from under cabinets or across the counter without straining your back.
What’s the best way to store stand mixer attachments?
Store attachments like beaters and whisks in nearby drawers using dividers, or in small bins within a cabinet. Some people also use wall-mounted pegboards or magnetic strips for quick access. Keeping them close to the mixer saves time and frustration.