How to Make Pie Dough in a Stand Mixer?

Whipping Up Pie Dough in Your Stand Mixer
Making delicious pie dough in a stand mixer is simpler than you might think. This method helps you achieve that perfect flaky texture every time. Our guide on how to use a stand mixer can help you get started with this versatile kitchen tool.
Gathering Your Pie Dough Essentials
Before you begin, ensure you have all your ingredients and tools ready. This makes the process smooth and prevents any last-minute scrambling.
Ingredients You’ll Need
Good pie dough starts with good ingredients. Quality really matters here. We found that using high-quality, cold ingredients is crucial for success.
- All-Purpose Flour: About 2 ½ cups. We suggest weighing it for accuracy, around 300 grams.
- Unsalted Butter: 1 cup (2 sticks). It must be ice-cold and cut into ½-inch cubes. Some bakers even freeze their butter briefly.
- Ice Water: ½ cup, or slightly more. Keep it very cold, with a few ice cubes floating in it.
- Granulated Sugar: 1 tablespoon, for a touch of sweetness and browning.
- Salt: 1 teaspoon. Don’t skip this; it enhances the flavor.
Essential Equipment for Success
Your stand mixer is the star, but a few other items will help you along the way. Having them within reach makes a difference.
- Stand Mixer: With the paddle attachment. This is key for incorporating the butter without overworking the dough.
- Measuring Cups and Spoons: For precise ingredient amounts.
- Pastry Scraper or Spatula: Helpful for handling the dough and cleaning your bowl.
- Plastic Wrap: For chilling the dough. This step is non-negotiable!
- Rolling Pin: When you’re ready to roll out your dough.
You want to keep everything as cold as possible. Some experienced bakers even chill their mixing bowl and paddle attachment before starting (America’s Test Kitchen).
Step-by-Step: Mixing Your Dough
Now that you have everything prepared, let’s get down to mixing. This is where your stand mixer truly shines.
Combining Dry Ingredients
First, we’ll create the foundation of your dough. This step ensures an even distribution of flavor and leavening.
In your stand mixer bowl, combine the flour, sugar, and salt. Attach the paddle attachment. We found that giving it a quick mix on low speed for about 30 seconds helps combine everything evenly. You want no clumps of salt or sugar. If you find your stand mixer not mixing evenly, there are common troubleshooting steps you can take.
Adding the Cold Butter
This is arguably the most important step for a flaky crust. The cold butter is what creates those desirable layers.
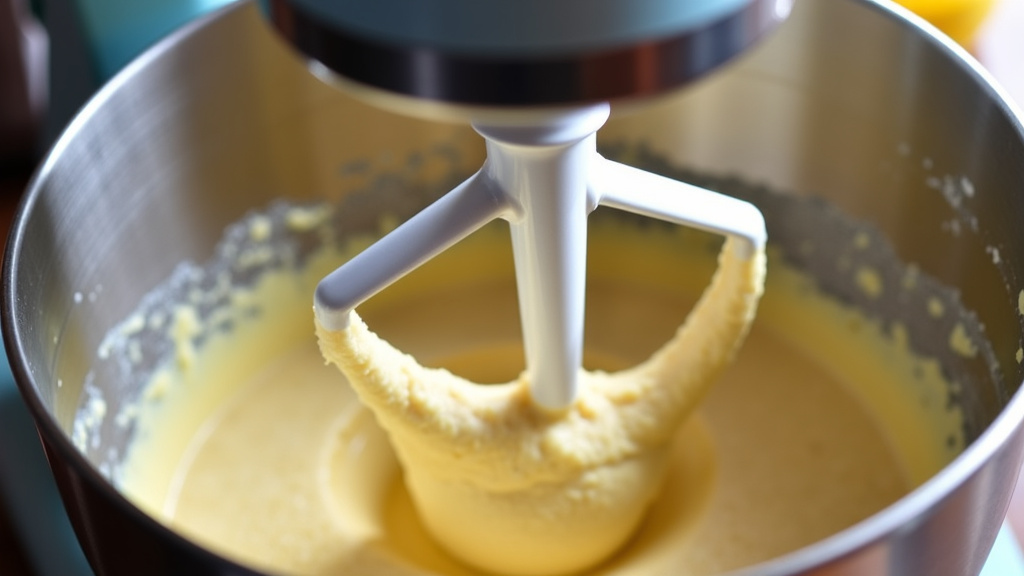
Add your ice-cold, cubed butter to the flour mixture. Turn the mixer on low speed. The goal here is to break down the butter into pea-sized pieces. This usually takes about 2-3 minutes. You might see some larger pieces, and that’s perfectly fine. We’re looking for a mixture that resembles coarse meal with some bigger butter chunks.
Why pea-sized pieces? As the pie bakes, these tiny pockets of butter melt, releasing steam and creating air pockets. This results in that wonderful flaky texture you crave.
Incorporating the Ice Water
Now it’s time to bring the dough together. Be careful not to add too much water too quickly.
With the mixer still on low, slowly drizzle in the ice water, one tablespoon at a time. Watch the dough carefully. It will start to come together. Stop mixing as soon as the dough forms a shaggy ball. This usually takes about 4-6 tablespoons of water, but it can vary depending on your flour and humidity.
If you add too much water, your crust can become tough. If it’s too dry, it will crumble when you try to roll it. We found that stopping just when it looks cohesive but still a little crumbly is ideal. You can always add a tiny bit more water if needed, but you can’t take it away!
Forming and Chilling Your Dough
You’re almost there! These next steps are crucial for the dough’s texture and ease of handling.
Bringing the Dough Together
Once the dough has come together in the mixer, transfer it to a clean, lightly floured surface. You want to avoid overworking it. Gently bring the dough together with your hands, forming it into a disc.
If you’re making a double-crust pie, divide the dough in half and form two discs. Avoid kneading the dough vigorously. Just a few gentle presses are enough to bring it into shape.
The All-Important Chill Time
Chilling the dough is essential for two reasons. It allows the gluten to relax, making the dough easier to roll. It also firms up the butter, which is vital for flakiness.
Wrap each dough disc tightly in plastic wrap. Place them in the refrigerator for at least 1 hour, or up to 2 days. Some sources suggest chilling for even longer, up to 4 days (King Arthur Baking). You can also freeze pie dough for several months. Just thaw it in the fridge overnight before using.
Here’s a quick overview of why each step is so important:
| Step | Why it’s Important | Common Pitfalls to Avoid |
|---|---|---|
| Combining Dry Ingredients | Ensures even distribution of flavors and leavening. | Unevenly flavored crust. |
| Adding Cold Butter | Creates pockets of steam for a flaky texture. | Overmixing, butter melting (tough crust). |
| Incorporating Ice Water | Binds ingredients without developing too much gluten. | Adding too much water (tough dough), too little (crumbly). |
| Forming Dough Discs | Prepares dough for chilling and rolling. | Overworking the dough (activates gluten). |
| Chilling Dough | Relaxes gluten, firms butter, makes dough easier to handle. | Skipping this step (sticky, hard-to-roll dough). |
Troubleshooting Common Pie Dough Issues
Even with the best intentions, sometimes things don’t go perfectly. Don’t worry, we’ve all been there!
My Dough is Too Crumbly!
If your dough seems too dry and won’t come together, don’t panic. You can often fix this. We found that adding one teaspoon of ice water at a time can help. Gently mix it in, by hand if necessary, until the dough just barely holds together. Avoid adding too much, or you’ll switch to the next problem!
My Dough is Too Sticky!
This usually means you added too much water. It can also happen if your butter started to melt during mixing. Try adding a tablespoon or two of flour and gently incorporating it. Then, make sure to chill the dough for an extra 30 minutes. The cold will help firm it up. A very sticky dough can be frustrating, but extra chilling often saves the day.
My Crust Isn’t Flaky!
This is often a result of the butter not being cold enough, or the dough being overworked. The goal is to keep those butter pieces intact. We’ve learned that if your kitchen is warm, consider chilling your bowl and paddle before you start. Also, resist the urge to overmix; stop as soon as the dough comes together.
Prepping for Rolling: Your Final Checklist
You’ve successfully made your pie dough! Now, before you roll it out for your amazing pie, here’s a quick checklist to ensure a smooth next step.
- Is your dough thoroughly chilled? At least one hour, but longer is better.
- Have you lightly floured your work surface and rolling pin? This prevents sticking.
- Is your oven preheating (if needed for blind baking)? Plan ahead.
- Do you have your pie plate ready? Make sure it’s nearby.
- Are you working in a cool environment? Keep that butter cold as long as possible.
With your stand mixer, you’ve taken the fuss out of making pie dough. Now you can enjoy the satisfying process of rolling it out and creating a delicious homemade pie. What kind of pie will you make first?
Conclusion
You’ve seen how simple it is to achieve a perfectly flaky and tender pie crust using your stand mixer. By keeping ingredients cold and resisting the urge to overmix, you can create delicious pie dough with minimal fuss. This method saves you time and effort, ensuring consistent results every time you bake. Say goodbye to tough crusts and hello to homemade pie perfection!
Now that you’ve mastered the dough, it’s time to choose your favorite filling and get baking. What delicious creation will you bring to life first?
Frequently Asked Questions
Can I use butter straight from the freezer for pie dough?
Yes, you absolutely can use butter straight from the freezer. We found that some bakers even prefer this. Just make sure to cut it into small, uniform cubes quickly so it stays very cold. It helps maintain the flakiness.
What if I don’t have ice water readily available?
If you don’t have ice water, you can use very cold tap water. We suggest adding a few ice cubes to a cup of water and letting it sit for a few minutes. You can also chill the water in the freezer for about 10-15 minutes before starting.
How long can I store homemade pie dough in the refrigerator?
You can store homemade pie dough, tightly wrapped in plastic, in the refrigerator for up to 2-3 days. For longer storage, we found it freezes beautifully for several months. Just remember to thaw it overnight in the fridge.
Can I use a food processor instead of a stand mixer?
Yes, a food processor can also be used to make pie dough. The process is similar, but you need to be very careful not to overmix. A stand mixer with a paddle attachment offers a bit more control for beginners, in our experience.
My dough is sticking to the plastic wrap after chilling. What should I do?
If your dough is sticking, it might be slightly too warm or have too much moisture. Try flouring your hands and the plastic wrap lightly before wrapping. Alternatively, you can use parchment paper on both sides of the dough before wrapping in plastic wrap.