Can You Use a Stand Mixer to Make Bread Crumbs?
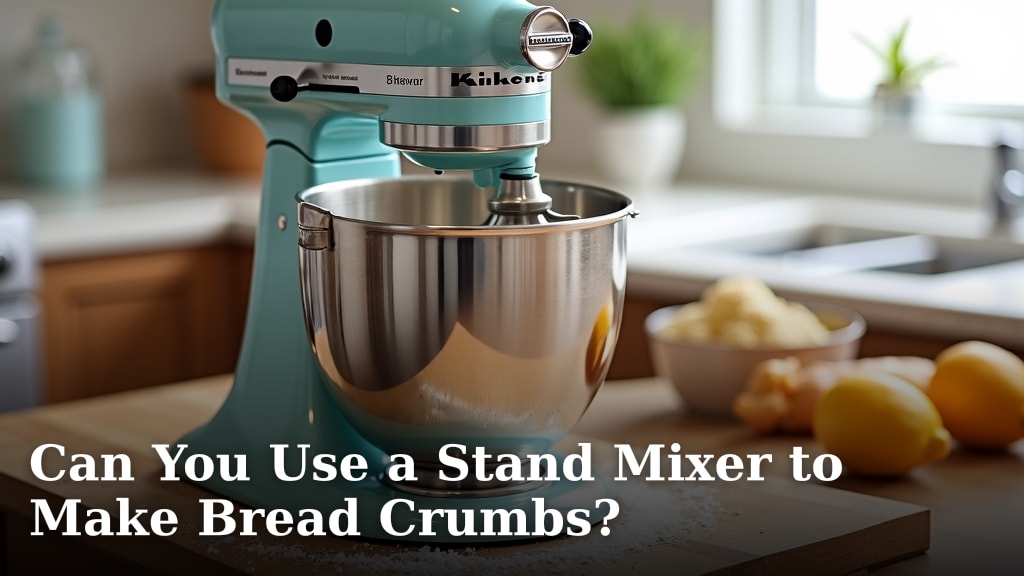
Yes, you absolutely can use a stand mixer to make bread crumbs, but it’s not always the most efficient method. We found that while it can certainly get the job done, you’ll need to use the right attachment and prepare your bread correctly for the best results.
Most home cooks often wonder about clever ways to repurpose stale bread, and a stand mixer might seem like a natural fit. We’ll show you when your stand mixer is a surprisingly handy tool for this task and when you might want to grab a different gadget for quicker bread crumb production.
TL;DR:
- A stand mixer can make bread crumbs.
- The paddle attachment works best.
- Dry, stale bread is key for good crumbs.
- It’s slower than a food processor.
- Great for small batches or if you lack other tools.
Ready to turn that leftover loaf into perfect crumbs for your next recipe? Let’s walk through exactly how to use your stand mixer for this kitchen task, and what to expect.
Making Bread Crumbs with Your Stand Mixer
You can absolutely turn stale bread into useful crumbs with your stand mixer. It might not be the fastest method, but it’s a solid option if you don’t have a food processor or just prefer using your trusty mixer. Think of it as a methodical approach to recycling your bread.
The key here is proper preparation and understanding your mixer’s strengths and limitations for this particular task. We found that success largely depends on the condition of your bread.
Preparing Your Bread for Crumbing
Before you even think about turning on your stand mixer, your bread needs a little TLC. This step is crucial for achieving good quality bread crumbs. Think of it like prepping vegetables before cooking; it makes all the difference.
Choosing the Right Bread
What kind of bread works best? We found that almost any type of bread can be turned into crumbs. However, some excel more than others. Sturdy, dense breads like sourdough, French baguettes, or even sandwich bread work very well. Avoid overly soft or very fresh bread, as it tends to clump rather than crumble.
The type of bread will also influence the texture and flavor of your final crumbs. A hearty whole wheat bread will give you a different result than a light brioche. Consider what you’ll be using the crumbs for!
The Importance of Stale Bread
This is perhaps the most important tip: your bread needs to be stale or dried out. Fresh bread is too soft and moist; it will just turn into a gummy mess in your mixer. We found that trying to process fresh bread is a recipe for frustration and sticky mixer attachments.
- Air Dry: Leave sliced bread out on a baking sheet overnight, or even for a couple of days. This allows the moisture to evaporate naturally.
- Oven Dry: For a faster method, preheat your oven to a low temperature (around 250°F or 120°C). Slice your bread and bake it for 20-30 minutes, or until it’s completely dry and hard, but not browned. Flip halfway through for even drying.
You want your bread to be hard and brittle. It should snap when you try to bend it, not tear or squish. This dryness is what allows the mixer to break it down into fine particles.
Cutting Your Bread into Pieces
Even stale bread needs a little help to fit into your mixer’s bowl and be processed efficiently. We recommend tearing or cutting your dried bread into small, manageable chunks. Aim for pieces that are about 1 to 2 inches in size. This helps the mixer’s paddle attachment work more effectively, reducing strain on your machine.
The Stand Mixer Crumbing Process
Now that your bread is perfectly prepped, it’s time to put your stand mixer to work. This process is straightforward, but a few details can help ensure your success. Remember, patience is key here, as it’s not as instantaneous as a food processor. Our guide on how to use your stand mixer can help you get started with this versatile kitchen tool.
Which Attachment to Use?
For making bread crumbs, the paddle attachment is your best friend. We found that the wire whisk attachment is too delicate and won’t effectively break down the bread. The dough hook, designed for kneading, also won’t work well for this task; it will just push the bread around.
The paddle attachment, also known as the flat beater, is designed for mixing, mashing, and creaming. Its broad surface and strong design are ideal for systematically breaking down dried bread into crumbs. It effectively “beats” the bread into smaller pieces.
Step-by-Step Guide to Making Crumbs
Ready to get started? Follow these simple steps for stand mixer bread crumb success:
- Attach the Paddle: Securely attach the paddle attachment to your stand mixer.
- Add Bread Pieces: Place your dried and cut bread chunks into the stand mixer bowl. Don’t overfill the bowl; it’s better to work in smaller batches, especially if you have a lot of bread. Overfilling can strain your mixer.
- Start on Low Speed: Begin mixing on a low speed (like “Stir” or Speed 1-2). This prevents the bread from flying out of the bowl and allows the paddle to start breaking it down gently.
- Gradually Increase Speed: As the bread starts to break down, slowly increase the speed to medium-low (Speed 3-4). You’ll see the chunks getting smaller. We found that going too fast too soon can result in uneven crumbs.
- Continue Mixing: Keep mixing until you reach your desired crumb consistency. This can take anywhere from 5 to 10 minutes, depending on the dryness of your bread and the size of your initial pieces. You might need to stop occasionally to scrape down the sides of the bowl with a spatula, pushing any larger pieces back towards the paddle.
- Check Consistency: Periodically stop the mixer and feel the crumbs. Do you want them finer? Continue mixing. Are they just right? You’re done!
You’re aiming for a consistent texture. Some recipes prefer coarse crumbs, others very fine. Your stand mixer gives you control over this.
Troubleshooting Common Issues
Even with good preparation, you might run into a snag or two. Don’t worry, we’ve got you covered!
- Gummy Bread: If your bread turns into a sticky, gummy paste, it means your bread wasn’t dry enough. Take it out, dry it further in the oven, and try again when it’s brittle.
- Uneven Crumbs: If you have large chunks mixed with fine crumbs, you might need to mix longer, or you might have overloaded the bowl. Try processing in smaller batches or giving it a few more minutes on medium speed.
- Mixer Strain: If your mixer sounds like it’s struggling, stop immediately. Your bread might be too hard or you might have too much in the bowl. Remove some bread, or consider breaking the pieces down even smaller by hand first. Understanding the right size stand mixer for your needs can help prevent strain and ensure efficient operation.
Listen to your mixer. It will tell you if it’s working too hard. Overloading it can damage the motor over time.
Comparing Stand Mixer vs. Food Processor for Bread Crumbs
While your stand mixer can do the job, it’s worth understanding how it stacks up against a more conventional tool like a food processor. We found that each has its strengths.
| Feature | Stand Mixer | Food Processor |
|---|---|---|
| Speed | Slower (5-10 minutes) | Very Fast (30-60 seconds) |
| Consistency | Good, but requires monitoring | Very consistent, easy to control |
| Effort | Minimal, hands-off once started | Minimal, hands-off once started |
| Best For | Small batches, no other options | Large batches, quick results |
| Cleanup | Bowl and paddle | Bowl and blade |
As you can see, a food processor is generally the quicker and more efficient option for making bread crumbs. Its sharp blades are designed specifically for rapidly chopping and processing ingredients. However, if you don’t own a food processor, your stand mixer is a perfectly viable alternative, especially for smaller quantities.
When Your Stand Mixer is the Right Choice
So, when should you reach for your stand mixer instead of another appliance? We found a few scenarios where it truly shines.
- You only need a small amount of bread crumbs for a recipe.
- You don’t own a food processor or a blender.
- You prefer a slightly coarser, more rustic crumb texture.
- You’re already using your food processor for another task.
- You enjoy the hands-off, gentle processing that a stand mixer provides.
It’s all about using the tools you have effectively. Your stand mixer is a versatile kitchen workhorse, and making bread crumbs is just another feather in its cap.
Storing Your Homemade Bread Crumbs
Once you’ve successfully created your batch of beautiful bread crumbs, don’t let them go to waste! Proper storage ensures they stay fresh and ready for your next culinary creation. You’ve put in the effort, so protect your work.
Drying for Longer Shelf Life
Even if your bread was dry before crumbing, we found that spreading the fresh crumbs on a baking sheet and letting them air dry for an hour or two can further reduce moisture. This extra step helps prevent mold and keeps them crisp. Think of it as a final insurance policy against sogginess.
Packaging and Freezing
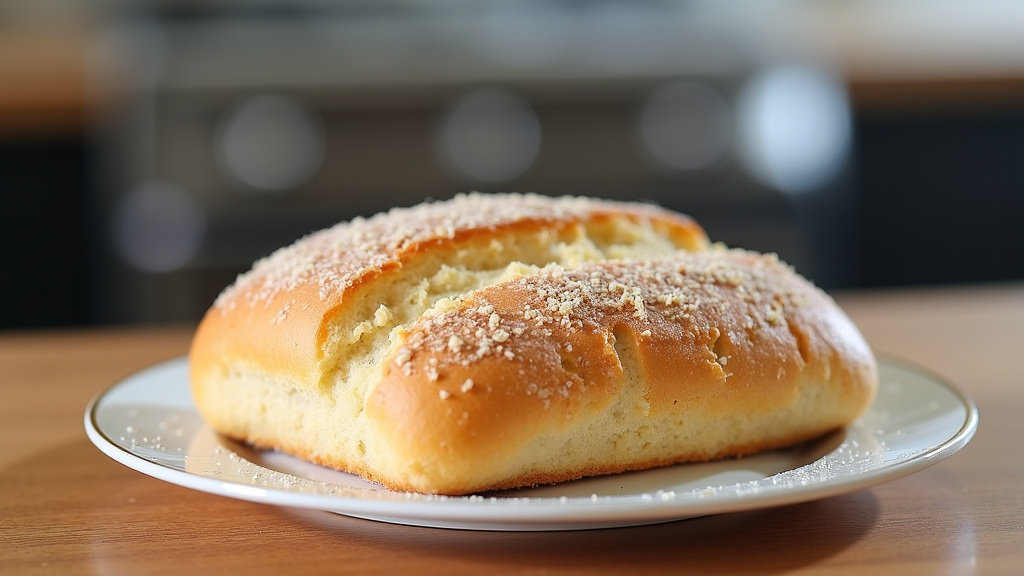
Store your completely cooled and dried bread crumbs in an airtight container or a freezer bag. You can keep them in the pantry for up to two weeks. If you want them to last even longer, pop them in the freezer. Frozen bread crumbs can last for several months. They don’t typically clump together, so you can easily scoop out what you need.
Label your containers with the date so you know when they were made. This small step helps you keep track of your kitchen inventory and avoid waste.
Ideas for Using Your Fresh Crumbs
Now that you have a supply of homemade bread crumbs, what will you make? The possibilities are delicious!
- Crispy Toppings: Sprinkle over casseroles, mac and cheese, or baked fish for added texture.
- Binders: Use them in meatballs, meatloaf, or veggie burgers to hold everything together.
- Breading: Coat chicken cutlets, fish fillets, or zucchini sticks before frying or baking for a golden crust.
- Stuffing: They are a key ingredient in savory stuffings for poultry or vegetables.
- Thickeners: A small amount can help thicken soups or sauces.
Homemade bread crumbs often have a richer flavor and better texture than store-bought varieties. Plus, it’s a fantastic way to reduce food waste and get more value out of your bread.
Conclusion
So, can your stand mixer make bread crumbs? Absolutely! While not as lightning-fast as a food processor, it’s a perfectly capable tool for transforming stale bread into useful crumbs. We found that proper bread preparation and using the paddle attachment are your keys to success. This method is ideal for smaller batches or when you don’t have other appliances handy. You’ll not only reduce food waste but also create fresh, flavorful crumbs for all your favorite recipes. Go ahead, give it a try and enjoy your delicious, homemade results!
Frequently Asked Questions
Can I use fresh bread to make crumbs in a stand mixer?
No, we strongly recommend against using fresh bread. Fresh bread is too moist and will turn into a gummy paste rather than distinct crumbs in your stand mixer. Always dry your bread out thoroughly first for the best results.
Will making bread crumbs damage my stand mixer?
If done correctly with dry bread and without overloading the bowl, making bread crumbs should not damage your stand mixer. Listen to your mixer; if it sounds strained, stop and reduce the amount of bread or break pieces down further.
What’s the best way to get fine bread crumbs with a stand mixer?
To achieve finer crumbs, ensure your bread is very dry and brittle. Process smaller batches in the mixer for a longer duration, gradually increasing the speed. You can also stop and scrape down the bowl periodically to ensure even processing.
How can I make seasoned bread crumbs using my stand mixer?
After your plain bread crumbs are made, you can mix in dried herbs, garlic powder, onion powder, or Parmesan cheese directly in the stand mixer. Use the paddle attachment on low speed for a minute or two to combine the seasonings thoroughly.
Can I use a blender instead of a stand mixer for bread crumbs?
Yes, a blender can also make bread crumbs, similar to a food processor. You’ll typically get finer crumbs more quickly than with a stand mixer. However, you’ll still need to use stale, dry bread and process in batches.