How to Make Ice Cream with a Stand Mixer Attachment?
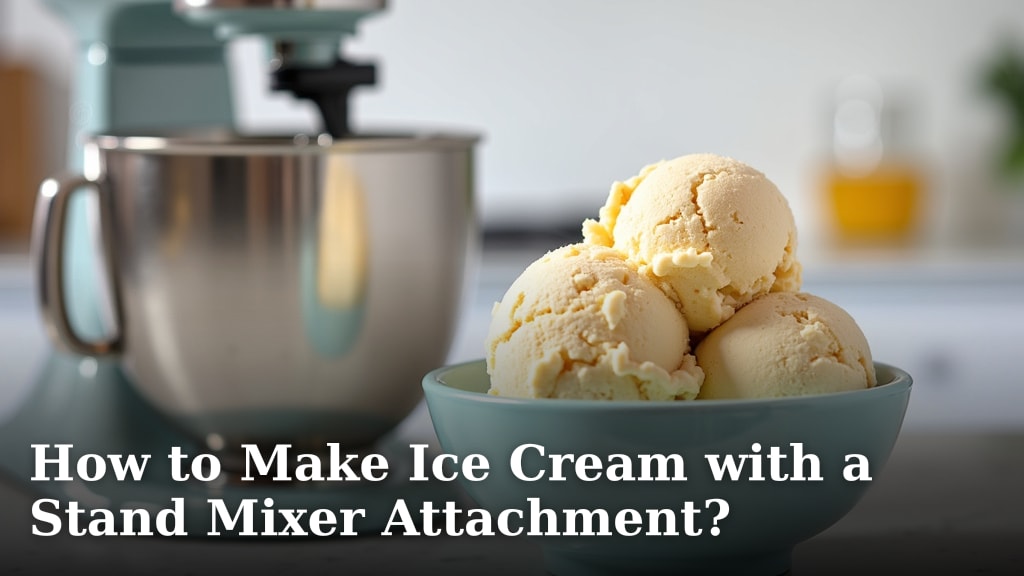
To make ice cream with a stand mixer attachment, you will need to freeze the bowl for at least 15-24 hours. Then, you will simply pour your chilled ice cream base into the frozen bowl. The stand mixer will churn it into delicious ice cream.
Using a stand mixer for homemade ice cream is convenient and easy. This method lets you create your favorite frozen treats right in your kitchen. We found it’s a great way to enjoy fresh, customizable flavors without a dedicated ice cream maker.
- Freeze your mixer bowl completely.
- Prepare and chill your ice cream base.
- Attach the frozen bowl to your stand mixer.
- Pour in the base and churn.
Ready to churn your way to a frosty dessert? Let’s walk through how to make ice cream with a stand mixer attachment, step by step.
Churning Out Perfect Ice Cream with Your Stand Mixer
Making delicious homemade ice cream is simpler than you might think when you use your stand mixer with its specialized attachment. This method offers a fun and rewarding way to create custom frozen treats.
Gather Your Essential Tools and Ingredients
Before you begin your ice cream adventure, you’ll want to make sure you have everything ready. This preparation saves you time and ensures a smooth process.
The Stand Mixer and Attachment
First and foremost, you need your stand mixer. Most major brands like KitchenAid, Cuisinart, and Kenwood offer ice cream maker attachments. These attachments typically consist of a freezer bowl and a dasher or churn paddle.
- Ensure your attachment is compatible with your stand mixer model.
- Check that all parts are clean and ready for use.
- Find your owner’s manual for specific assembly instructions.
Your Ice Cream Base Ingredients
The heart of any great ice cream is its base. While recipes vary, most include a few common items. You’ll generally need heavy cream, whole milk, sugar, and flavorings like vanilla extract.
Some recipes call for egg yolks, creating a richer, custard-style ice cream, often called a French-style base. Others, known as Philadelphia-style, omit the eggs for a lighter texture.
The Crucial Step: Freezing the Bowl
This is perhaps the most important part of the entire process. The freezer bowl needs to be thoroughly frozen. Without this step, your ice cream won’t churn properly.
We’ve found that placing the bowl in the coldest part of your freezer for at least 15 to 24 hours works best. Some experts even suggest 48 hours for optimal results (KitchenAid).
You want to hear a solid rattle when you shake the bowl. This sound tells you the coolant inside has completely solidified.
Preparing Your Ice Cream Base
While your bowl is chilling, you can prepare your ice cream base. This step usually involves cooking, mixing, and then chilling the ingredients.
Cooking the Base (If Needed)
For custard-style bases, you’ll gently heat the cream, milk, sugar, and egg yolks on the stove. You’re looking for it to thicken slightly. Do not boil it. This cooking step helps to dissolve the sugar and pasteurize the eggs, making the base smooth and safe.
For Philadelphia-style bases, you often just mix the ingredients cold. This makes for a quicker preparation but often results in a slightly less rich texture.
Chilling for Flavor and Texture
Once your base is mixed (and cooked, if applicable), it’s vital to chill it completely. At least 4 hours in the refrigerator is standard. Overnight is even better. We found that a very cold base churns much faster and results in a smoother, creamier ice cream.
A warm base will warm up your frozen bowl too quickly. This can lead to a soupy, icy texture rather than creamy ice cream. Think of it like trying to cool down a hot drink with a single ice cube – it just won’t work well!
Assembling and Churning Your Ice Cream
With your bowl frozen and your base chilled, you’re ready for the main event! This is where the magic happens.
Attaching the Frozen Bowl and Dasher
Carefully remove your frozen bowl from the freezer. It will be very cold, so consider using oven mitts. Attach it securely to your stand mixer according to your model’s instructions. Then, insert the dasher or churn paddle.
Make sure everything is snugly in place. You don’t want any wobbly parts when the churning starts.
Pouring and Starting the Mixer
Turn on your stand mixer to a low speed before pouring in your chilled ice cream base. This helps prevent the base from freezing instantly to the bottom of the bowl before it starts churning.
Pour the base slowly into the bowl while the mixer is running. Then, increase the speed to the setting recommended in your attachment’s manual, usually a medium-low speed. The dasher will begin to rotate, scraping the freezing mixture off the sides of the bowl.
The Churning Process
Churning typically takes anywhere from 20 to 30 minutes. You’ll notice the mixture gradually thickening. It will go from a liquid to a soft-serve consistency.
Many home cooks describe this as the moment when the ice cream forms “soft peaks,” similar to whipped cream. The volume will also increase as air is incorporated.
What Happens Next: Freezing for Firmness
After churning, your ice cream will be quite soft. It’s perfect if you enjoy soft-serve! But for a firmer scoopable ice cream, you need to “cure” it in the freezer.
Transferring to an Airtight Container
Scrape the freshly churned ice cream into a freezer-safe, airtight container. A shallow, wide container helps it freeze more evenly and quickly.
Press a piece of plastic wrap directly onto the surface of the ice cream before putting on the lid. This prevents ice crystals from forming, keeping your ice cream smooth and creamy.
The Final Freeze
Place your container in the freezer for at least 2 to 4 hours. For best results, we found that letting it freeze overnight gives it the ideal texture. This final freeze allows the ice cream to harden properly.
Troubleshooting Common Ice Cream Issues
Even with the right tools, sometimes things don’t go perfectly. Here are a few common problems and how to fix them.
Ice Cream is Icy or Hard
If your ice cream turns out icy or too hard, the most likely culprits are not chilling your base enough or not freezing the bowl adequately. Remember, a very cold base and a rock-solid frozen bowl are key.
Too much water in your recipe can also contribute to iciness. Ensuring a good ratio of fat (from cream) to liquid helps create a smoother texture. Adding a tiny bit of alcohol, like a tablespoon of vodka, can also help lower the freezing point, making it softer (Food Science of Ice Cream).
Ice Cream Won’t Thicken
This usually points back to the freezer bowl. Was it frozen long enough? If the bowl wasn’t cold enough, it won’t be able to properly freeze the ice cream base as it churns. Another reason could be that your kitchen is too warm, causing the bowl to thaw too quickly.
Your Homemade Ice Cream Checklist
Keep this handy checklist nearby for a smooth ice cream-making experience:
- Is your freezer bowl frozen solid (15-24 hours)?
- Is your ice cream base completely chilled (4+ hours)?
- Are all your ingredients pre-measured and ready?
- Is your stand mixer and attachment clean and assembled?
- Do you have an airtight container for the final freeze?
Comparing Stand Mixer vs. Dedicated Ice Cream Makers
While stand mixer attachments are great, how do they stack up against standalone machines?
| Feature | Stand Mixer Attachment | Dedicated Ice Cream Maker (Compressor) |
|---|---|---|
| Cost | Lower (if you own a stand mixer) | Higher initial investment |
| Storage | Freezer bowl needs freezer space | Machine takes up counter/cabinet space |
| Pre-freezing | Required for the bowl | Not required (self-cooling) |
| Batch Size | Often 1-2 quarts | Varies, often larger options |
| Convenience | Easy if bowl is frozen, less single-purpose clutter | Can make multiple batches without re-freezing |
We found that for most home cooks, the stand mixer attachment is a fantastic and cost-effective choice. It leverages equipment you already own and produces excellent results. If you plan to make ice cream very frequently or in large quantities, a dedicated compressor model might be worth considering.

Conclusion
Making ice cream with your stand mixer attachment is a genuinely rewarding experience. You get to enjoy custom flavors and a fresh treat without a dedicated machine. Remember, the key to success lies in a super-frozen bowl and a well-chilled base. With these simple steps and a little patience, you’ll be churning out delicious homemade ice cream in no time.
So, gather your ingredients, clear some space in your freezer, and get ready to create your new favorite frozen dessert!
Frequently Asked Questions
How long does homemade ice cream last in the freezer?
Homemade ice cream is best enjoyed within 1 to 2 weeks for optimal flavor and texture. After that, ice crystals can start to form, and the quality may diminish. Always store it in an airtight container to protect it.
Can I add mix-ins like cookies or candy to my ice cream?
Absolutely! The best time to add mix-ins is during the last few minutes of churning, or after you’ve transferred the soft-serve ice cream to your storage container. This ensures they are evenly distributed without getting crushed.
What if my ice cream base doesn’t get cold enough?
If your base isn’t thoroughly chilled, your ice cream may not thicken properly during churning. It might stay soupy or become icy quickly. We recommend placing your base in an ice bath for faster chilling, or simply chilling it overnight in the refrigerator.
Why does my homemade ice cream get rock hard?
Ice cream can get rock hard if there’s too much water in the recipe or not enough fat and sugar. Adding a small amount of alcohol, like a tablespoon of vodka or rum, can lower the freezing point and help keep it softer. You can also let it sit on the counter for 5-10 minutes before scooping.
Do all stand mixers have an ice cream attachment?
Not all stand mixers come with an ice cream attachment, but many popular brands offer them as an optional accessory. You’ll need to check your specific stand mixer model for compatibility. We found they are widely available for brands like KitchenAid, Cuisinart, and Kenwood.