How to Make Pasta Dough with a Stand Mixer Attachment?
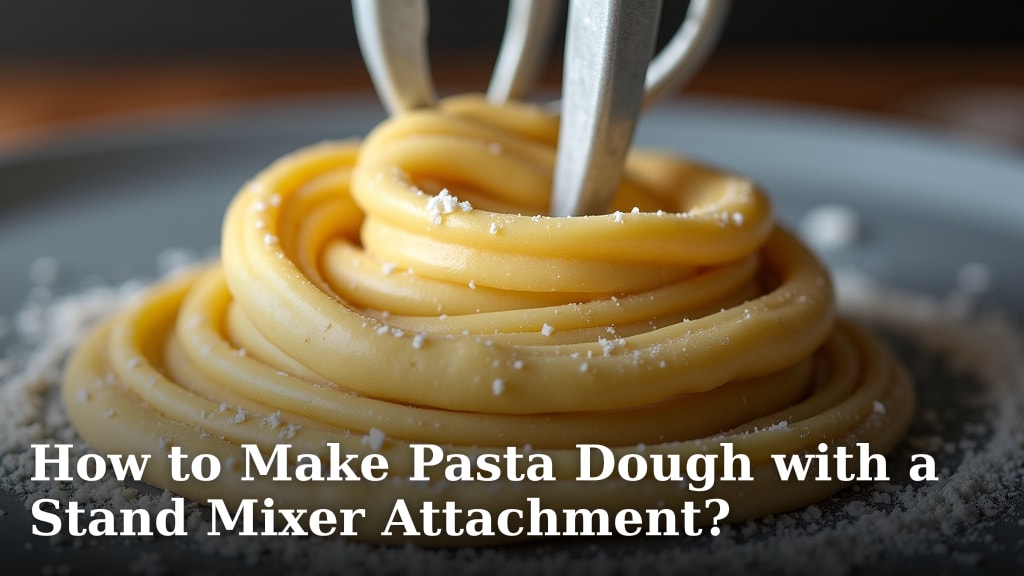
The easiest way to make pasta dough with a stand mixer attachment is by combining your ingredients directly in the mixer bowl and letting the machine do the hard work. You’ll typically use a flat beater for initial mixing and then switch to the dough hook for kneading, creating a smooth, elastic dough perfect for fresh pasta.
Using your stand mixer for pasta dough takes the arm strain out of kneading. We found that this method consistently produces a well-developed dough with minimal effort. It also ensures a uniform consistency, which is key for pasta that cooks evenly and has a great texture.
- Mix flour and eggs in your stand mixer.
- Use the dough hook for easy kneading.
- Achieve smooth, elastic dough without breaking a sweat.
- Roll out your fresh pasta quickly.
Ready to ditch the store-bought stuff and impress your family? Let’s walk through exactly how to make pasta dough with a stand mixer attachment, step by step.
Preparing to Make Pasta Dough with Your Stand Mixer
Before you dive into making delicious pasta, a little preparation goes a long way. Getting your ingredients and equipment ready will make the process smooth and enjoyable. Think of it like a chef’s mise en place – everything in its place!
Gathering Your Essential Ingredients
Making pasta from scratch doesn’t require a huge list of ingredients, which is part of its charm. You’ll primarily need just a few simple items that you likely already have in your pantry.
The Flour Factor: What Kind Should You Use?
For pasta, the type of flour you choose can significantly impact the final texture. We’ve found that different flours offer distinct characteristics.
- All-Purpose Flour: This is a great starting point for beginners. It’s readily available and forgiving. Your pasta will be tender and easy to work with.
- “00” Flour: Many traditional Italian pasta makers swear by “00” flour (pronounced “double zero”). It’s a very finely milled, low-protein flour that creates a silky, delicate pasta. If you’re aiming for that authentic Italian restaurant experience, this is your go-to.
- Semolina Flour: Sometimes called “durum semolina,” this is a coarser, high-protein flour. It gives pasta a chewier, heartier bite and a beautiful golden color. It’s often used in combination with “00” or all-purpose flour for added structure.
You can also experiment with blends. For instance, a mix of “00” and semolina flour offers a nice balance of tenderness and bite. Don’t be afraid to try different combinations to see what you prefer!
Eggs, Salt, and Optional Olive Oil
Eggs are the binder and enricher in most fresh pasta recipes. They add flavor, color, and help create that desirable chewy texture. For a typical batch, you’ll need a few large eggs.
Salt is not just for flavor; it also strengthens the gluten in the dough. Just a pinch makes a difference. Olive oil is optional but can add a lovely richness and make the dough a bit more pliable. Some recipes skip it entirely, while others include a tablespoon or two.
Setting Up Your Stand Mixer for Pasta Success
Your stand mixer is about to become your best friend in the kitchen! But before you start, ensure you have the right attachments at hand. It’s like having the right tools for a DIY project.
Choosing the Right Attachments: Flat Beater vs. Dough Hook
For pasta dough, you’ll use two main attachments. We often see people ask which one to use when. It’s simpler than you might think!
- Flat Beater: This is your initial mixing tool. It’s perfect for bringing the wet and dry ingredients together into a shaggy dough. Use it to gently combine the flour, eggs, and any other liquids until just incorporated.
- Dough Hook: Once the ingredients are roughly mixed, you’ll switch to the dough hook. This attachment is designed to knead dough, simulating the hand-kneading process. It pulls and stretches the dough, developing the gluten and creating that smooth, elastic texture you’re looking for.
Having both ready before you start saves time and prevents sticky fingers from rummaging through your attachment drawer.
Step-by-Step Guide to Mixing Pasta Dough
Now for the fun part: letting your stand mixer do the work! We’ll walk you through each stage, from combining ingredients to achieving that perfect, smooth dough.
The Initial Mix: Bringing Ingredients Together
This is where your stand mixer starts earning its keep. We found that a slow, steady approach here prevents a floury mess.
Combining Flour, Eggs, and Liquid
First, add your flour to the stand mixer bowl. If using salt, sprinkle it in now. Then, create a “well” in the center of the flour. Crack your eggs into this well. If your recipe calls for olive oil or a splash of water, add it here too.
Attach the flat beater to your stand mixer. Start on the lowest speed. The goal is to gently incorporate the wet ingredients into the dry. The mixture will look crumbly and shaggy at first. That’s perfectly normal!
Scrape down the sides of the bowl with a rubber spatula if needed. Continue mixing on low speed until most of the flour is moistened, and the dough starts to come together in large clumps. This usually takes about 2-3 minutes.
Kneading with the Dough Hook: The Power of Your Mixer
Once your dough is shaggy, it’s time to switch gears and let the dough hook take over. This is where the magic of mechanical kneading happens.
Developing the Gluten for Elastic Dough
Remove the flat beater and attach the dough hook. Turn the mixer to a low-medium speed (usually speed 2 on most KitchenAid mixers). Let the machine knead the dough for 7-10 minutes.
During this time, the dough will transform. It will go from a rough, sticky mass to a smooth, elastic ball. The dough hook will work it, stretching and folding it, developing the gluten. This is crucial for pasta that holds together and has a good bite.
You’ll notice the dough climbing up the hook a bit. Gently push it back down if it goes too high. We found that consistent, uninterrupted kneading is key here.
Checking for Doneness: The Smoothness Test
How do you know when your dough is perfectly kneaded? It’s all about feel and appearance.
After 7-10 minutes, stop the mixer and carefully remove the dough. It should feel smooth, elastic, and slightly firm to the touch. If you press a finger into it, it should slowly spring back. It shouldn’t be overly sticky or crumbly.
Another good indicator is its appearance: a well-kneaded dough will have a uniform, satiny surface, unlike the rough texture it started with.
Resting Your Pasta Dough: A Crucial Step
Don’t skip this part! Resting the dough is just as important as kneading it. Think of it as a little nap for the dough, allowing it to relax and become more manageable.
Why Resting Matters for Perfect Pasta
When you knead dough, the gluten strands tighten up. Resting allows these strands to relax, making the dough less springy and much easier to roll out thinly. Many culinary experts agree on the importance of this step for dough pliability (Harold McGee, “On Food and Cooking”).
It also helps distribute the moisture evenly throughout the dough, preventing dry spots and ensuring a consistent texture. This means less tearing when you’re rolling your pasta sheets.
How to Properly Rest Your Dough
Once your dough is beautifully kneaded, form it into a ball. Lightly dust it with a tiny bit of flour if it feels slightly tacky. Wrap the dough tightly in plastic wrap. You want to prevent any air from reaching it, which can cause it to dry out and form a skin.
Place the wrapped dough in the refrigerator for at least 30 minutes, or up to an hour. Some recipes even suggest resting it at room temperature, but we prefer the fridge for a slightly firmer dough that’s easier to handle.
After resting, your dough will be wonderfully pliable and ready to be rolled into your favorite pasta shapes!
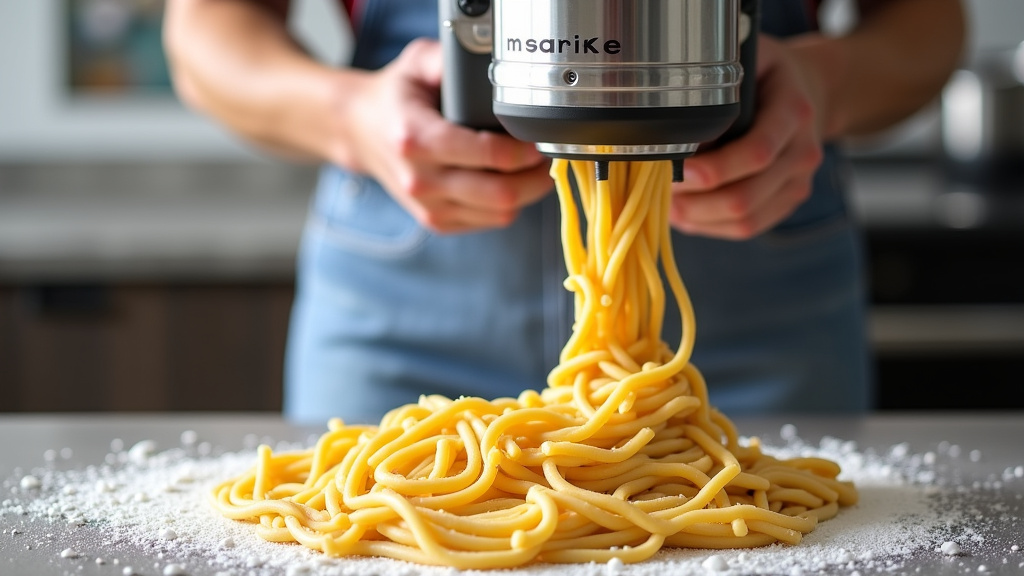
Your Pasta Dough Checklist
Here’s a quick checklist to ensure you’ve covered all your bases for perfect pasta dough:
- All ingredients (flour, eggs, salt, oil) measured and ready.
- Stand mixer clean and on a stable surface.
- Flat beater attachment ready for initial mixing.
- Dough hook attachment ready for kneading.
- Dough kneaded for 7-10 minutes until smooth and elastic.
- Dough passes the “smoothness test” (springs back when poked).
- Dough tightly wrapped in plastic wrap.
- Dough rested in the refrigerator for at least 30 minutes.
Conclusion
You’ve seen how simple it is to transform basic ingredients into beautiful pasta dough using your stand mixer. By starting with the right flours, combining ingredients carefully, and letting your mixer do the hard work of kneading, you’ll achieve a perfect, elastic dough every time. Remember, the resting period is just as important as the kneading for pliable results.
No more arm strain or inconsistent textures! This method provides a reliable foundation for all your fresh pasta creations. Now that your dough is ready, it’s time for the exciting part: rolling it out and shaping your favorite pasta. Get ready to enjoy delicious, homemade pasta that will impress everyone.
Frequently Asked Questions
How much flour and how many eggs should I use for a standard batch?
A good rule of thumb is one large egg per 100 grams (about ¾ cup) of flour. So, for a typical batch serving 2-4 people, you might start with 300 grams of flour and 3 large eggs. You can always adjust slightly if the dough feels too dry or too wet.
My dough is too sticky even after kneading, what should I do?
If your dough is too sticky, add a very small amount of flour, about a teaspoon at a time, while the mixer is running on low speed. Allow it to fully incorporate before adding more. Over time, you’ll develop a feel for the right consistency.
Can I add herbs or spices directly into the dough?
Yes, absolutely! We’ve found that finely minced fresh herbs like basil or parsley, or dried spices like garlic powder, can be added to the flour at the beginning. This infuses your pasta with extra flavor and color, making your dishes even more special.
How long can I store pasta dough in the refrigerator?
Fresh pasta dough, properly wrapped in plastic, can be stored in the refrigerator for up to 2-3 days. If you need to store it longer, you can freeze it for up to a month. Thaw it in the refrigerator overnight before using.
What if my dough is too dry and crumbly in the mixer?
If your dough is too dry and won’t come together, add a small amount of liquid, like a teaspoon of water or an extra egg yolk, one at a time. Let the mixer work it in before adding more. Different flours and egg sizes can affect moisture levels, so slight adjustments are common.