How to Make Brioche Dough in a Stand Mixer?
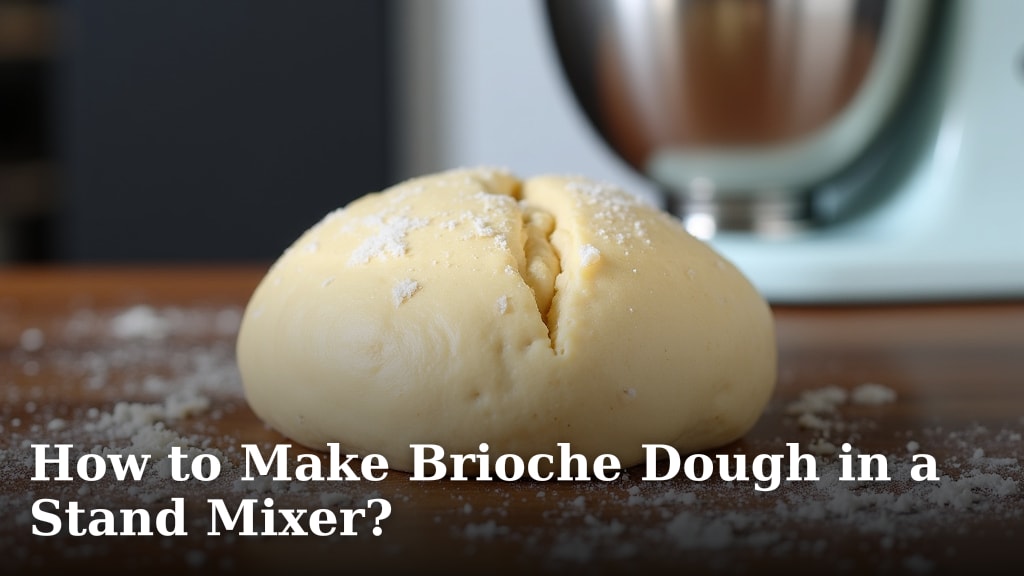
The easiest way to make brioche dough is by using a stand mixer, which does all the heavy lifting for you. You will gradually add ingredients like butter and eggs to a flour and yeast base, letting the mixer develop that signature rich, elastic dough. This method saves your arms and ensures a perfectly smooth brioche every time.
Brioche is a classic French bread known for its buttery flavor and tender crumb. Making it at home might seem daunting, but with a stand mixer, it becomes a manageable and even fun process. We found that a good stand mixer is key for achieving the proper dough consistency without tiring yourself out.
- Stand mixer makes brioche easy.
- Gradually add butter and eggs.
- Achieve smooth, elastic dough.
- Avoid hand kneading fatigue.
Are you ready to bake some amazing brioche? Let’s walk through exactly how to make brioche dough in a stand mixer, step by step.
Getting Started: Essential Ingredients & Tools
Before you dive into making that perfect brioche, you need to gather your supplies. Think of it as preparing your baking battlefield! Having everything ready makes the process so much smoother and more enjoyable. We found that mis en place (everything in its place) is truly a baker’s best friend.
The Right Ingredients for Delicious Brioche
Brioche is all about richness. That means quality ingredients are super important. Don’t skimp here; your taste buds will thank you.
- All-Purpose Flour: We recommend unbleached all-purpose flour. It has a good protein content for brioche.
- Active Dry Yeast: Make sure your yeast is fresh. Check the expiration date! Dead yeast means flat brioche, and nobody wants that.
- Granulated Sugar: Just enough to feed the yeast and add a touch of sweetness.
- Salt: Crucial for flavor balance and controlling yeast activity. Don’t forget it!
- Eggs: These give brioche its signature rich flavor and beautiful yellow hue. Use large eggs.
- Whole Milk: Adds moisture and tenderness. Make sure it’s lukewarm to activate the yeast.
- Unsalted Butter: This is the star! Use good quality, softened butter. Cold butter won’t incorporate properly.
Must-Have Tools for Stand Mixer Brioche
Your stand mixer is the main event, but a few other items will help you along the way. These tools make the process efficient and mess-free.
- Stand Mixer with Dough Hook: Absolutely essential. This will save your arms!
- Measuring Cups and Spoons: Accuracy is key in baking.
- Large Mixing Bowl: For proofing the dough.
- Kitchen Scale: For precise ingredient measurements, especially flour. This really improves consistency (USDA).
- Rubber Spatula: For scraping down the bowl.
- Plastic Wrap or Kitchen Towel: For covering the dough during proofing.
- Pastry Brush (optional): For egg wash.
Preparing Your Brioche Dough: Step-by-Step Guide
Okay, let’s get down to business! Making brioche dough with a stand mixer is largely a process of adding ingredients in stages and letting the machine do the hard work. We’ll guide you through each stage carefully.
Activating the Yeast (The “Proof” is in the Pudding)
This first step is like waking up your yeast. You want to ensure it’s alive and ready to make your brioche light and fluffy.
- In your stand mixer bowl, combine the lukewarm milk and a pinch of sugar.
- Sprinkle the active dry yeast over the milk.
- Let it sit for 5-10 minutes. You should see it become foamy and bubbly. This means your yeast is active and happy! If it doesn’t foam, your yeast might be old, or your milk might have been too hot or cold. Start over with new yeast.
Mixing the Dry and Wet Ingredients
Now it’s time to bring everything together, creating the initial dough base. This stage builds the foundation for your brioche’s structure.
- To the activated yeast mixture, add the remaining sugar, salt, and half of the all-purpose flour.
- Attach the dough hook to your stand mixer.
- Start mixing on low speed until just combined.
- Add the eggs, one at a time, allowing each to be fully incorporated before adding the next.
- Gradually add the remaining flour, mixing until a shaggy dough forms.
- Increase the speed to medium-low and mix for 5-7 minutes. The dough will look sticky but should start to pull away from the sides of the bowl. We found this stage builds the initial gluten structure.
Incorporating the Butter (The Secret to Brioche Richness)
This is where the magic truly happens for brioche. Adding the butter slowly and patiently is key to achieving that tender, rich crumb. Many baking experts emphasize this careful addition (King Arthur Baking).
- Reduce your mixer speed to low.
- Add the softened butter, one tablespoon at a time. Do not rush this step!
- Wait until each piece of butter is fully incorporated into the dough before adding the next. This can take a few minutes per piece.
- The dough might look messy and greasy at first, but keep mixing. It will come together.
- Once all the butter is added, increase the mixer speed to medium.
- Knead the dough for another 10-15 minutes.
- The dough should become very smooth, elastic, and shiny. It should also pass the “windowpane test.”
The Windowpane Test: What It Means
The windowpane test is a baker’s trick to check for sufficient gluten development. It tells you if your dough is strong enough.
- To perform it, tear off a small piece of dough (about a golf ball size).
- Gently stretch the dough between your fingers.
- If you can stretch it thin enough to see light through it without tearing, like a tiny windowpane, your dough is ready! If it tears easily, keep kneading for a few more minutes and test again. This elasticity is what gives brioche its signature texture.
First Rise (Bulk Fermentation): The Waiting Game
After all that mixing, your dough needs to rest and rise. This is called bulk fermentation, and it develops flavor and texture.
Proofing the Dough Properly
A warm, draft-free spot is ideal for your dough to rise. It needs a cozy environment.
- Once your dough passes the windowpane test, remove the dough hook.
- Scrape down the sides of the bowl.
- Cover the bowl tightly with plastic wrap or a clean kitchen towel.
- Place the bowl in a warm place. A slightly warm oven (turned off, of course!) or a sunny spot on your counter works well.
- Let the dough rise until it has doubled in size, which usually takes 1.5 to 2 hours, depending on your room temperature.
- If your kitchen is cool, it might take longer. Patience is a virtue in baking!
The Overnight Chill: Enhancing Flavor and Handling
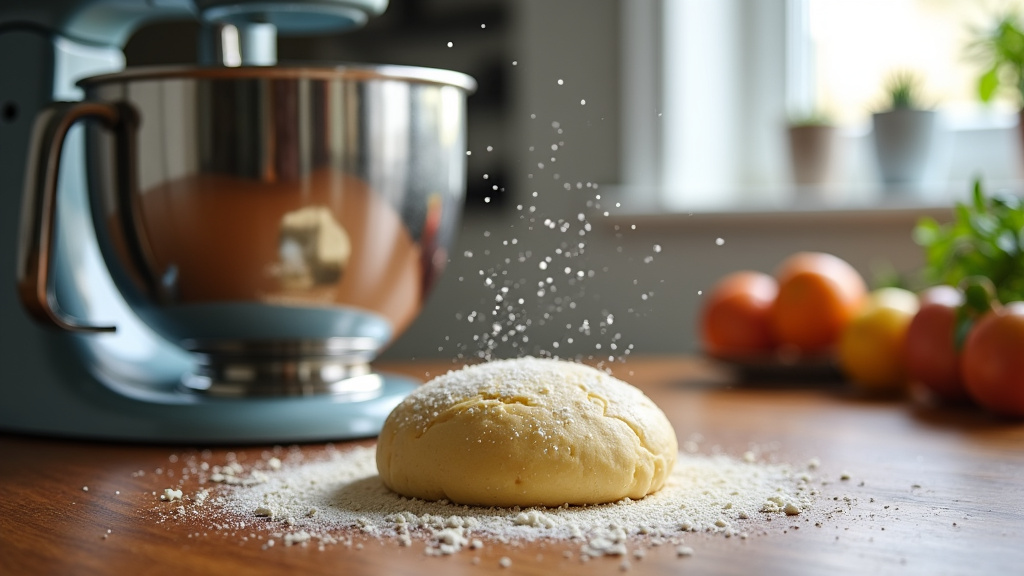
This step is often overlooked but we found it significantly improves both the flavor and workability of your brioche dough. Many classic brioche recipes call for a cold fermentation (Bake from Scratch).
Why Refrigerate Your Brioche Dough?
Refrigerating your dough does a couple of wonderful things for your brioche.
- Develops Flavor: The slow, cold fermentation allows the yeast to produce more complex flavors.
- Easier to Handle: Cold dough is much less sticky and easier to shape. Trying to shape warm, super-soft brioche dough can be quite a challenge!
- Better Texture: It contributes to a finer, more even crumb.
Chilling and Punching Down
Once your dough has completed its first rise, it’s ready for its trip to the fridge.
- Gently punch down the risen dough to release the air. Don’t be too aggressive; you just want to deflate it.
- Re-cover the bowl with plastic wrap.
- Transfer the bowl to the refrigerator for at least 8 hours, or preferably overnight (up to 24 hours).
- The dough will continue to rise slowly in the fridge, becoming firmer and more manageable.
- After this cold rest, your brioche dough is ready to be shaped and baked into whatever delicious creation you desire!
Your Brioche Dough Checklist
Want a quick recap to ensure you’ve hit all the main points? Here’s a handy checklist to keep you on track. This helps confirm you haven’t missed any critical steps in your brioche dough-making journey.
Activated yeast until foamy.
Mixed dry and wet ingredients thoroughly.
Added butter slowly, one piece at a time.
Dough passed the “windowpane test.”
Allowed dough to double in size for the first rise.
Chilled dough overnight in the refrigerator.
Conclusion
You’ve now mastered the art of making brioche dough with your stand mixer. By following these steps, you’ve learned how to turn simple ingredients into a rich, tender dough that promises delicious results. Remember that patience, especially during the butter incorporation and chilling stages, is your best friend.
Achieving that perfectly elastic dough and then letting it develop flavor overnight truly sets your brioche apart. Now, the fun really begins! Take your beautifully prepared dough and transform it into braided loaves, individual rolls, or even sweet pastries. Happy baking!
Frequently Asked Questions
What if my dough doesn’t pass the windowpane test?
If your dough tears easily when you stretch it, it means it needs more kneading. Continue mixing on medium speed for a few more minutes and then re-test. The goal is to develop enough gluten for that classic brioche texture.
Can I make brioche dough without a stand mixer?
While possible, making brioche dough by hand is very challenging due to its high butter content and stickiness. It requires significant arm strength and a lot of patience to achieve the necessary gluten development and smooth consistency.
How can I tell if my yeast is active before I start?
To check yeast freshness, combine a teaspoon of sugar and 1/4 cup of warm water (around 105-115°F) with your yeast. If it becomes foamy and bubbly within 5-10 minutes, it’s active and ready to use. No foam means your yeast is likely dead.
My dough is too sticky after mixing the butter; what should I do?
Brioche dough is naturally sticky due to its high fat and egg content. Resist the urge to add more flour. Keep kneading in the stand mixer; with continued mixing, the dough will become smoother and pull away from the sides of the bowl as gluten develops.
How long does brioche dough last in the refrigerator?
Once chilled, your brioche dough can be stored in the refrigerator for up to 2-3 days. This slow fermentation enhances its flavor. Just remember to let it come closer to room temperature before shaping and its final proofing.