How to Make Bread in a Stand Mixer?
The easiest way to make bread in a stand mixer is by using the dough hook attachment to handle all the kneading. You just combine your ingredients in the mixer bowl, let the machine do the hard work, and then proceed with the rest of your bread-making process. This method saves your arms and makes baking delightful.
You might be wondering if a stand mixer really makes that much difference for bread. We found that using a stand mixer for bread dough simplifies the process immensely, especially for sticky or large batches. It ensures consistent, even kneading, which is key for a good crumb structure in your finished loaf.
- Makes kneading dough easy.
- Uses the dough hook attachment.
- Ensures consistent results.
- Saves time and effort.
Ready to ditch the messy countertop and tired arms? Let’s walk through exactly how to make bread in a stand mixer, step by step.
Getting Started: What You Need for Stand Mixer Bread
Making bread with a stand mixer simplifies the whole process. Before you begin, gather your ingredients and tools. Having everything ready makes baking much smoother.
Essential Ingredients for Bread Baking
Good bread starts with quality ingredients. For a basic loaf, you won’t need anything fancy. Focus on freshness for the best results.
- Flour: All-purpose or bread flour works well. Bread flour has more protein, which helps develop gluten.
- Yeast: Active dry or instant yeast is common. Make sure it’s fresh for good rise.
- Water: Lukewarm water is key. It helps activate the yeast without killing it.
- Salt: Not just for flavor, salt also helps control yeast activity and strengthens gluten.
- Sugar (optional): A little sugar feeds the yeast and can improve crust browning.
- Fat (optional): Oil or butter can add richness and tenderness to your bread.
Your Stand Mixer & Attachments
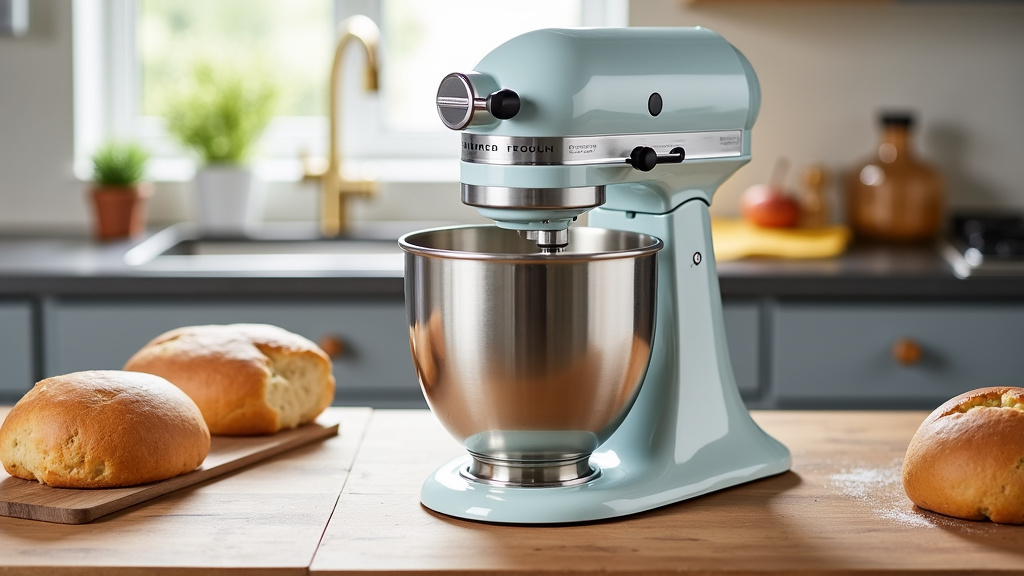
Your stand mixer is the star of this show. Make sure it’s clean and ready to go. You’ll primarily use one attachment.
- Stand Mixer: Any sturdy stand mixer with enough power will do. You want one that won’t “walk” off the counter during kneading.
- Dough Hook: This is your best friend for bread making. It mimics hand kneading motions.
- Mixing Bowl: Use the bowl that came with your mixer. It’s designed to fit perfectly.
Why the Dough Hook Matters
The dough hook is shaped to pull, stretch, and fold the dough. This action develops the gluten strands. Gluten is what gives bread its structure and chewy texture. Without proper gluten development, your bread can be dense or crumbly.
The Step-by-Step Stand Mixer Bread Process
Let’s get into the enjoyable part: making the dough. We’ll guide you through each stage from combining ingredients to the first rise. Watch your ingredients transform into beautiful dough with minimal effort.
Activating the Yeast (If Needed)
Some recipes require “proofing” your yeast. This step ensures your yeast is alive and active. It’s a simple test to prevent flat bread later.
- Pour lukewarm water (around 105-115°F or 40-46°C) into your stand mixer bowl.
- Add a pinch of sugar, then sprinkle your active dry yeast over the water.
- Let it sit for 5-10 minutes. You should see foam or bubbles forming on the surface. This means your yeast is happy and working!
- If nothing happens, your yeast might be old. We recommend getting fresh yeast before continuing.
Instant yeast often doesn’t need this step. You can usually add it directly to the dry ingredients. Always check your specific recipe for guidance.
Mixing Your Dough Ingredients
Now, it’s time to bring everything together. This is where your stand mixer starts its magic. It prevents a sticky mess on your hands.
- Attach the dough hook to your stand mixer.
- Add the proofed yeast mixture (or just water if using instant yeast) to the bowl.
- Add the salt, sugar (if using), and any fat like oil or melted butter.
- Gradually add your flour, starting with about half the total amount.
- Mix on low speed (setting 1 or 2) until the dry ingredients are just incorporated. Be careful not to let flour fly everywhere!
- Continue adding the remaining flour a little at a time until a shaggy dough forms.
- The dough should start to pull away from the sides of the bowl.
Don’t be tempted to add too much flour too quickly. You want a dough that’s soft and slightly tacky, not dry and stiff. This helps keep your bread moist.
The Kneading Phase: Let the Mixer Work
This is where the stand mixer truly shines. It takes over the most labor-intensive part of bread making. For most recipes, you’ll knead for 8-10 minutes.
Setting the Right Speed
Start on a low speed (like 2 on a KitchenAid). This prevents the dough from climbing the hook too much. Once the dough has formed, you can increase to medium-low (like 3 or 4).
Watch your mixer and the dough. Does it look like it’s getting overworked? Is it struggling? Adjust as needed. Many experts say a good kneading speed is one where the dough “slaps” the sides of the bowl periodically (King Arthur Baking).
Checking for Gluten Development
How do you know when your dough is properly kneaded? Look for these signs:
- The dough should be smooth and elastic.
- It should no longer stick excessively to the sides of the bowl.
- The “windowpane test”: Take a small piece of dough and gently stretch it. If you can stretch it thin enough to see light through it without tearing, your gluten is well-developed.
Over-kneading is rare with a stand mixer for home bakers. Usually, under-kneading is the more common issue. Give it the full time recommended by your recipe.
Post-Kneading: Rising and Shaping
After your stand mixer has done its work, the remaining steps are similar to traditional bread making. Patience is a virtue here, especially during the rising times.
The First Rise (Bulk Fermentation)
This first rise is crucial for flavor and texture. It allows the yeast to produce gas and create air pockets. You’ll transfer your beautifully kneaded dough.
- Lightly grease a clean bowl with oil.
- Remove the dough from your mixer bowl and shape it into a ball.
- Place the dough in the greased bowl, turning it once to coat.
- Cover the bowl tightly with plastic wrap or a clean kitchen towel.
- Let it rise in a warm, draft-free place until doubled in size. This can take anywhere from 1 to 2 hours, sometimes longer.
A warm oven with just the light on, or a sunny spot, can be ideal. Don’t rush this stage; it’s where the bread develops much of its character.
Punching Down and Shaping
Once doubled, it’s time to “punch down” the dough. This releases excess gas and reorganizes the gluten. It’s surprisingly satisfying.
- Gently punch the risen dough down to deflate it.
- Turn the dough out onto a lightly floured surface.
- Shape your dough according to your recipe (e.g., into a loaf, rolls, pizza crust).
We found that gentle handling is key during shaping. Avoid tearing the dough. Aim for an even, taut surface.
The Second Rise (Proofing)
Your shaped dough needs one more rise before baking. This is known as proofing. It gives the bread its final lift and open crumb structure.
- Place your shaped dough in its final baking vessel (e.g., loaf pan, baking sheet).
- Cover loosely with plastic wrap or a kitchen towel.
- Let it rise again in a warm place until nearly doubled in size. This usually takes less time than the first rise, often 30-60 minutes.
To check if it’s ready, gently poke the dough with a floured finger. If it springs back slowly but leaves a slight indentation, it’s ready for the oven. If it springs back quickly, it needs more time. If it collapses, it’s overproofed.
Tips for Perfecting Your Mixer-Made Bread
While a stand mixer makes things easier, a few expert tips can elevate your bread. Small adjustments can make a big difference in your final product. We want your bread to be the best it can be.
Troubleshooting Common Dough Issues
Even with a mixer, you might encounter little hiccups. Don’t worry, these are usually easy to fix.
| Problem | Possible Cause | Solution |
|---|---|---|
| Dough too sticky | Too much water/not enough flour | Add flour, 1 tablespoon at a time, while kneading. |
| Dough too stiff | Too much flour/not enough water | Add water, 1 teaspoon at a time, while kneading. |
| Dough not rising | Inactive yeast, water too hot/cold | Check yeast freshness; use lukewarm water (105-115°F). |
| Bread is dense | Under-kneaded or under-risen | Knead longer, allow full rise times. |
The Importance of Dough Temperature
Temperature affects yeast activity and gluten development. Dough that is too cold will rise slowly. Dough that is too warm can overproof quickly. Aim for a dough temperature around 75-80°F (24-27°C) after kneading.
Essential Bread Baking Checklist
Before you even start, a quick check can prevent headaches. This helps you stay organized.
- Recipe read through?
- All ingredients measured?
- Yeast fresh?
- Water temperature checked?
- Stand mixer & dough hook ready?
- Warm spot for rising identified?
Following these steps will help ensure a delicious loaf every time. Baking bread should be a rewarding experience, not a stressful one. Enjoy the process!
Conclusion
You’ve seen how simple it can be to make delicious bread right in your kitchen, all thanks to your stand mixer. By following these steps, you minimize the mess and effort often associated with homemade bread. Remember that consistent kneading and proper rising times are your best friends for a soft, flavorful loaf.
We found that mastering a basic recipe with your mixer builds confidence quickly. Don’t be afraid to experiment with different flours or additions once you get the hang of it. Now, go ahead and bake that first incredible loaf; your taste buds will thank you!
Frequently Asked Questions
Can I use my stand mixer for all types of bread dough?
A stand mixer with a dough hook is excellent for most yeast-based doughs, including sandwich bread, pizza dough, and even bagels. However, very wet doughs, like some no-knead varieties, or extremely stiff doughs might be better suited for other methods or require careful monitoring to prevent strain on your mixer.
My dough is climbing the dough hook; what should I do?
If your dough is constantly climbing the hook, it often means it’s either too sticky or the mixer speed is too high. Try adding a tiny bit more flour, a tablespoon at a time, until it pulls away from the sides. You can also reduce the mixer speed. Periodically stop the mixer and push the dough back down with a spatula.
How do I store homemade bread to keep it fresh?
Once your bread cools completely, store it in an airtight container, a bread box, or a sealed plastic bag at room temperature. For longer storage, slice the cooled bread and freeze it. You can then toast slices directly from the freezer.
Is it better to use instant yeast or active dry yeast in a stand mixer?
Both types of yeast work well. Instant yeast can usually be added directly to your dry ingredients, saving you a step. Active dry yeast typically requires proofing in warm water first to ensure it’s active. Always check your recipe’s instructions and yeast type for best results.
What if I don’t have a warm, draft-free place for my dough to rise?
You have a few options. You can turn your oven on for just a minute, then turn it off and let the dough rise inside with the door slightly ajar. Another method is to place the covered dough bowl in a microwave with a cup of hot water. The residual warmth creates a good environment.