How to Use a Stand Mixer?
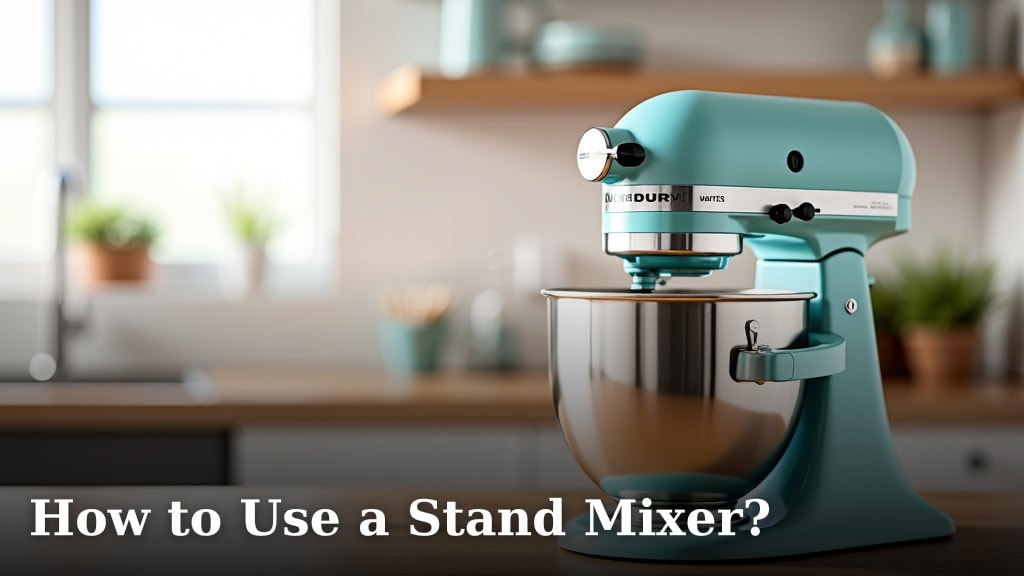
The easiest way to use a stand mixer is to attach the correct mixing attachment, add your ingredients to the bowl, and then slowly increase the speed until everything is well combined. These kitchen workhorses make baking and cooking much simpler, letting you achieve perfect textures without tiring your arms.
You might be wondering how to get the most out of your new stand mixer, or maybe you’re just looking for a refresher. We understand; there are so many models and attachments out there. Knowing the basic steps for setup and operation will help you create delicious treats with less effort and more confidence. They really are a baker’s best friend.
- Understand your stand mixer’s attachments.
- Learn how to safely set up your mixer.
- Discover the best practices for mixing.
- Find out how to clean your mixer properly.
- Master basic mixing techniques.
So, are you ready to conquer your kitchen with confidence? Let’s walk through exactly how to use a stand mixer step by step, making your baking journey smoother and more fun.
Getting Started with Your Stand Mixer
Using a stand mixer is simpler than you might think. With just a few steps, you’ll be mixing like a pro in no time. It’s truly a game-changer for many recipes, saving your hands and arms from all that hard work.
Understanding Stand Mixer Attachments
Each stand mixer comes with a set of attachments. These tools are designed for specific tasks. Choosing the right attachment is the first step to successful mixing.
The Paddle Attachment (Flat Beater)
This is your everyday workhorse. The paddle attachment is perfect for tasks like creaming butter and sugar, mixing cake batter, or preparing cookie dough. It’s also great for mashing potatoes or making meatloaf. Think of it for most of your general mixing needs.
The Wire Whisk Attachment
When you need to whip air into ingredients, the wire whisk is your friend. It’s ideal for making meringue, whipping cream, or creating fluffy egg whites. It incorporates air quickly, giving you those light and airy textures.
The Dough Hook Attachment
If you love baking bread, you’ll love the dough hook. This attachment is specifically designed for kneading yeast dough. It mimics hand-kneading, developing the gluten and saving your hands a lot of effort. Many home bakers consider it essential for homemade bread.
Setting Up Your Stand Mixer Safely
Safety first, always! Before you even think about plugging it in, make sure your mixer is ready. A few simple checks keep everything running smoothly and safely.
- Clear Counter Space: Ensure you have ample room around your mixer.
- Stable Surface: Place your mixer on a flat, stable surface. This prevents wobbling during operation.
- Power Off: Always make sure the mixer is unplugged when attaching or removing accessories.
- Clean Bowl and Attachments: Wash the bowl and attachments thoroughly before first use, and after each use.
Operating Your Stand Mixer Like a Pro
Now that your mixer is set up, let’s get into the fun part: mixing! It’s all about adding ingredients and choosing the right speed. No need to feel intimidated; we’ll guide you through it.
Adding Ingredients to the Mixing Bowl
Always start with the bowl attached to the mixer. Many recipes suggest adding dry ingredients first, then wet, or “creaming” certain items like butter and sugar initially. Follow your recipe’s instructions carefully here. This sequencing helps with even mixing and avoiding lumps. Don’t overfill the bowl, or you’ll have a mess!
Selecting the Right Speed Settings
Most stand mixers have multiple speed settings. It’s usually best to start low and gradually increase the speed. This prevents splatters and ensures proper incorporation.
| Speed Setting | What It’s For | Common Use |
|---|---|---|
| Stir (Speed 1) | Gentle mixing, combining dry ingredients | Starting to incorporate flour into wet ingredients |
| Slow Mix (Speed 2) | Mixing heavy batters, beating egg whites to soft peaks | Cookie dough, whipping egg whites for meringue |
| Medium (Speed 4) | Creaming, beating, mixing medium batters | Creaming butter and sugar, cake batters |
| High (Speed 6-8) | Whipping cream, beating eggs, light batters | Whipping cream, making fluffy omelets |
| Fast (Speed 10) | Fast whipping, aerating light mixtures | Finishing meringue, highly aerated mixtures |
Starting at a low speed first, like ‘Stir,’ helps avoid a “flour explosion” all over your kitchen. Then, as ingredients combine, you can slowly bump up the speed (KitchenAid).
Basic Mixing Techniques You’ll Use Often
Mastering a few core techniques will make your baking much more consistent. These are common instructions you’ll find in almost any recipe involving a stand mixer.
Creaming Butter and Sugar
This technique is foundational for many cakes and cookies. You’ll typically use the paddle attachment. Add softened butter and sugar to the bowl. Start on low speed, then gradually increase to medium (Speed 4-6). Mix until the mixture is light, fluffy, and pale yellow. This process incorporates air, which helps your baked goods rise.
Whipping Egg Whites
For meringues, soufflés, or light cakes, whipping egg whites is key. Use the whisk attachment. Beat the egg whites on medium-high speed (Speed 6-8) until they form soft peaks. For stiffer peaks, continue beating at high speed (Speed 8-10). Be careful not to over-whip, as they can become dry and crumbly.
Kneading Dough
When making bread or pizza dough, the dough hook attachment is essential. Combine your ingredients in the bowl, then attach the dough hook. Start on the lowest speed to bring the dough together. Gradually increase to a low-medium speed (Speed 2-4) and knead for the time specified in your recipe, typically 5-10 minutes. The dough should become smooth and elastic.
Stand Mixer Care and Maintenance
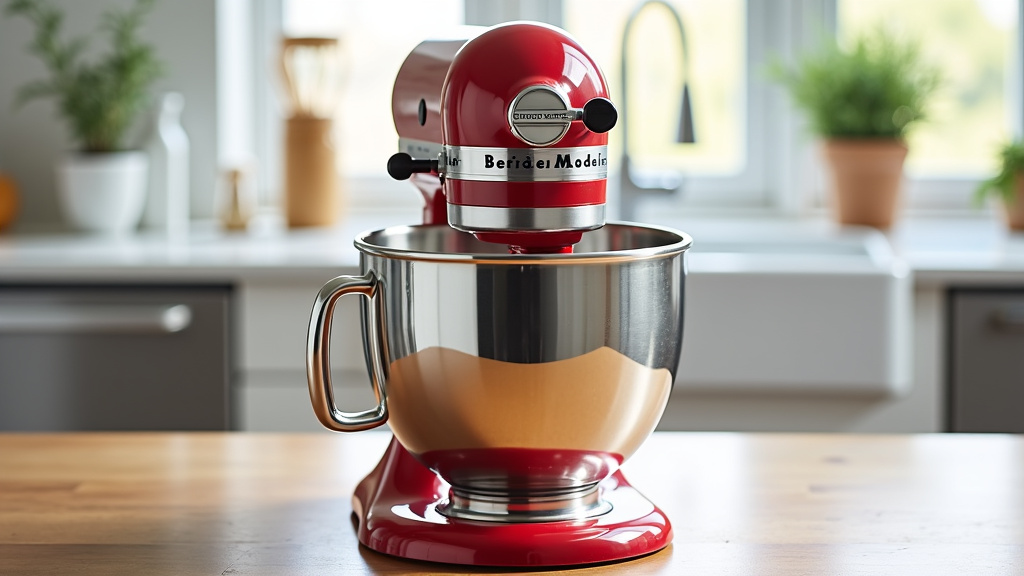
Keeping your stand mixer clean and well-maintained helps it last longer. It’s an investment, after all! A little care goes a long way to ensure it’s always ready for your next baking adventure.
Cleaning Your Stand Mixer
After all that mixing, cleanup is important. Most components are easy to clean, but some parts need special attention. Always unplug the mixer before cleaning!
- Bowl and Attachments: Most mixer bowls and attachments are dishwasher safe. Check your user manual to be sure. If washing by hand, warm, soapy water works perfectly.
- Mixer Head and Base: Use a damp cloth to wipe down the exterior of the mixer. Never submerge the motor head in water.
- Hard-to-Reach Spots: A pastry brush or an old toothbrush can help dislodge dried batter from small crevices.
- Immediate Cleanup: Wipe spills as they happen. Dried batter is much harder to remove.
Troubleshooting Common Stand Mixer Issues
Sometimes, things don’t go exactly as planned. Don’t worry, many common issues have simple solutions.
Mixer Not Turning On?
First, check the power cord. Is it fully plugged into the outlet and the mixer? Sometimes a loose connection is all it is. Also, ensure the power switch is in the “on” position. If it still won’t turn on, you might check your circuit breaker (UL Standards).
Attachments Not Reaching the Bottom?
If your attachments aren’t quite scraping the bottom of the bowl, you might need to adjust the bowl height. Many stand mixers have a small screw or lever on the side or neck that allows for minor adjustments. Consult your manual for exact instructions on how to adjust your specific model.
Overheating Motor?
If your mixer feels hot to the touch or smells burnt, turn it off immediately and unplug it. This often happens when mixing very thick doughs for too long, or if the mixer is overloaded. Let it cool down completely before attempting to use it again. Consider breaking up large batches to prevent strain on the motor.
You’ll get the hang of it the more you use your mixer. Every time you bake, you’re building confidence and skill. Soon, these steps will become second nature!
Conclusion
You now have the tools and confidence to use your stand mixer effectively. From selecting the right attachment to mastering basic techniques and keeping it clean, you’re ready to tackle any recipe. Remember how much easier baking becomes when you let your mixer do the hard work.
Don’t be afraid to experiment with different speeds and ingredients. Your new stand mixer is a versatile kitchen partner, waiting to help you create delicious dishes. Start with a favorite cookie recipe or try making your own bread from scratch today!
Frequently Asked Questions
How often should I clean my stand mixer?
You should clean the bowl and attachments immediately after each use to prevent food from drying on. Wipe down the motor head and base regularly, especially if there are any spills, to keep it looking good and functioning properly.
Can I use my stand mixer for non-baking tasks?
Absolutely! While often associated with baking, stand mixers are great for many cooking tasks. The paddle attachment can mash potatoes or shred cooked chicken. Some mixers even have attachments for making pasta or grinding meat, expanding their versatility.
What if my stand mixer sounds strained during use?
A strained sound usually means the mixer is working too hard. This can happen with very thick doughs or if you’ve overloaded the bowl. Try reducing the batch size or letting the mixer rest for a few minutes. If it persists, ensure you’re using the correct attachment and speed for the task.
How do I know when my butter and sugar are “creamed” enough?
When creaming butter and sugar, look for a visual change. The mixture should become pale yellow, light, and fluffy, almost like a pale whipped frosting. This process usually takes 3-5 minutes on medium speed with the paddle attachment.
Is it okay to leave my stand mixer plugged in all the time?
For safety, it’s generally best to unplug your stand mixer when it’s not in use. This prevents accidental activation and protects it from power surges. It’s a good habit for any kitchen appliance.