How to Clean a Stand Mixer?
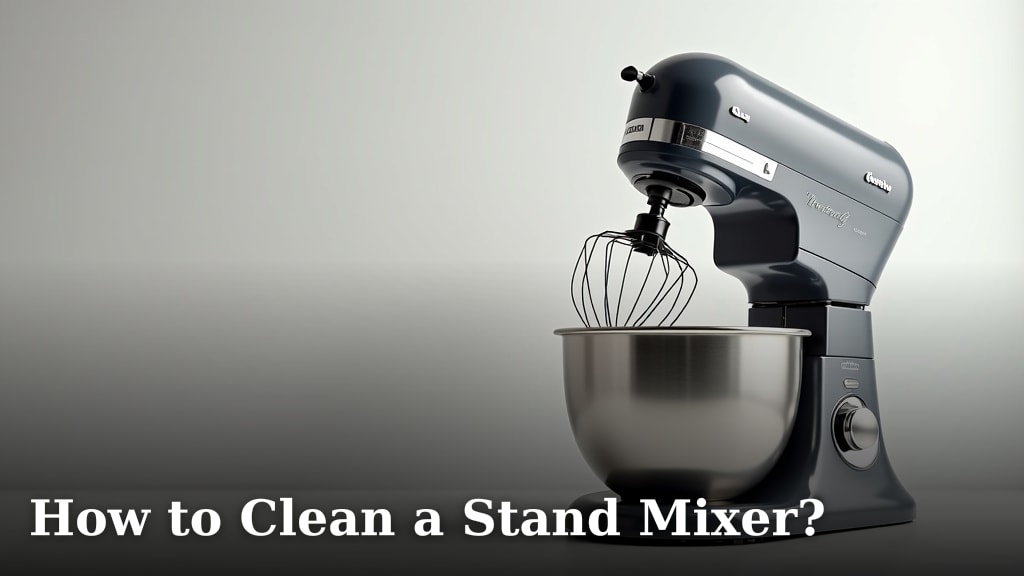
The easiest way to clean a stand mixer involves wiping down the base with a damp cloth and soaking the attachments in warm, soapy water. Always unplug your mixer first. Regular cleaning keeps your stand mixer ready for its next baking adventure.
You probably love your stand mixer. It helps create so many delicious treats! But after whipping up that amazing frosting or dough, you might wonder about the best cleaning methods. We found that proper care helps extend its life and prevents sticky build-up.
- Wipe the mixer base often.
- Hand wash most attachments.
- Check your manual for dishwasher-safe parts.
- Dry everything thoroughly to avoid rust.
Let’s walk through exactly how to clean a stand mixer, step-by-step, making sure it stays spotless and ready for your next culinary creation.
Preparing Your Stand Mixer for Cleaning
Before you even think about scrubbing, safety first! We found the most important step is always to unplug your stand mixer. This prevents accidental activation and potential electrical hazards. You wouldn’t want it turning on while your hand is inside, right?
Next, clear your workspace. Remove all attachments from the mixer head. This includes the mixing bowl itself, beaters, whisks, and dough hooks. Separate all these components to make them easier to handle and clean individually. It’s like getting all your ingredients ready before you start baking.
Wipe away any large food debris. Sometimes there are big chunks of dough or batter clinging to the mixer or its parts. A quick wipe with a paper towel can save you a lot of scrubbing later. This really helps avoid spreading mess. We’ve certainly seen our share of dried-on batter!
Understanding Your Mixer’s Materials
Stand mixers come in various materials, and knowing yours helps with cleaning. Most mixer bodies are made of painted metal or durable plastic. The attachments often vary more, ranging from stainless steel to aluminum or even coated steel. This variety means different care. We found that the material dictates the best cleaning approach.
Your mixer bowl is usually stainless steel, but sometimes glass or ceramic. Each material has its own cleaning nuances. You wouldn’t clean a delicate teacup the same way you clean a sturdy pot, would you? Understanding these differences helps prevent damage and maintain longevity.
Cleaning the Main Mixer Body
The mixer’s main body, often called the head or base, needs careful attention. Since it houses the motor and electrical components, you cannot submerge it in water. This is a big no-no. We found that water near electronics is never a good idea. Think of it like cleaning your computer – you wouldn’t dunk it in the sink!
Use a damp cloth with mild soap. A tiny drop of dish soap on a moist microfiber cloth works wonders. Gently wipe down all exterior surfaces. Pay extra attention to nooks and crannies where flour dust or batter splatters might hide. It’s surprising where sticky bits can end up.
Tackling Stubborn Spots and Drying
For those super sticky, dried-on spots, a slightly more aggressive approach might be needed. You can use a small brush, like an old toothbrush, to gently scrub stubborn areas. We found this especially useful around the attachment hub or speed control knob. Be gentle, though, you don’t want to scratch the finish.
After wiping, dry the mixer body thoroughly with a clean, dry cloth. This step is critical. Any lingering moisture can lead to water spots or, worse, corrosion over time. We sometimes even use a second, completely dry towel to ensure every last drop is gone. This simple step keeps your mixer looking new.
Cleaning Stand Mixer Attachments and Bowls
This is where the real scrubbing happens! Most attachments and bowls are designed to be quite durable. However, “dishwasher safe” isn’t always true for every piece. This is a common misconception, and we’ve seen firsthand what can happen when you assume. Always take a moment to confirm.
Here’s a quick overview of how common materials respond to cleaning:
| Material Type | Best Cleaning Method | Why? |
|---|---|---|
| Stainless Steel | Dishwasher (usually) or Hand Wash | Highly durable, resists rust. |
| Aluminum (uncoated) | Hand Wash ONLY | Dishwashers cause oxidation, turns black/gray. |
| Coated Aluminum/Enamel | Hand Wash (gentle) | Coatings can chip or dull in dishwasher over time. |
| Glass Bowl | Dishwasher or Hand Wash | Very durable, but beware of thermal shock (hot to cold). |
| Ceramic Bowl | Dishwasher or Hand Wash | Generally robust, but can chip if handled roughly. |
Hand Washing Attachments: The Safe Bet
For most attachments, especially those made of aluminum or with special coatings, hand washing is the safest and best option. Fill your sink with warm, soapy water. Use a gentle dish soap. Submerge the attachments and let them soak for a few minutes. This helps loosen any dried batter or sticky residue. We often let ours soak while we clean up other kitchen items.
Use a kitchen sponge or brush to scrub away any remaining food bits. Make sure to get into all the little crevices of whisks and dough hooks. These can be surprisingly tricky areas where batter loves to hide. After scrubbing, rinse them thoroughly under running water. Ensure all soap residue is gone. You don’t want soapy flavors in your next batch of cookies.
Dishwasher Considerations for Attachments
Some attachments, typically those made of stainless steel or heavy-duty plastic, are indeed dishwasher safe. Always check your mixer’s manual to confirm. This is your most reliable source of information. You don’t want to ruin an expensive attachment by guessing. Many manufacturers explicitly state which items are dishwasher friendly.
If you’re using a dishwasher, place the attachments in a secure spot. Avoid overcrowding. Use a standard dishwasher cycle. However, even for dishwasher-safe items, we found that hand drying immediately after the cycle can prevent water spots and ensure everything is perfectly dry. This extra step helps maintain their appearance and prevents potential rust over a long period. Rust can creep up on you!
Drying and Storing Your Clean Mixer
Once everything is clean, thorough drying is paramount. Moisture is the enemy of kitchen appliances and can lead to rust, mildew, or even electrical issues. Use a clean, dry cloth for all components. For attachments with many nooks and crannies, you might want to air dry them on a rack for a bit. Just make sure the air is circulating well. We often leave them out on a drying mat for an hour or so.
Before reassembling or storing, inspect each piece. Are there any lingering wet spots? Any hidden bits of food? Take a moment to ensure everything is truly clean and dry. It’s like putting away clean laundry; you want it ready to go when you need it next. This helps keep your mixer in top condition.
Store your stand mixer in a clean, dry place. Many people keep them on their counter, which is fine. If you store it in a cabinet, ensure the space is not damp. Some people use a mixer cover to protect it from dust and splatters between uses. We found covers are excellent for keeping it pristine and ready for your next baking adventure. It’s a small investment for long-term care.
Maintaining Mixer Hygiene Over Time
Regular cleaning is not just about aesthetics; it’s about hygiene and extending the life of your appliance. Food residues, if left unchecked, can become breeding grounds for bacteria. The CDC even recommends regular cleaning of food contact surfaces (CDC). So, a clean mixer is a healthy mixer!
Adopt a “clean as you go” mentality. After every use, even if you just whipped up some cream, give the mixer base a quick wipe down. Rinse your bowl and attachments promptly. This prevents food from drying and hardening, making deeper cleaning much easier later. It’s truly incredible how much effort this saves. A little proactive cleaning goes a long way!
Quick Checklist for Mixer Cleaning
Here’s a handy list to help you stay on track:
- Unplug power cord before starting.
- Remove all attachments and the bowl.
- Wipe the mixer body with a damp, soapy cloth.
- Hand wash aluminum attachments; check manual for dishwasher safety of others.
- Rinse all parts thoroughly to remove soap residue.
- Dry every piece completely before storing.
You’ll thank yourself for taking these few moments after each use. A well-maintained stand mixer is a joy to use and can be a baking companion for many years. We truly believe taking care of your tools helps them take care of you, especially in the kitchen!
Conclusion
Taking good care of your stand mixer doesn’t have to be a chore. By consistently following these simple steps, you’ll extend its lifespan and keep it performing at its best. Remember, a quick wipe-down and proper wash of attachments after each use is all it takes.
You’ll prevent sticky build-up and always have a pristine mixer ready for your next culinary creation. We found that this small investment of time saves you effort down the road. So, go ahead and keep baking with confidence, knowing your mixer is clean and well-maintained.
Frequently Asked Questions
Can I use abrasive cleaners or scouring pads on my stand mixer?
No, we recommend against using abrasive cleaners or scouring pads. These can scratch or damage the finish of your mixer body and attachments. Stick to a soft cloth, mild soap, and warm water for the best results.
How often should I deep clean my stand mixer?
While a quick wipe-down after every use is good, a deeper clean of your attachments and wiping down the entire base should be done after every major baking session. This prevents accumulation and keeps everything hygienic.
What if my mixer attachments have discolored from the dishwasher?
This often happens with uncoated aluminum attachments and is due to oxidation. Unfortunately, this discoloration is usually permanent. To prevent it, always hand wash aluminum parts going forward.
Is it safe to store my stand mixer with the attachments still on it?
Yes, it’s generally safe. However, we found that storing attachments separately after cleaning and drying ensures better air circulation and prevents any potential moisture traps. Also, it’s easier to grab the right attachment when they’re organized.
My mixer smells a bit stale after storage. What can I do?
A stale smell could indicate lingering moisture or food residue. Ensure all parts are thoroughly dry before storage. You can also wipe down the inside of the mixer head and attachments with a cloth dampened with a little white vinegar, then dry completely.