How to Mash Bananas with a Stand Mixer?
On this page (3 sections)
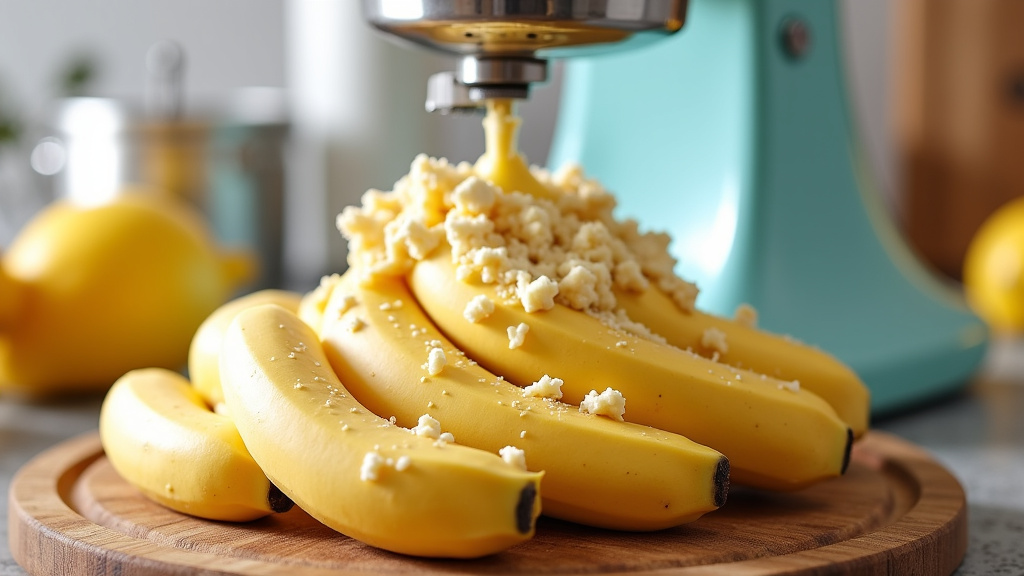
The easiest way to mash bananas with a stand mixer is to use the paddle attachment on medium speed. This method quickly breaks down the fruit, creating a smooth, consistent texture for your recipes. It saves you time and effort compared to mashing by hand.
Do you often find yourself needing perfectly mashed bananas for baking? A stand mixer is an excellent tool for this common kitchen task. We found that using your mixer not only makes the process quicker, but it also helps achieve that Our guide to the best stand mixer for home bakers can help you choose the right appliance for all your kitchen tasks.ideal, lump-free consistency every time. You can say goodbye to uneven, chunky banana bits in your batters.
- Use a stand mixer for quick banana mashing.
- The paddle attachment is best for mashing.
- Start on medium speed to avoid a mess.
- Achieve a super smooth banana puree easily.
- Save time and effort for your baking projects.
Ready to make banana bread prep a breeze? Let’s walk through exactly how to mash your bananas with a stand mixer, step by step.
Mastering Banana Mashing with Your Stand Mixer
You can quickly achieve perfectly mashed bananas for baking by using your stand mixer. This method saves you time and effort.
Gathering Your Tools and Ingredients
Before you begin, it’s wise to have everything ready. This makes the mashing process smooth and efficient. Think of it as setting up your baking station.
Choosing the Right Bananas
The type of banana you use makes a big difference. For mashing, you want ripe or overripe bananas. These have developed more sugars and are naturally softer.
- Look for brown spots: We found that bananas with many brown or black spots on the peel are ideal. They’re sweeter and much easier to mash.
- Avoid green bananas: Green bananas are too firm and won’t mash well. They also lack the sweetness needed for most recipes (USDA).
- Yellow with a few spots: These are good if you can’t find very brown ones. They might need a little extra mixing time.
Essential Equipment Checklist
You don’t need many special tools. Just your stand mixer and a few common kitchen items. Having these ready will make the process straightforward.
Here’s what you’ll need:
- Stand mixer (of course!)
- Paddle attachment (this is key)
- A sturdy mixing bowl (usually comes with your mixer)
- A flexible spatula
- Your ripe bananas
Prepping Your Bananas for the Mixer
Proper preparation ensures the best results. It’s like getting your ingredients ready for any recipe. A little prep goes a long way.
Peeling and Breaking Apart
First, you’ll need to peel your ripe bananas. This is usually very easy with overripe ones. The peels often come right off.
After peeling, break each banana into two or three larger pieces. There’s no need to chop them finely. The mixer will do the hard work for you. We found that larger pieces are perfectly fine for the stand mixer.
Placing Bananas in the Mixer Bowl
Carefully put all your banana pieces into the stand mixer bowl. Make sure they are settled at the bottom. This prevents them from flying out during mixing.
Don’t overfill your bowl. If you have many bananas, you might need to mash them in batches. This depends on your mixer’s bowl size.
The Mashing Process: Step-by-Step
Now, let’s get to the fun part. Using your stand mixer is simple. Just follow these easy steps for perfectly mashed bananas.
Attaching the Paddle and Starting Slow
Securely attach the paddle attachment to your stand mixer. This is the best attachment for mashing. Many experts agree that the paddle works better than a whisk for breaking down solids.
Lower the mixing head. Then, start your mixer on the lowest speed setting. This is crucial to avoid a splattery mess. Think of it as easing into the task.
Gradually Increasing Speed for Consistency
Once the bananas start breaking down, you can slowly increase the speed. Go from low to medium. Medium speed is often the sweet spot for mashing. We found that medium speed provides the best balance of speed and control.
Let the mixer run for about 1 to 2 minutes. Watch the bananas carefully. They will transform from chunky pieces to a smooth, creamy texture.
You might need to stop the mixer once or twice. Use your spatula to scrape down the sides of the bowl. This ensures all banana pieces get mashed evenly. It’s like making sure no one gets left out of the fun. Learning how to adjust the beater to bowl height can also improve mixing efficiency and ensure all ingredients are incorporated.
Checking for Desired Texture
The mashing time can vary based on your bananas’ ripeness. It also depends on how fine you want the mash.
- For chunky mash: Stop mixing after about 1 minute. You’ll see some small banana bits remaining.
- For smooth puree: Continue mixing for up to 2 minutes. The mixture should look very uniform and creamy.
We found that for most banana bread recipes, a smooth to slightly chunky mash is preferred. This ensures even distribution in your batter.
Why a Stand Mixer is Your Best Friend for Bananas
Using a stand mixer for mashing bananas offers several benefits. It’s more than just a convenience; it’s about achieving superior results.
Efficiency and Time-Saving
Imagine mashing a dozen bananas by hand. Your arm would get tired! A stand mixer does the work in minutes. This frees you up to measure other ingredients. Many home bakers appreciate this efficiency (Allrecipes).
Achieving Perfect Consistency
One of the biggest advantages is the consistency. A stand mixer creates a uniformly mashed banana puree. This means no surprise chunks in your bread or muffins. This evenness is difficult to achieve with a fork.
Less Effort, Less Mess
Mashing by hand can be a messy job. Bananas can slip around and spray. The stand mixer’s enclosed bowl contains the mess. Plus, your hands stay clean. Who doesn’t love less cleanup?
Troubleshooting Common Mashing Issues
Sometimes, things don’t go exactly as planned. But don’t worry, there are easy fixes. We’ve got you covered with some common issues and their solutions.
Bananas Too Firm to Mash
What if your bananas aren’t as ripe as you’d hoped? They might resist mashing. If this happens, don’t despair.
Solution: Try a trick! Microwave the peeled bananas for 30-60 seconds. This will soften them considerably. Then, proceed with the mixer. You can also mash them for a bit longer, increasing the speed slightly if needed.
Mash is Too Watery or Too Thick
Sometimes the consistency isn’t quite right. Overripe bananas can release more liquid. Underripe ones might be too dry.
Too watery: If your mash seems too liquid, it’s likely due to very overripe bananas. For some recipes, this is fine. For others, you might need to adjust your dry ingredients slightly. Or, you can carefully drain off a little excess liquid before adding to your recipe.
Too thick: If it’s too thick, it might mean your bananas weren’t ripe enough. You can add a tiny splash of milk or water. Start with a tablespoon. Mix it in until you reach your desired consistency. Many bakers suggest this simple adjustment.
Quick Checklist for Stand Mixer Banana Mashing
To ensure a smooth mashing experience every time, keep this quick checklist in mind:
- Use very ripe, brown-spotted bananas.
- Peel and break bananas into large pieces.
- Place banana pieces directly into the mixer bowl.
- Attach the paddle attachment to your mixer.
- Start mixer on low, then increase to medium speed.
- Scrape down sides of the bowl as needed.
- Mix until desired smooth or slightly chunky consistency.
Comparing Mashing Methods
While the stand mixer is fantastic, it’s helpful to see how it stacks up against other methods. Each has its pros and cons. We found that the stand mixer consistently ranks high for convenience and quality.
| Method | Pros | Cons | Best For |
|---|---|---|---|
| Stand Mixer | Fast, hands-free, very consistent, smooth puree | Requires a stand mixer, can be loud | Large batches, very smooth mash, busy bakers |
| Potato Masher | Easy cleanup, good for chunky mash, no special equipment | Can be tiring, less consistent, takes more effort | Small batches, rustic chunky texture, no power needed |
| Fork | Always available, very simple, good for small batches | Very slow, messy, inconsistent, labor-intensive | One or two bananas, emergency mashing, very small batches |
| Food Processor | Fast, can make very smooth puree | Can over-process easily, harder to clean, less control | Large batches, very smooth puree (be careful) |
As you can see, the stand mixer offers a great balance. It provides both speed and a superior end product. It truly makes your baking life easier.
Conclusion
You’ve now discovered how simple and effective mashing bananas with a stand mixer can be. This method truly streamlines your baking prep. You get consistently smooth results every time. This saves your arms and your time.
No more struggling with a fork or dealing with uneven chunks. By using the paddle attachment on medium speed, you achieve perfect banana mash for all your favorite recipes. We encourage you to try this method for your next batch of banana bread or muffins. You’ll love the difference it makes.
Frequently Asked Questions
Can I mash other fruits in my stand mixer?
Yes, you can. Softer fruits like cooked sweet potatoes, avocados, or berries can also be mashed with your stand mixer. Always use the paddle attachment. Start on low speed and increase gradually. Harder fruits might require a different approach.
What if I don’t have a paddle attachment for my stand mixer?
While the paddle attachment is ideal, you can still mash bananas with a whisk attachment in a pinch. Be aware that the whisk might aerate the bananas more, and it might not create as smooth a texture. It also requires more scraping down of the bowl.
How long can mashed bananas be stored?
Mashed bananas can be stored in an airtight container in the refrigerator for 2-3 days. For longer storage, you can freeze them. Place them in freezer-safe bags or containers. They will last for several months in the freezer. Thaw them in the fridge before use.
Does the ripeness of the banana affect baking results?
Absolutely. Overripe bananas with plenty of brown spots are sweeter and have a stronger banana flavor. This is why they are preferred for baking. Their natural sugars contribute to moisture and flavor in your baked goods. Less ripe bananas result in a less sweet and flavorful product.
Can I add other ingredients to the mixer while mashing bananas?
Yes, you can. Once your bananas are mashed to your desired consistency, you can often add other wet ingredients. These might include eggs, oil, or vanilla extract. Mix them in briefly on low speed until just combined. This saves you from using extra bowls and simplifies cleanup.